19.3cmx5m Hot Stamping Foil Paper Rolls Holographic Heat Transfer DIY Crafts
<div class="detailmodule_html"><div class="detail-desc-decorate-richtext"><p>
<br />
</p>
<p>
<br />
</p>
<p>
<table class="ke-zeroborder" width="100%" cellspacing="0" cellpadding="0" border="0">
<tbody>
<tr>
<td>
<div>
<br />
<div style="padding:15px;border:1px solid #AEAEAE;">
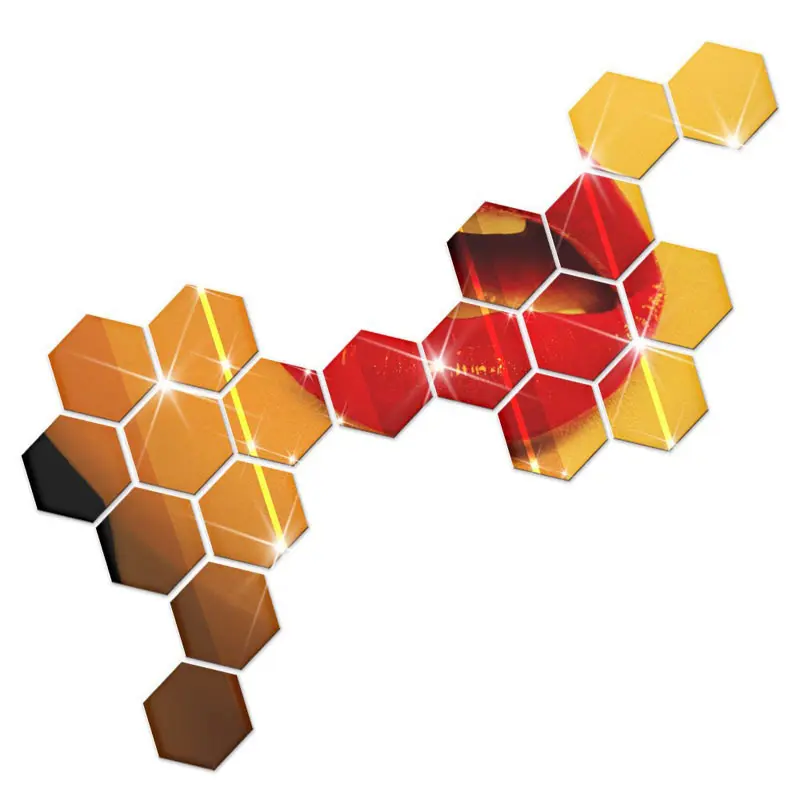
<table border="0" cellpadding="0" cellspacing="0" style="border: 1px solid #c1c7d0;border-collapse:collapse;"><tr><td style="font-size: 14px;color: orange;font-weight: bold;border: 1px solid #c1c7d0;">(a/b/c/d/e)--Hot Foil Paper</td></tr><tr><td style="border: 1px solid #c1c7d0;">19.3cmx5m Glimmer Heat Activated Foil Hot Foil Rolls Hot Stamping Foil Paper Holographic Heat Transfer DIY Crafts<br />
Feature:<br />
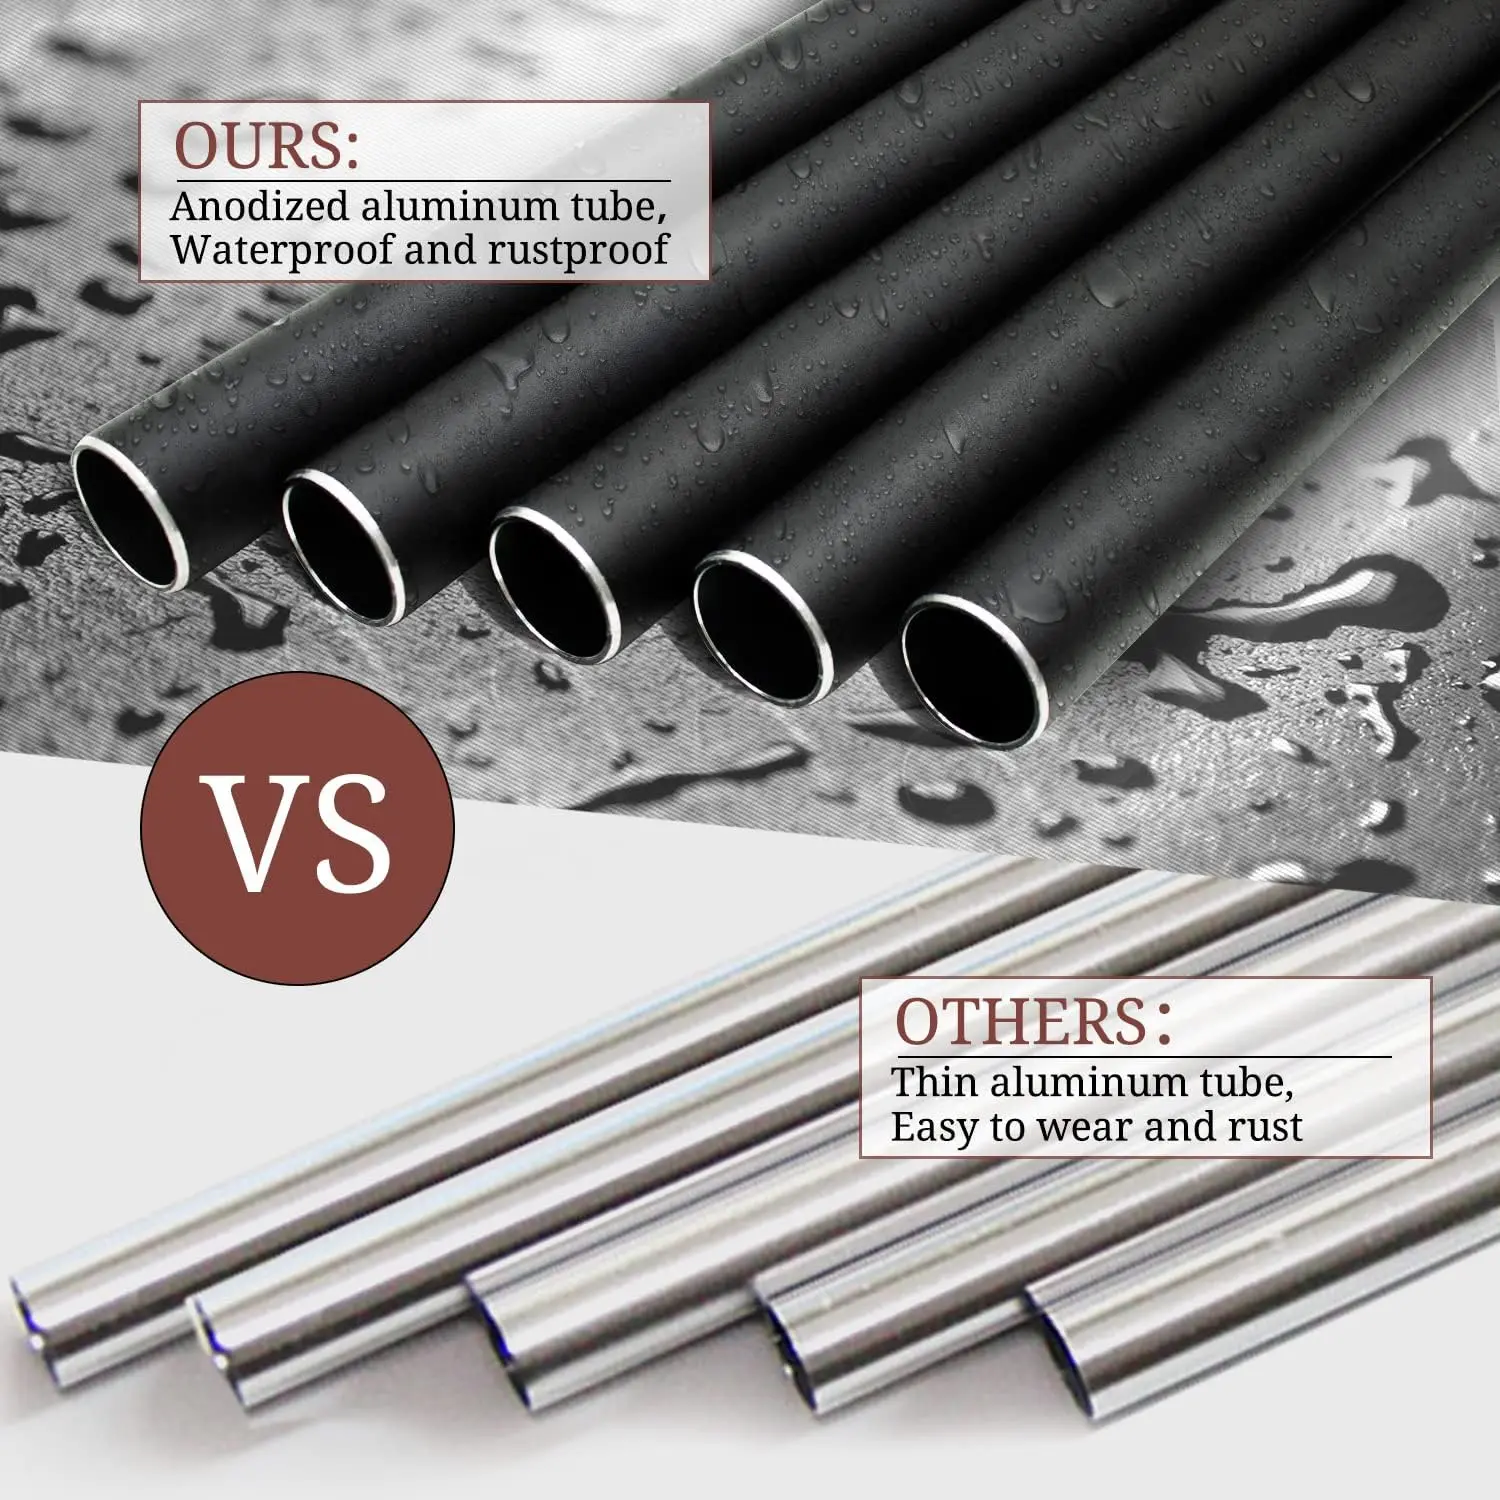
1. Wear resistance, alcohol resistance, high temperature resistance, acid resistance, alkali resistance, strong adhesion, high elasticity and color fastness.<br />
2. Holographic heat transfer vinyl material has luster, soft and comfortable feel, which can make your DIY pattern more lively.<br />
3. Easy to cut, good adhesion and one time printing.<br />
4. It is suitable for making any DIY pattern and text for sports bag, hat, pillow, shirt, T-shirt, shirt, artwork, handicrafts and other decorations. The color is beautiful, which makes your small items unique. It can also be used for stamping invitation letter, business card, calendar, certificate and other words.<br />
<br />
Specification:<br />
Material: anodized aluminum<br />
Color: as shown<br />
Size: 19.3cm (W) x 5m /roll (7.6*1.97"/roll)<br />
Quantity: 1 roll<br />
Type: A: TT222/B: TT224/C: TT223/D: TT225/E: TT226<br />
<br />
Operating temperature:<br />
Hot stamping temperature: 150-160℃<br />
Stamping time: 8-12s<br />
Tearing time: hot tearing<br />
<br />
Method 1:<br />
Step 1: print the image on the paper.<br />
Step 2: cover the printed image with a piece of bronzing paper<br />
Step 3: handle and heat with iron or laminate<br />
<br />
Method 2:<br />
1. Create your own design or pattern on the computer.<br />
2. Adjust the appropriate blade depth and cutting pressure.<br />
3. When cutting, make the glossy side face down, and the dull vinyl side face up.<br />
4. Remove the excess vinyl and leave the design on the carrier plate.<br />
5. Apply the design to your T-shirt for 8-12 seconds at 300-320℉ (if using a home iron, press it hard).<br />
6. Wait for the vinyl to cool down, then peel off the liner slightly after a few minutes.<br />
<br />
Note:<br />
1. Please allow 1-3cm measuring deviation due to manual measurement.<br />
2. Due to the different monitor and light effect, the actual color of the item might be slightly different from the color showed on the pictures. Thank you!<br /></td></tr></table> <br />
</div>
<br />
<div style="padding:15px;border:1px solid #AEAEAE;">
<br />
</div>
<br />
</div>
<div style="text-align:center;">
</div>
<p>
<br />
</p>
<br />
</td>
</tr>
</tbody>
</table>
</p></div></div>
$7.712
$7.712
- Category : Home & Garden
- Brand : house_foocus_store House Foocus Store
Colors
Sizes
-
+
<div class="detailmodule_html"><div class="detail-desc-decorate-richtext"><p>
<br />
</p>
<p>
<br />
</p>
<p>
<table class="ke-zeroborder" width="100%" cellspacing="0" cellpadding="0" border="0">
<tbody>
<tr>
<td>
<div>
<br />
<div style="padding:15px;border:1px solid #AEAEAE;">
<table border="0" cellpadding="0" cellspacing="0" style="border: 1px solid #c1c7d0;border-collapse:collapse;"><tr><td style="font-size: 14px;color: orange;font-weight: bold;border: 1px solid #c1c7d0;">(a/b/c/d/e)--Hot Foil Paper</td></tr><tr><td style="border: 1px solid #c1c7d0;">19.3cmx5m Glimmer Heat Activated Foil Hot Foil Rolls Hot Stamping Foil Paper Holographic Heat Transfer DIY Crafts<br />
Feature:<br />
1. Wear resistance, alcohol resistance, high temperature resistance, acid resistance, alkali resistance, strong adhesion, high elasticity and color fastness.<br />
2. Holographic heat transfer vinyl material has luster, soft and comfortable feel, which can make your DIY pattern more lively.<br />
3. Easy to cut, good adhesion and one time printing.<br />
4. It is suitable for making any DIY pattern and text for sports bag, hat, pillow, shirt, T-shirt, shirt, artwork, handicrafts and other decorations. The color is beautiful, which makes your small items unique. It can also be used for stamping invitation letter, business card, calendar, certificate and other words.<br />
<br />
Specification:<br />
Material: anodized aluminum<br />
Color: as shown<br />
Size: 19.3cm (W) x 5m /roll (7.6*1.97"/roll)<br />
Quantity: 1 roll<br />
Type: A: TT222/B: TT224/C: TT223/D: TT225/E: TT226<br />
<br />
Operating temperature:<br />
Hot stamping temperature: 150-160℃<br />
Stamping time: 8-12s<br />
Tearing time: hot tearing<br />
<br />
Method 1:<br />
Step 1: print the image on the paper.<br />
Step 2: cover the printed image with a piece of bronzing paper<br />
Step 3: handle and heat with iron or laminate<br />
<br />
Method 2:<br />
1. Create your own design or pattern on the computer.<br />
2. Adjust the appropriate blade depth and cutting pressure.<br />
3. When cutting, make the glossy side face down, and the dull vinyl side face up.<br />
4. Remove the excess vinyl and leave the design on the carrier plate.<br />
5. Apply the design to your T-shirt for 8-12 seconds at 300-320℉ (if using a home iron, press it hard).<br />
6. Wait for the vinyl to cool down, then peel off the liner slightly after a few minutes.<br />
<br />
Note:<br />
1. Please allow 1-3cm measuring deviation due to manual measurement.<br />
2. Due to the different monitor and light effect, the actual color of the item might be slightly different from the color showed on the pictures. Thank you!<br /></td></tr></table> <br />
</div>
<br />
<div style="padding:15px;border:1px solid #AEAEAE;">
<br />
</div>
<br />
</div>
<div style="text-align:center;">
</div>
<p>
<br />
</p>
<br />
</td>
</tr>
</tbody>
</table>
</p></div></div>
Related Product
Browse The Collection of Top Products.
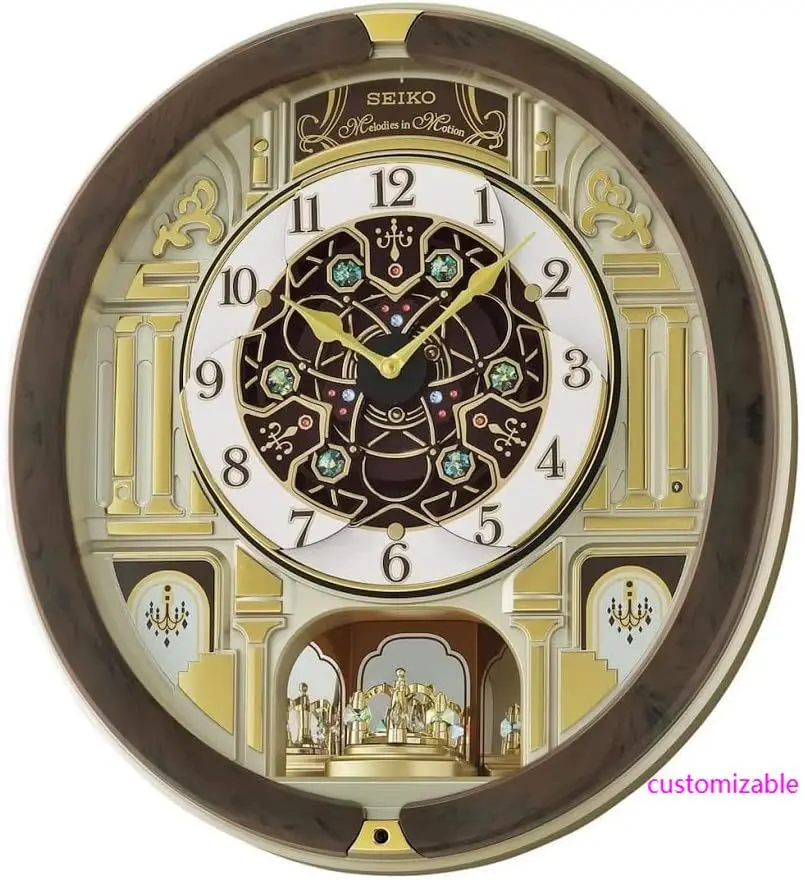
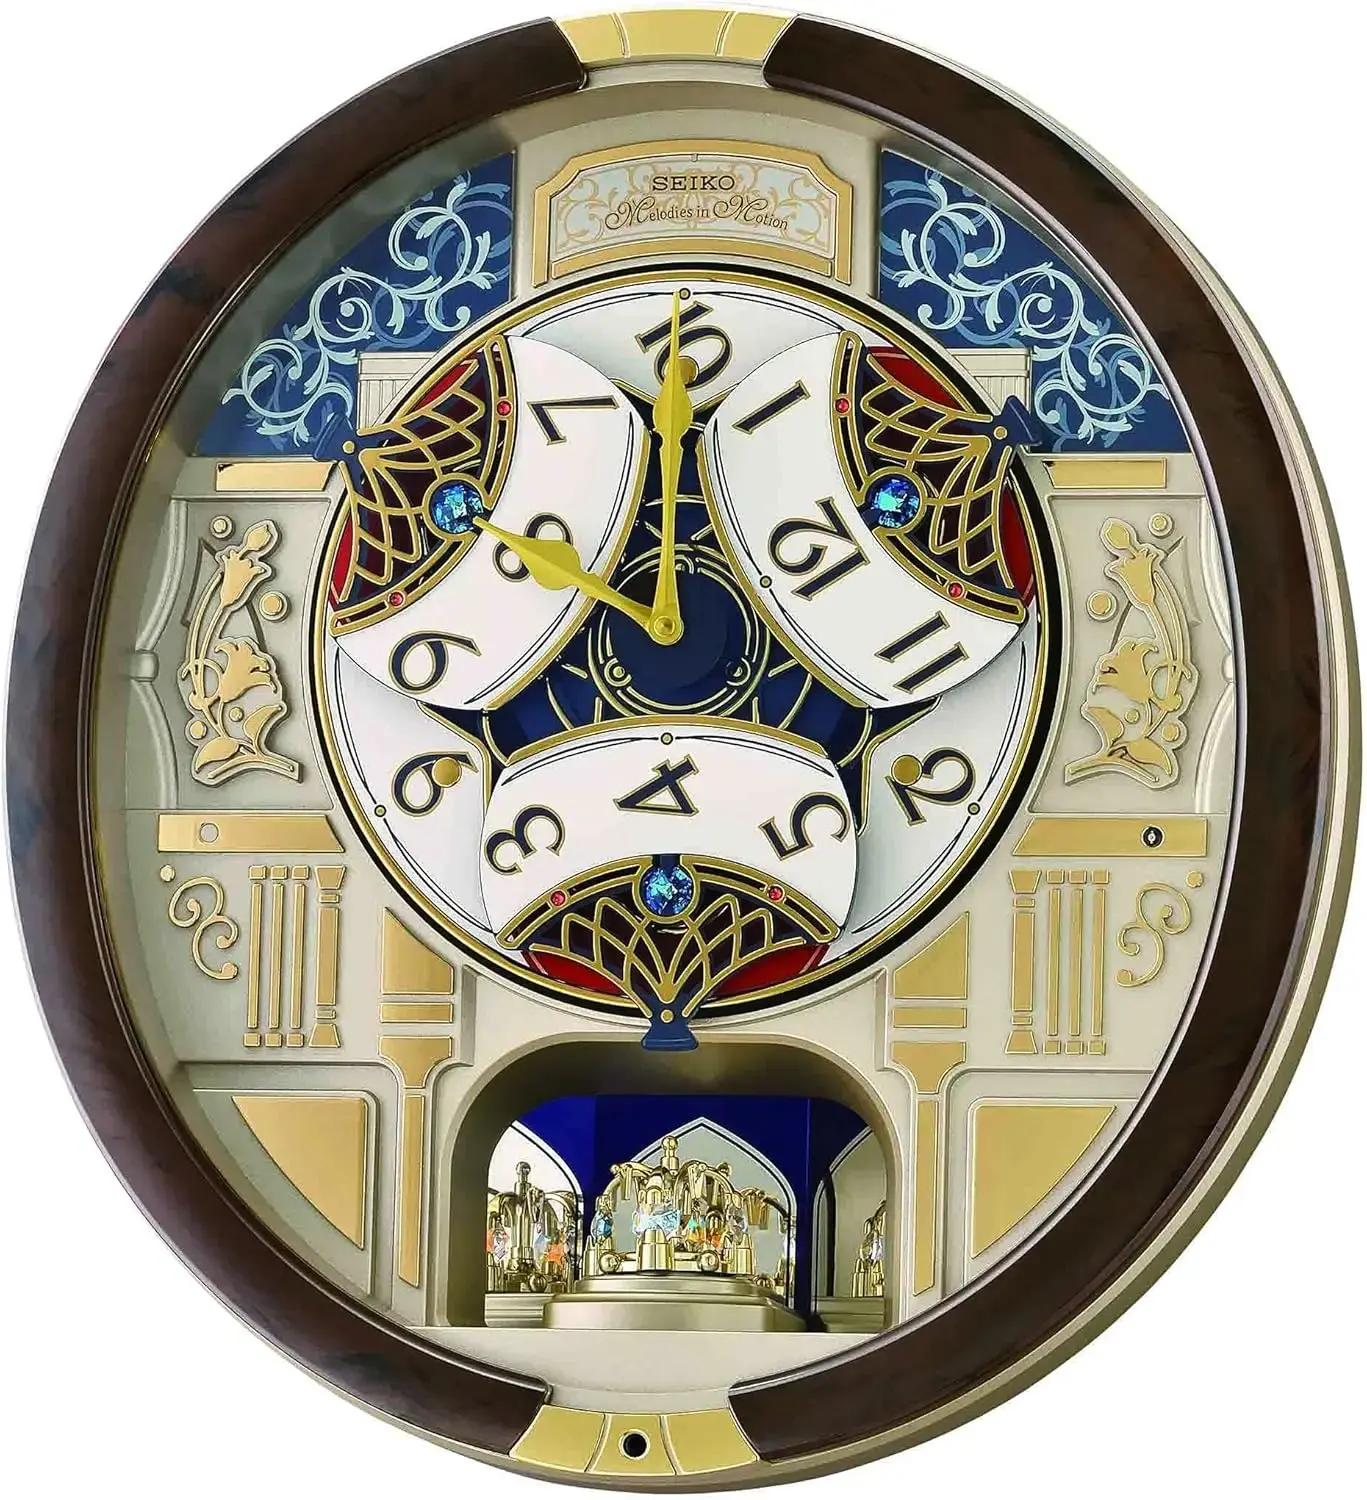
Melodies in Motion Wall Clock, Golden Chandelier
$242.495
$670.04
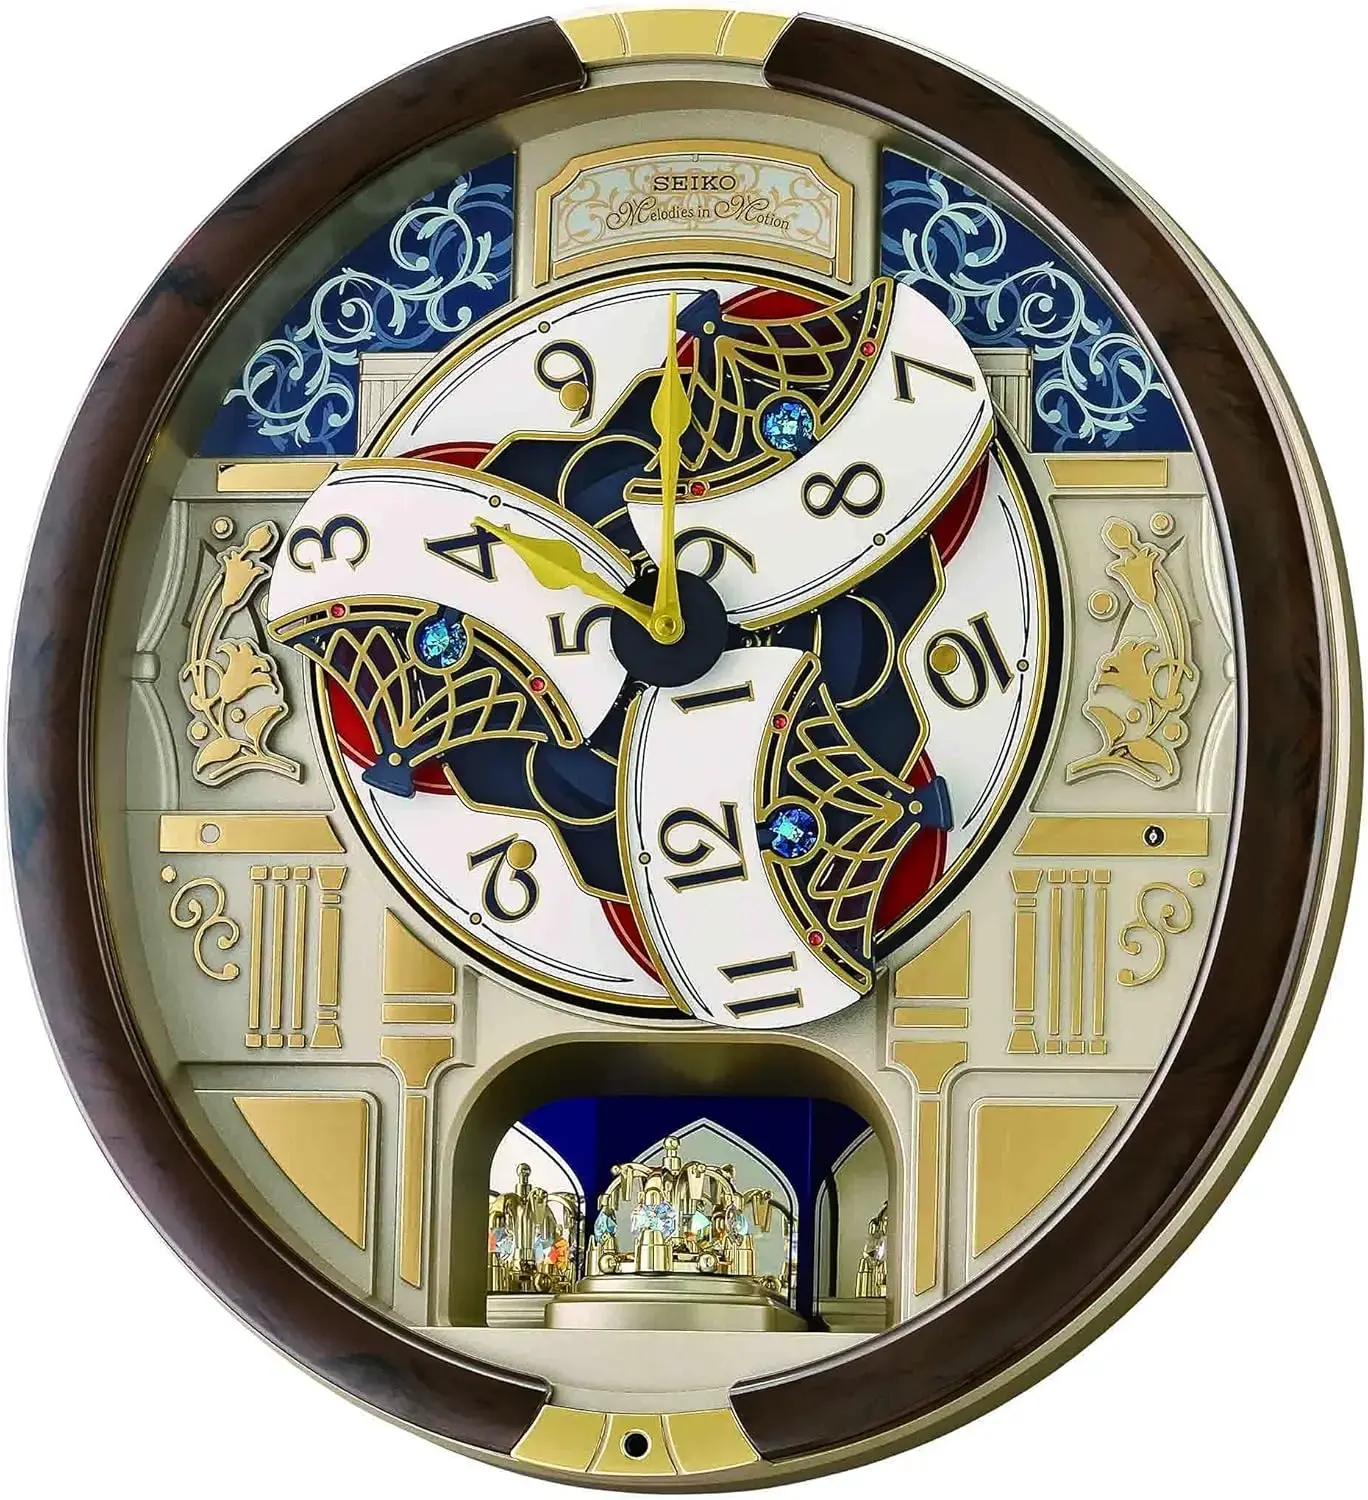
Melodies in Motion Wall Clock, Golden Trellis
$210.59
$581.39