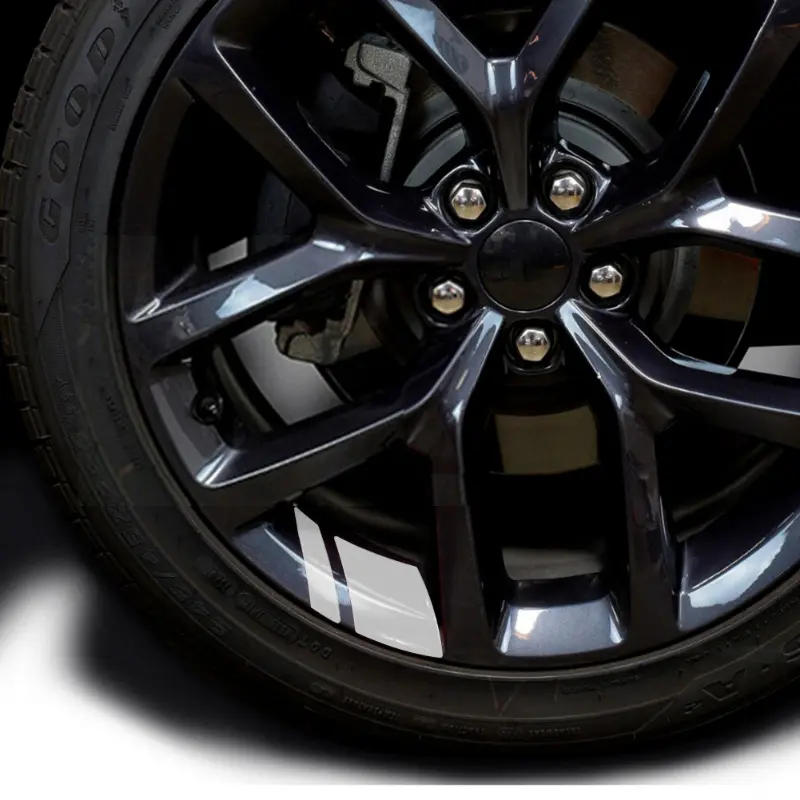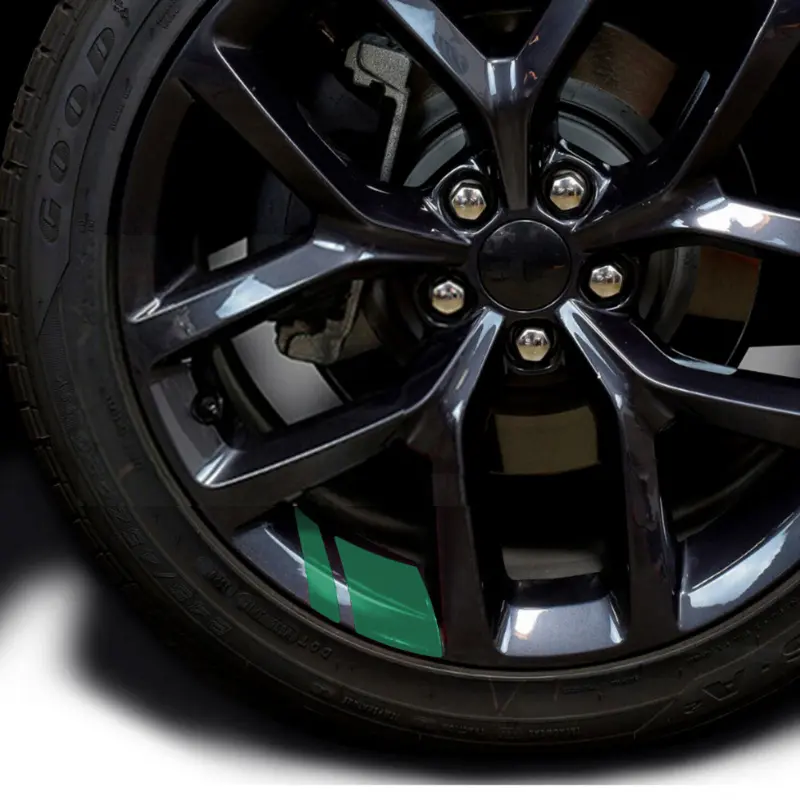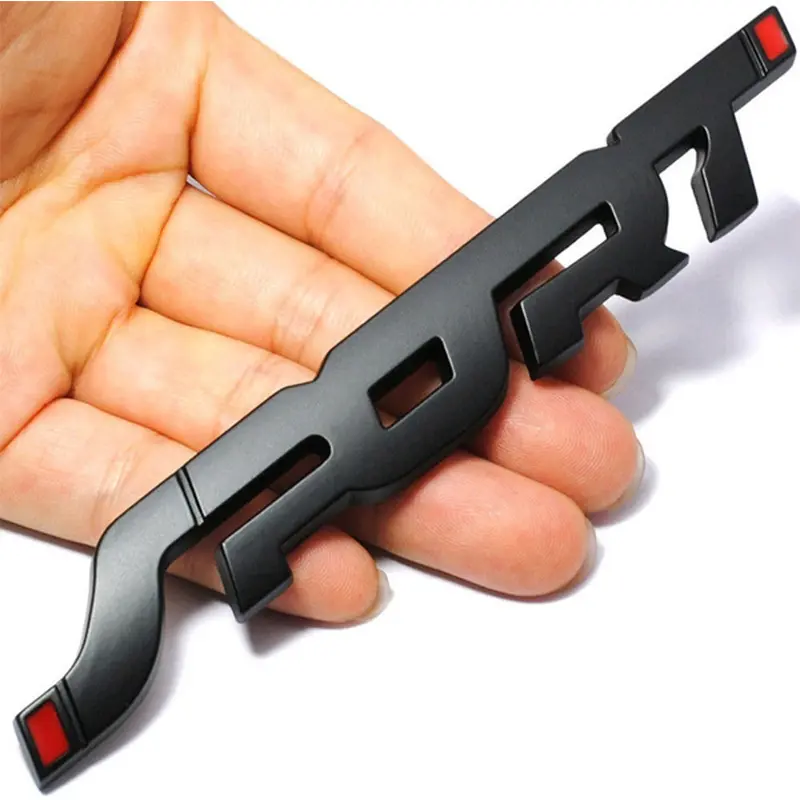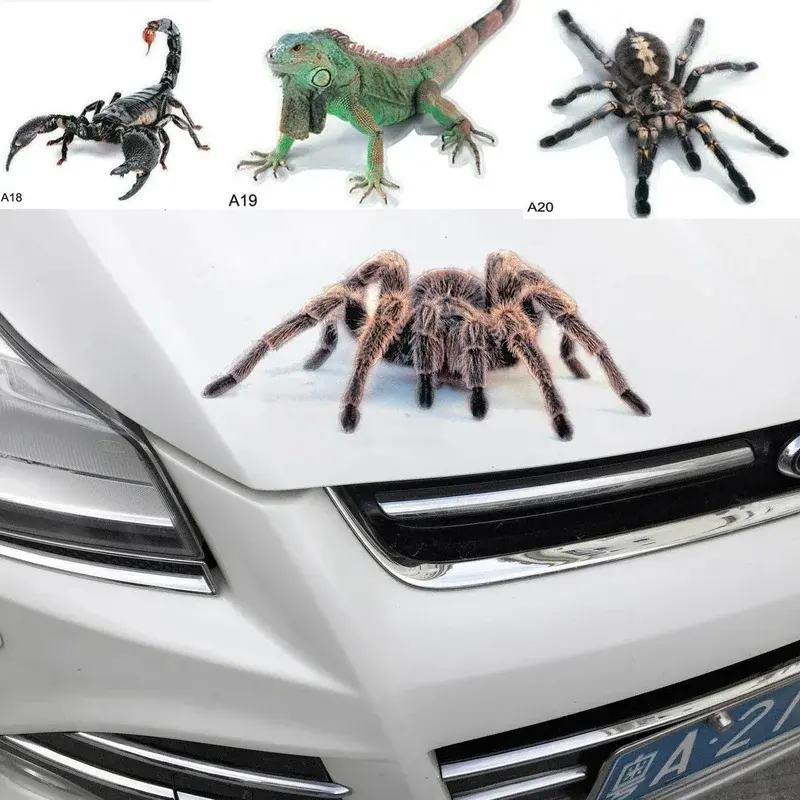
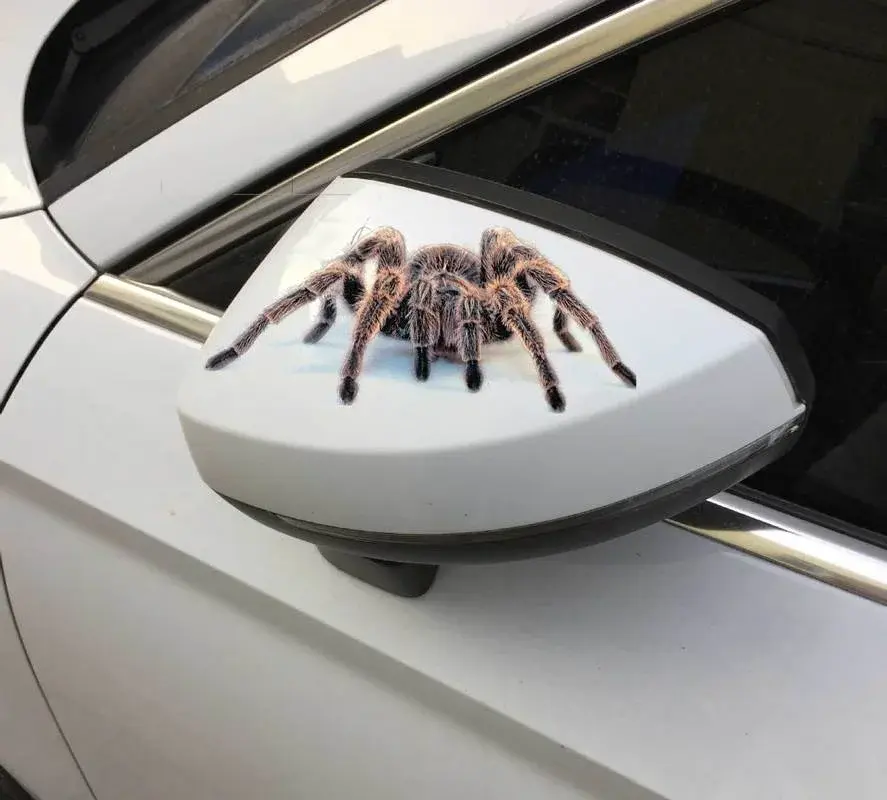


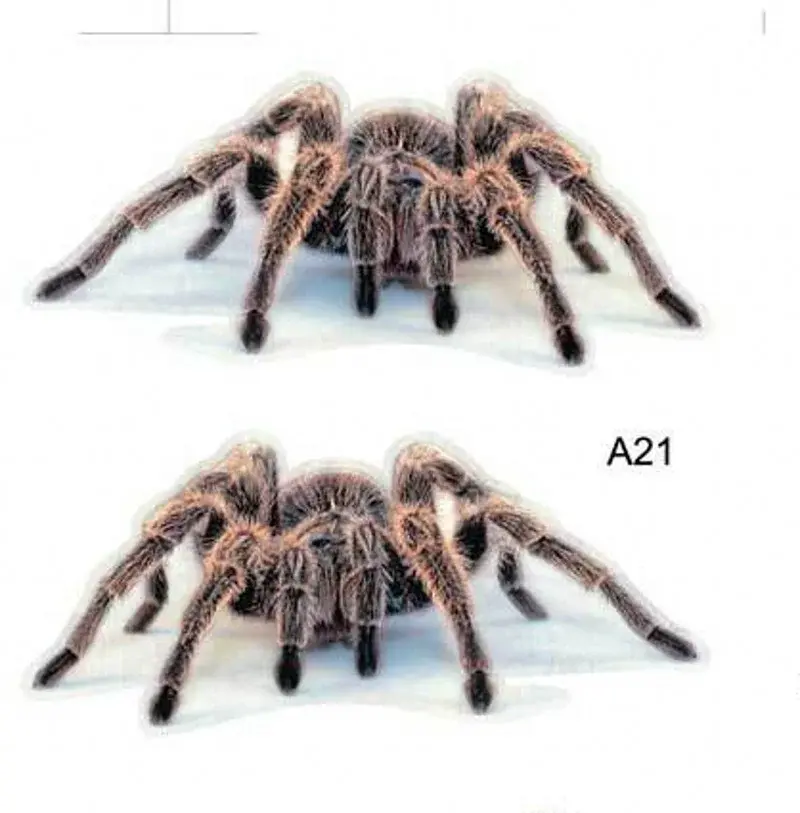
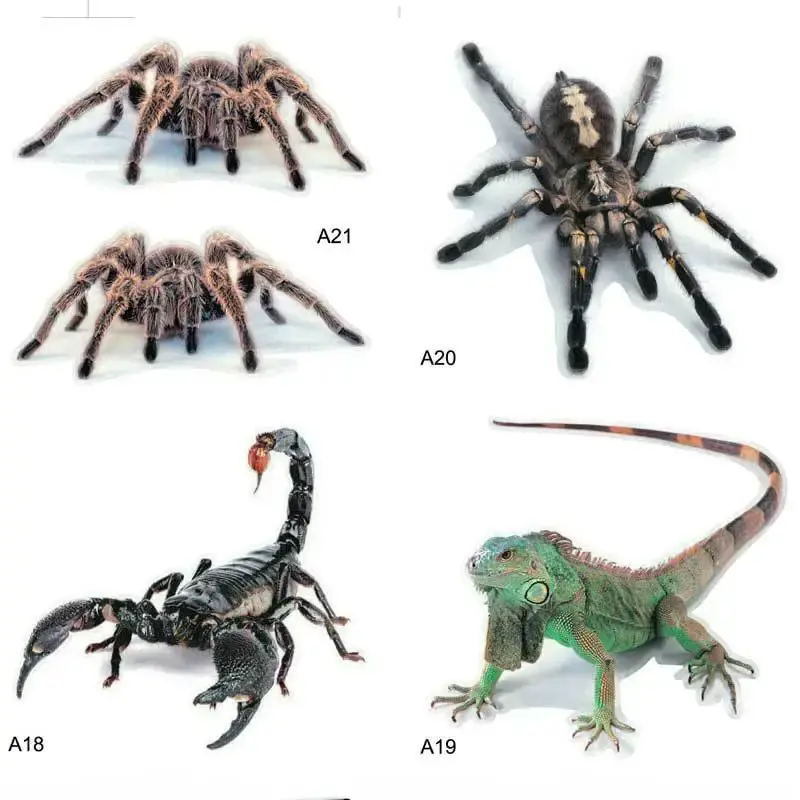
3D Car Spider Gecko Animal Design Car Sticker New Stereo Simulation Car Tail Decal Realistic Modification Sticker Anime Decal
<div class="detailmodule_html"><div class="detail-desc-decorate-richtext"><div><span style="font-size:24px"><span style="font-family:"Comic Sans MS", cursive">Car sticker method description</span></span><br>
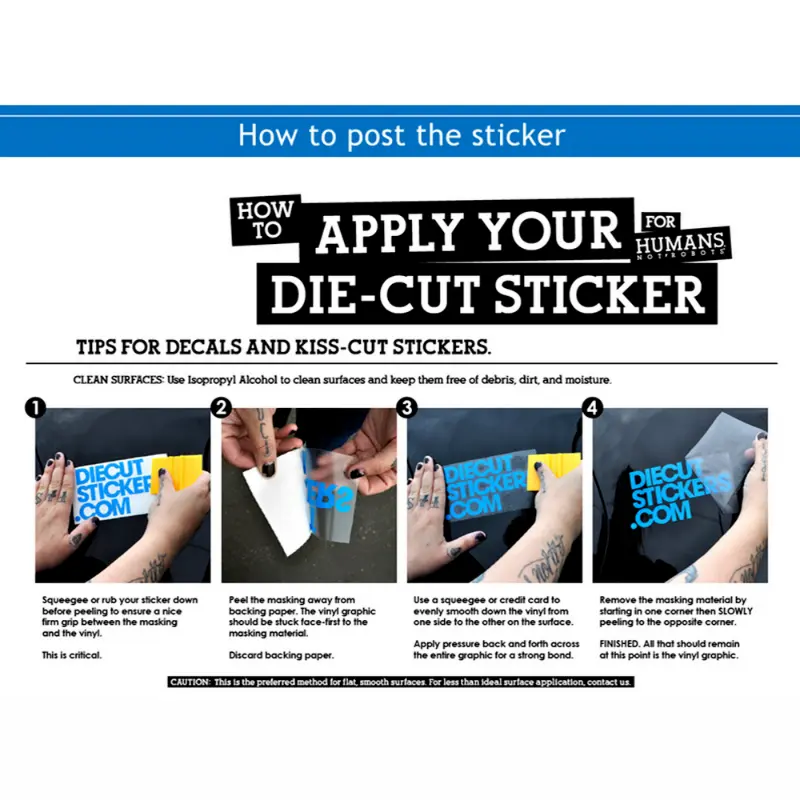
<span style="font-size:22px"><span style="font-family:"Comic Sans MS", cursive"><span style="background-color:rgb(241, 196, 15)">Small car sticker installation method (dry sticker method):</span></span></span> <span style="font-size:16px"><span style="font-family:"Comic Sans MS", cursive"><br>
1. Clean the body and keep it dry.<br>
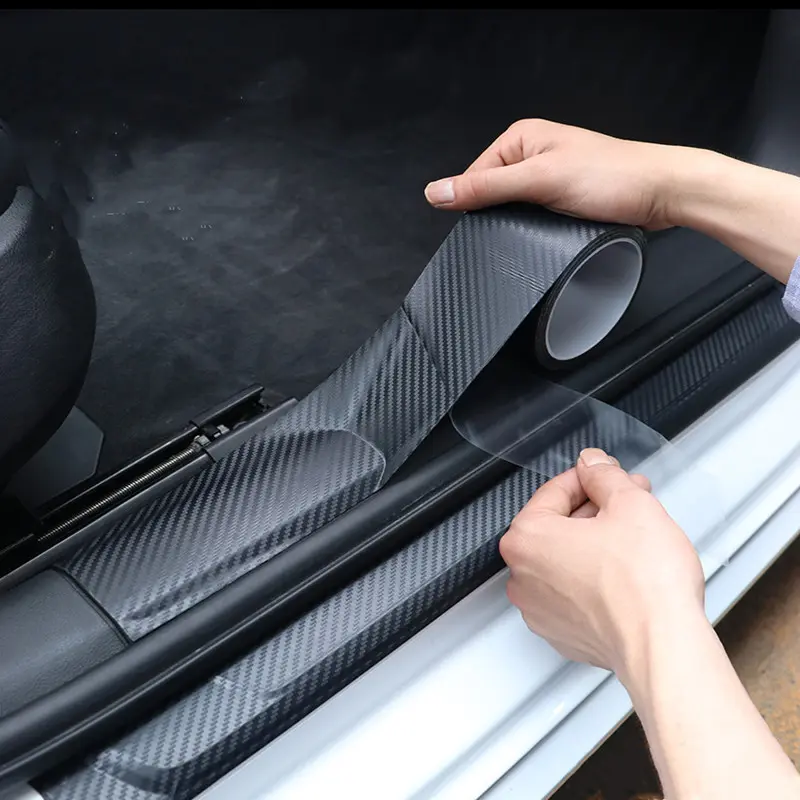
2. Determine where to post. Under normal circumstances, slowly stick it on one side, scrape it flat with a tool, and peel off the bottom paper.<br>
3. If the graphics are really small, you can also tear off all the transparent transfer film and stickers before attaching them. But you must be careful not to accidentally stick.<br>
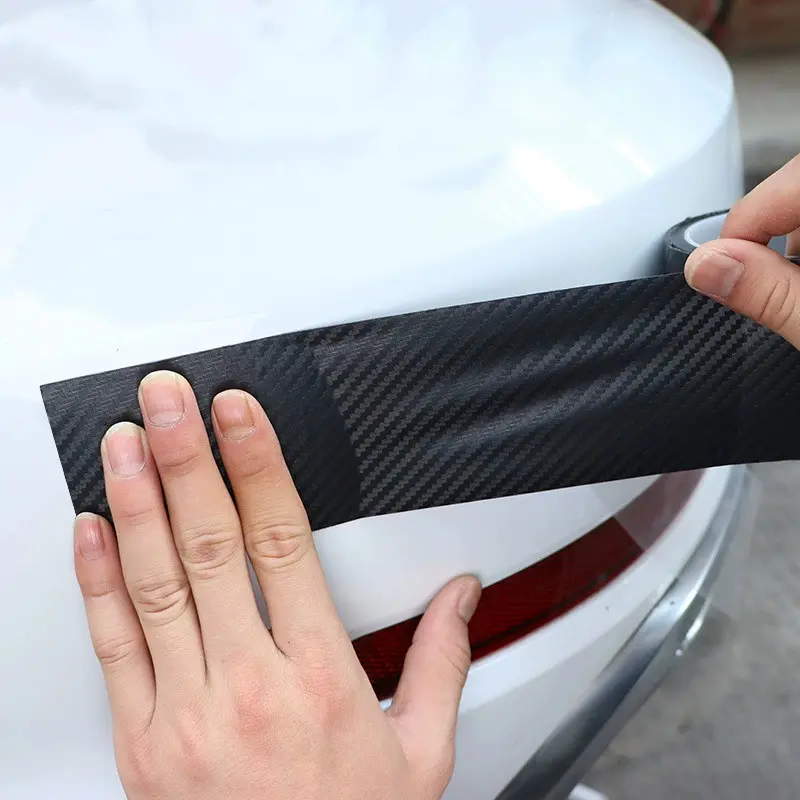
4. After it is pasted, scrape and press it again and again. Tear off the transparent transfer film.<br>
5. Use a utility knife to draw a knife on the door and the sewing machine, and wrap it inward.<br>
6. Don't let the car sticker and the body have any separation or protrusion.</span></span><br>
<span style="font-size:22px"><span style="font-family:"Comic Sans MS", cursive"><span style="background-color:rgb(241, 196, 15)">Installation method of large car sticker (wet sticker method): Tools: rag, sprinkler, scraper or credit card</span></span></span><br>
<span style="font-size:16px"><span style="font-family:"Comic Sans MS", cursive">1. Clean the body, and evenly spray water on the body part to be pasted-to reduce the viscosity of the sticker and facilitate the adjustment of the position.<br>
2. Determine where to post. Slowly stick it on one side, scrape it gently with a tool, and peel off the bottom paper.<br>
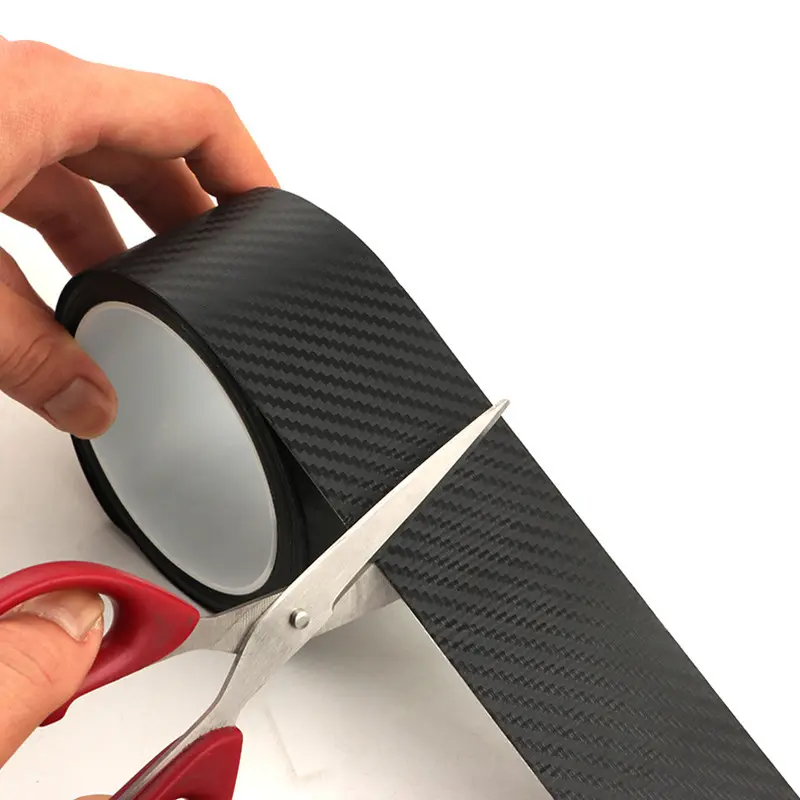
3. When encountering door handles or anti-scratch strips, cut open the materials and pack them in according to the situation.<br>
4. Make proper adjustments. After confirming the approximate position of the graphics, wipe off the water and air bubbles repeatedly. Tear off the transparent transfer film.<br>
5. Make a cut with a utility knife on the car door and sewing, and stick it inward.<br>
6. Don't let the car sticker and the body have any separation or protrusion.<br>
7. Try to let the moisture in the car sticker dry, and if possible, it can be heated and dried appropriately. Depending on the weather, wash the car again after a day or two.<br>
In order to reduce the installation difficulty for customers, the car stickers we provide have been covered with transfer film in advance. (Except for the whole block of continuous graphics)</span></span></div>
<p align="left" style="text-align:left;margin:0px;margin-bottom:0px;margin-top:0px;margin-left:0px;margin-right:0px"></p>
</div></div>
$4.355
$4.295
- Category : Automobiles, Parts & Accessories
- Brand : car_motorcycle_supplies_store Car Motorcycle Supplies Store
Colors
Sizes
-
+
<div class="detailmodule_html"><div class="detail-desc-decorate-richtext"><div><span style="font-size:24px"><span style="font-family:"Comic Sans MS", cursive">Car sticker method description</span></span><br>
<span style="font-size:22px"><span style="font-family:"Comic Sans MS", cursive"><span style="background-color:rgb(241, 196, 15)">Small car sticker installation method (dry sticker method):</span></span></span> <span style="font-size:16px"><span style="font-family:"Comic Sans MS", cursive"><br>
1. Clean the body and keep it dry.<br>
2. Determine where to post. Under normal circumstances, slowly stick it on one side, scrape it flat with a tool, and peel off the bottom paper.<br>
3. If the graphics are really small, you can also tear off all the transparent transfer film and stickers before attaching them. But you must be careful not to accidentally stick.<br>
4. After it is pasted, scrape and press it again and again. Tear off the transparent transfer film.<br>
5. Use a utility knife to draw a knife on the door and the sewing machine, and wrap it inward.<br>
6. Don't let the car sticker and the body have any separation or protrusion.</span></span><br>
<span style="font-size:22px"><span style="font-family:"Comic Sans MS", cursive"><span style="background-color:rgb(241, 196, 15)">Installation method of large car sticker (wet sticker method): Tools: rag, sprinkler, scraper or credit card</span></span></span><br>
<span style="font-size:16px"><span style="font-family:"Comic Sans MS", cursive">1. Clean the body, and evenly spray water on the body part to be pasted-to reduce the viscosity of the sticker and facilitate the adjustment of the position.<br>
2. Determine where to post. Slowly stick it on one side, scrape it gently with a tool, and peel off the bottom paper.<br>
3. When encountering door handles or anti-scratch strips, cut open the materials and pack them in according to the situation.<br>
4. Make proper adjustments. After confirming the approximate position of the graphics, wipe off the water and air bubbles repeatedly. Tear off the transparent transfer film.<br>
5. Make a cut with a utility knife on the car door and sewing, and stick it inward.<br>
6. Don't let the car sticker and the body have any separation or protrusion.<br>
7. Try to let the moisture in the car sticker dry, and if possible, it can be heated and dried appropriately. Depending on the weather, wash the car again after a day or two.<br>
In order to reduce the installation difficulty for customers, the car stickers we provide have been covered with transfer film in advance. (Except for the whole block of continuous graphics)</span></span></div>
<p align="left" style="text-align:left;margin:0px;margin-bottom:0px;margin-top:0px;margin-left:0px;margin-right:0px"></p>
</div></div>
Related Product
Browse The Collection of Top Products.