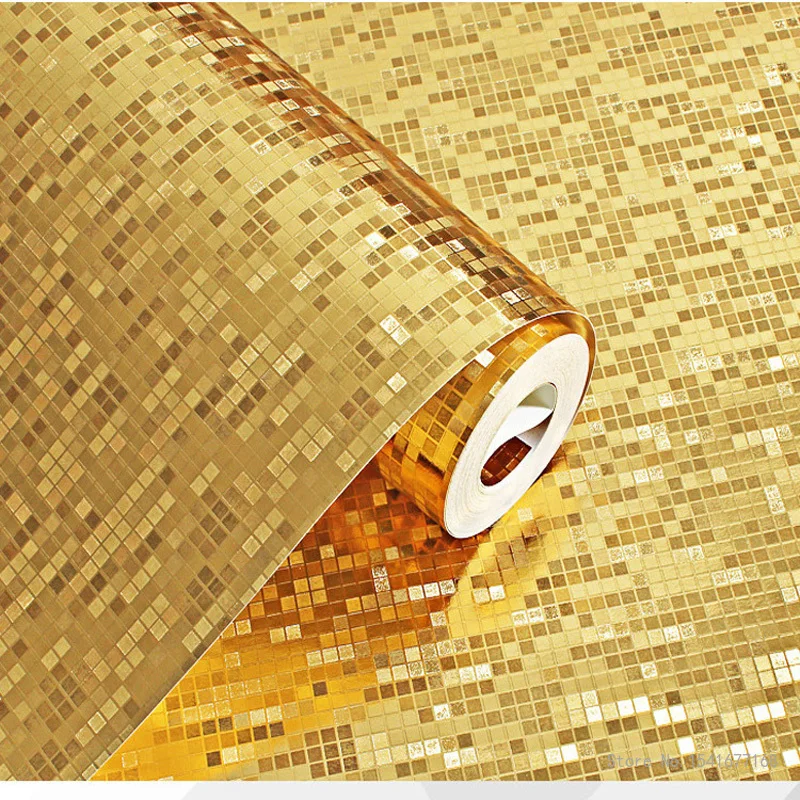
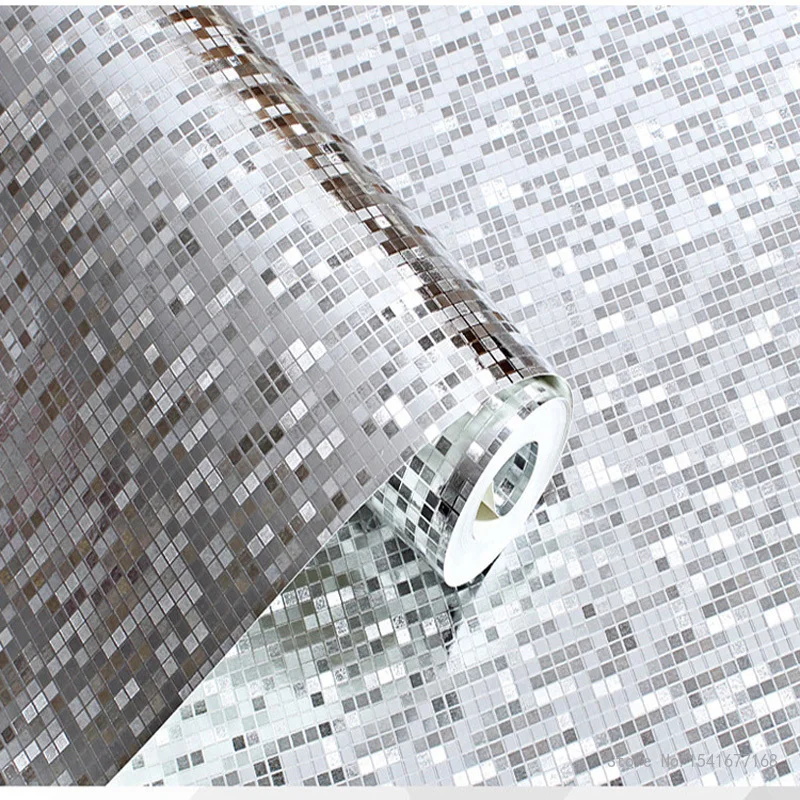
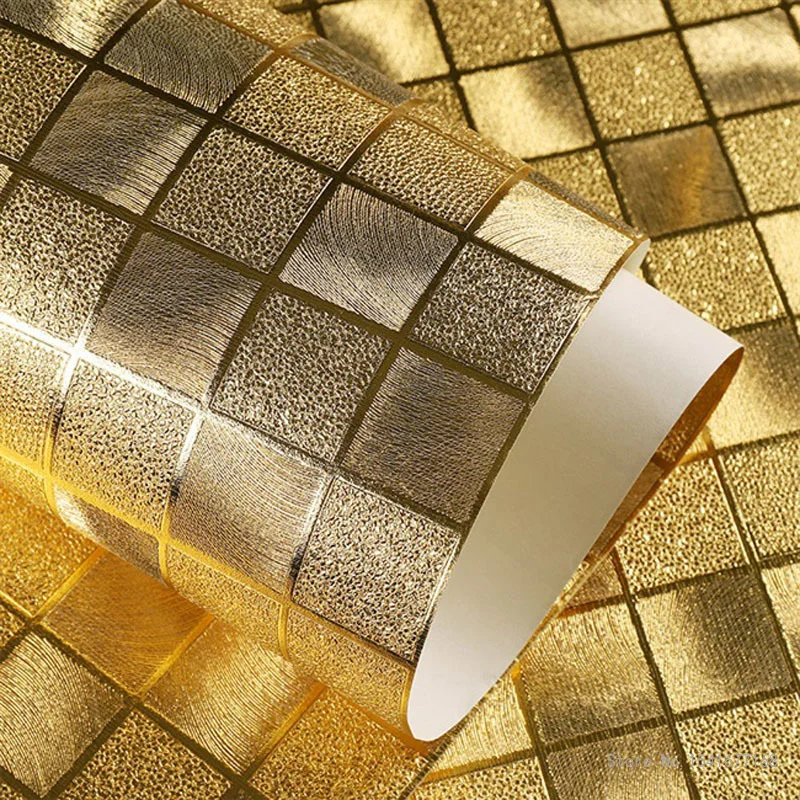
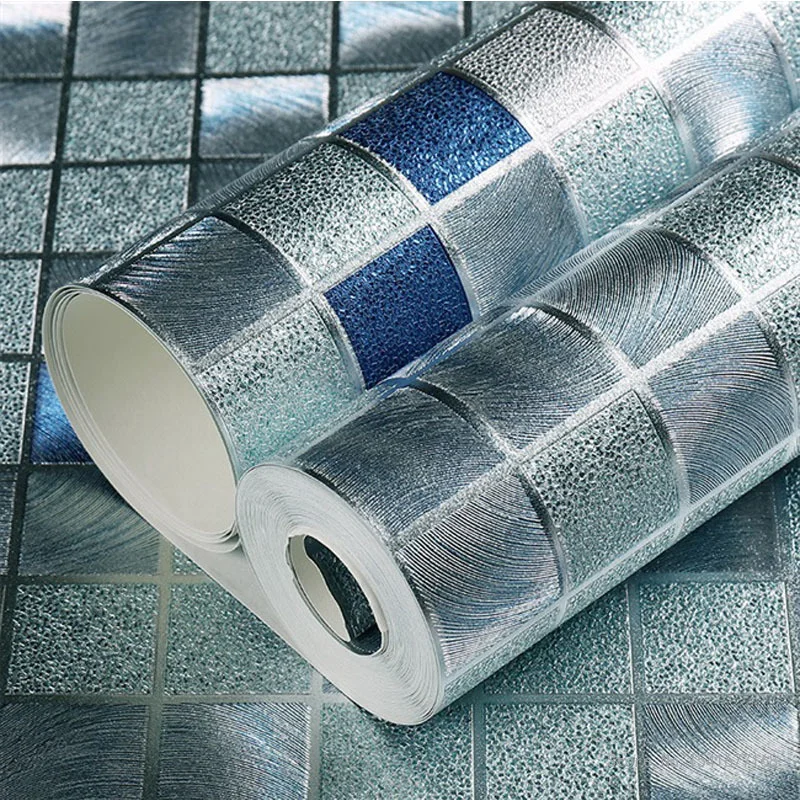
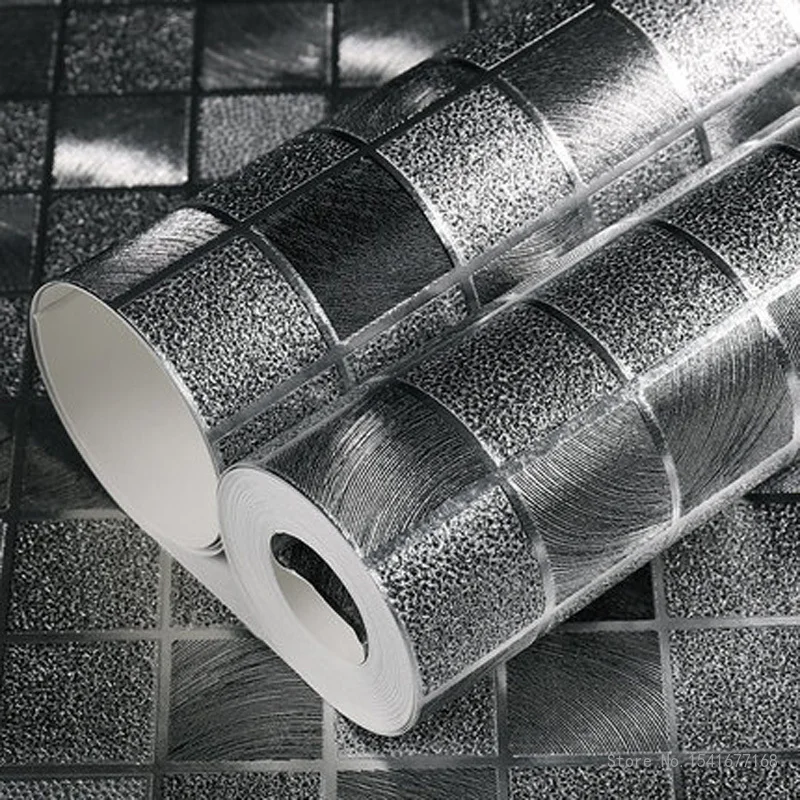
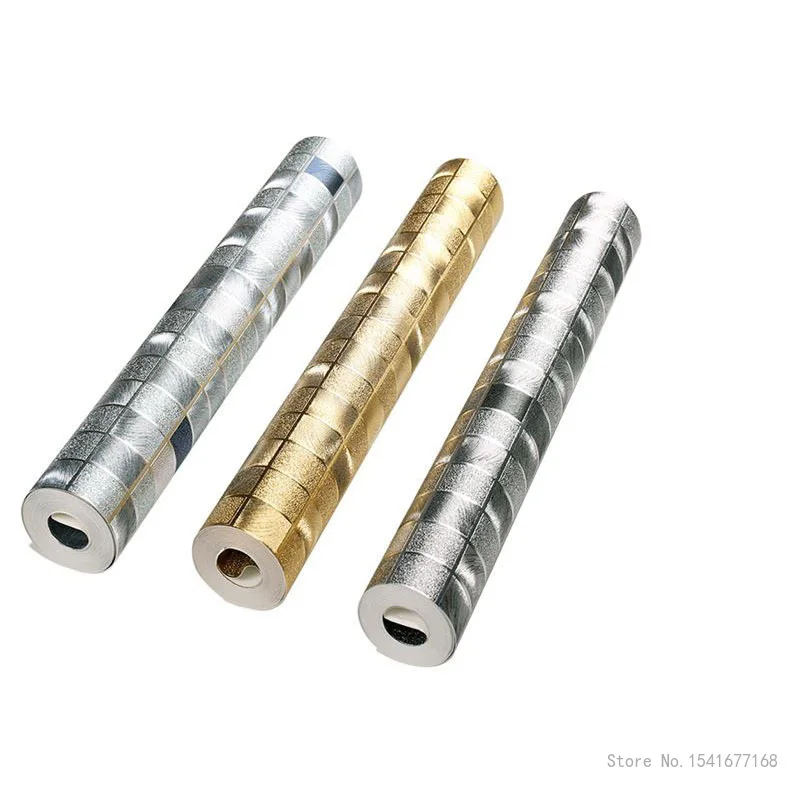
3D Waterproof Gold Foil Mosaic Wallpaper, 3D, Silver, KTV Bar, Counter, Column, Lattice
<div class="detailmodule_html"><div class="detail-desc-decorate-richtext"><p>3D three-dimensional waterproof gold foil mosaic wallpaper gold silver KTV bar counter column lattice gold foil wallpaper<br/>Item information:<br/>Status: 100% brand new<br/>Product: 3D three-dimensional waterproof gold foil silver foil mosaic wallpaper (no glue on the back)<br/>Material: Gold foil, silver foil paper<br/>Size: 53*950cm<br/>Scenario: Home, Business<br/>Package includes: 1<br/>The steps of wallpaper installation<br/>There is also a process for installing wallpaper, which generally includes five steps.<br/>1. The first is to clean the base layer and fill the gaps. The joints on the gypsum board surface need to be attached with seam tape and putty;<br/>2. Scrape putty and smooth it. When processing the base, it must be cleaned, flat and smooth;<br/>3. Brush with moisture-proof agent, and the moisture-proof paint should be brushed evenly and should not be too thick;<br/>4. Cut paper, apply glue, and use the plumb line to mark the width of the wallpaper on the wall;<br/>5. Paste, patch and overlap the wall, stick the wallpaper on the wall, align the edges, flatten the wall with a rubber roller, and press the adhesive bubbles; trim, use a wallpaper knife to cut the ceiling, wall skirts and windows, etc. Cut off excess wallpaper and wipe off the glue.<br/>notes:<br/>1. If you receive a damaged package, please do not raise objections or leave a bad review, please contact us first, we will deal with it, don't worry!<br/>2. Due to the difference of light and screen, the color of the product may be slightly different from the picture. Thank you for your understanding.<br/>3. Please allow 1-2cm difference due to manual measurement.</p><p style="text-align:left;margin:0px;margin-bottom:0px;margin-top:0px;margin-left:0px;margin-right:0px" align="left"></p></div></div>
$107.21
$73.55
- Category : Home & Garden
- Brand : china_wangyiruo_store CHINA WANGYIRUO Store
Colors
Sizes
-
+
<div class="detailmodule_html"><div class="detail-desc-decorate-richtext"><p>3D three-dimensional waterproof gold foil mosaic wallpaper gold silver KTV bar counter column lattice gold foil wallpaper<br/>Item information:<br/>Status: 100% brand new<br/>Product: 3D three-dimensional waterproof gold foil silver foil mosaic wallpaper (no glue on the back)<br/>Material: Gold foil, silver foil paper<br/>Size: 53*950cm<br/>Scenario: Home, Business<br/>Package includes: 1<br/>The steps of wallpaper installation<br/>There is also a process for installing wallpaper, which generally includes five steps.<br/>1. The first is to clean the base layer and fill the gaps. The joints on the gypsum board surface need to be attached with seam tape and putty;<br/>2. Scrape putty and smooth it. When processing the base, it must be cleaned, flat and smooth;<br/>3. Brush with moisture-proof agent, and the moisture-proof paint should be brushed evenly and should not be too thick;<br/>4. Cut paper, apply glue, and use the plumb line to mark the width of the wallpaper on the wall;<br/>5. Paste, patch and overlap the wall, stick the wallpaper on the wall, align the edges, flatten the wall with a rubber roller, and press the adhesive bubbles; trim, use a wallpaper knife to cut the ceiling, wall skirts and windows, etc. Cut off excess wallpaper and wipe off the glue.<br/>notes:<br/>1. If you receive a damaged package, please do not raise objections or leave a bad review, please contact us first, we will deal with it, don't worry!<br/>2. Due to the difference of light and screen, the color of the product may be slightly different from the picture. Thank you for your understanding.<br/>3. Please allow 1-2cm difference due to manual measurement.</p><p style="text-align:left;margin:0px;margin-bottom:0px;margin-top:0px;margin-left:0px;margin-right:0px" align="left"></p></div></div>
Related Product
Browse The Collection of Top Products.