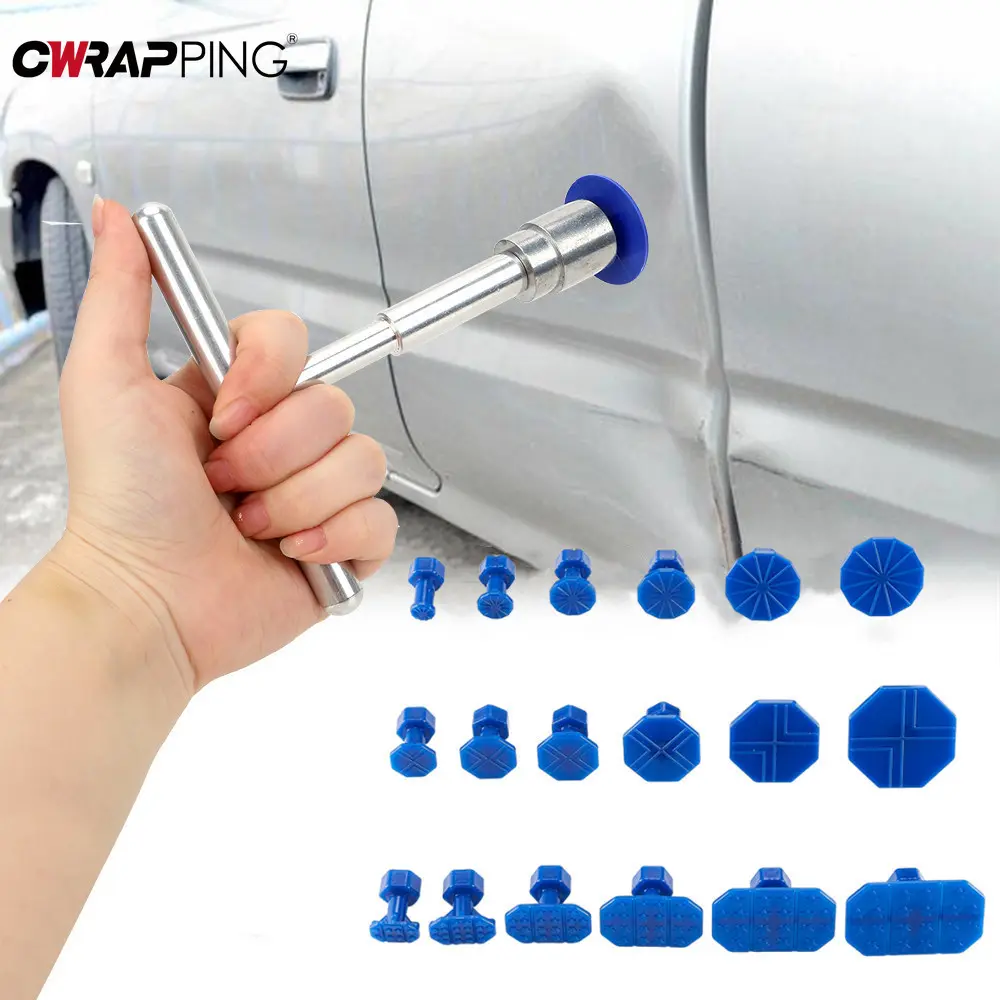
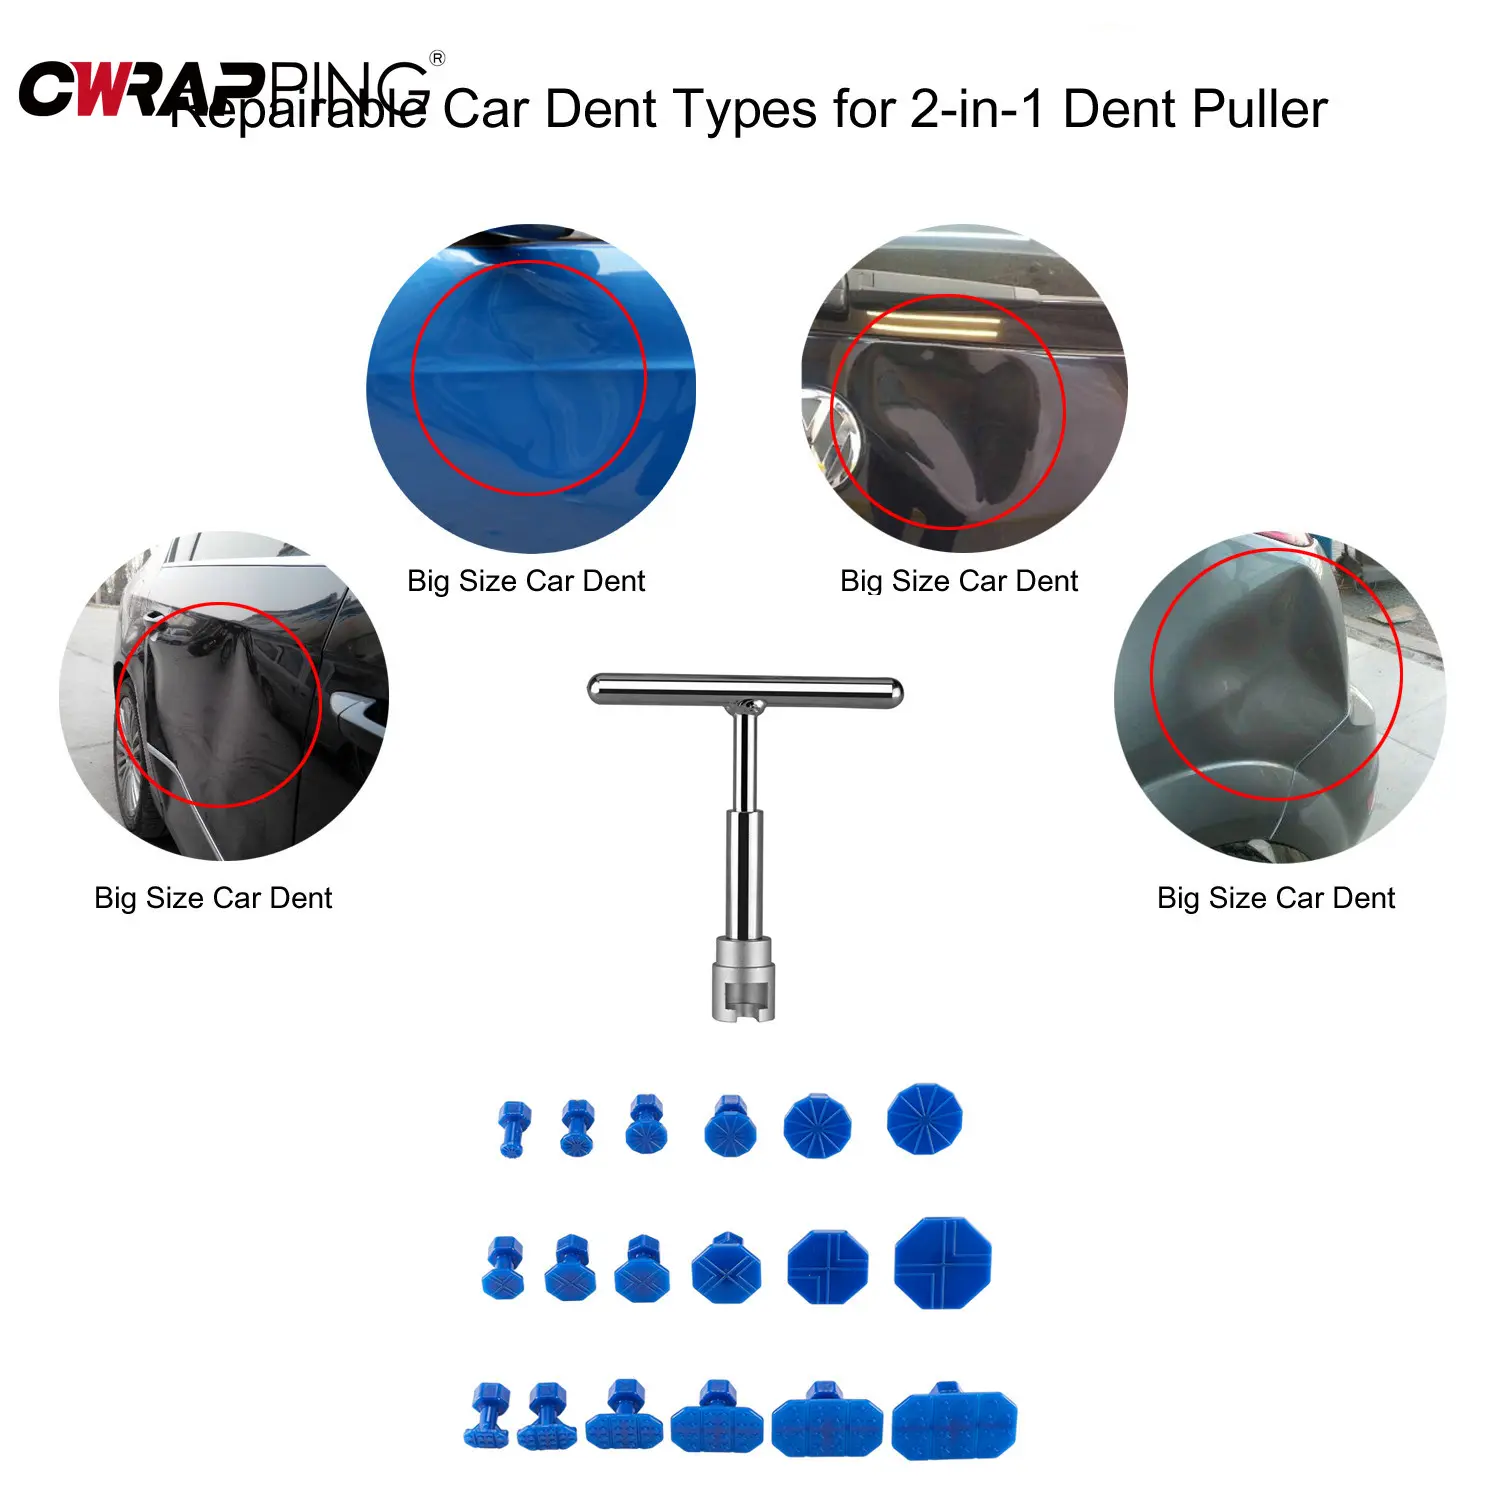
Car Dent Repair Puller, Car Repair Tools Kit With 18pcs Plastic Glue Tabs Metal T-Handle Dent Remover Universal For Car Accessor
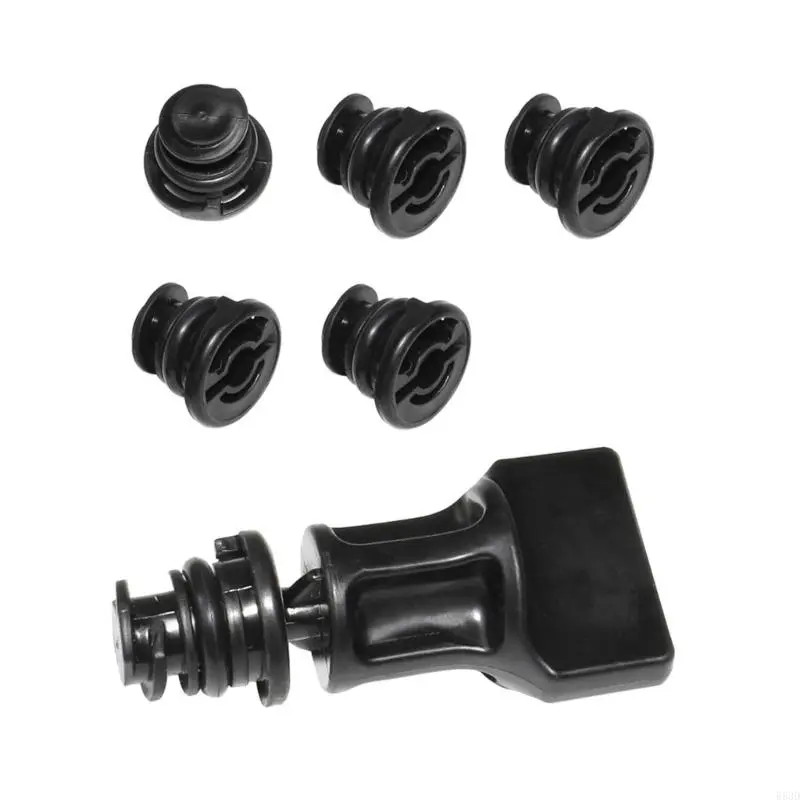
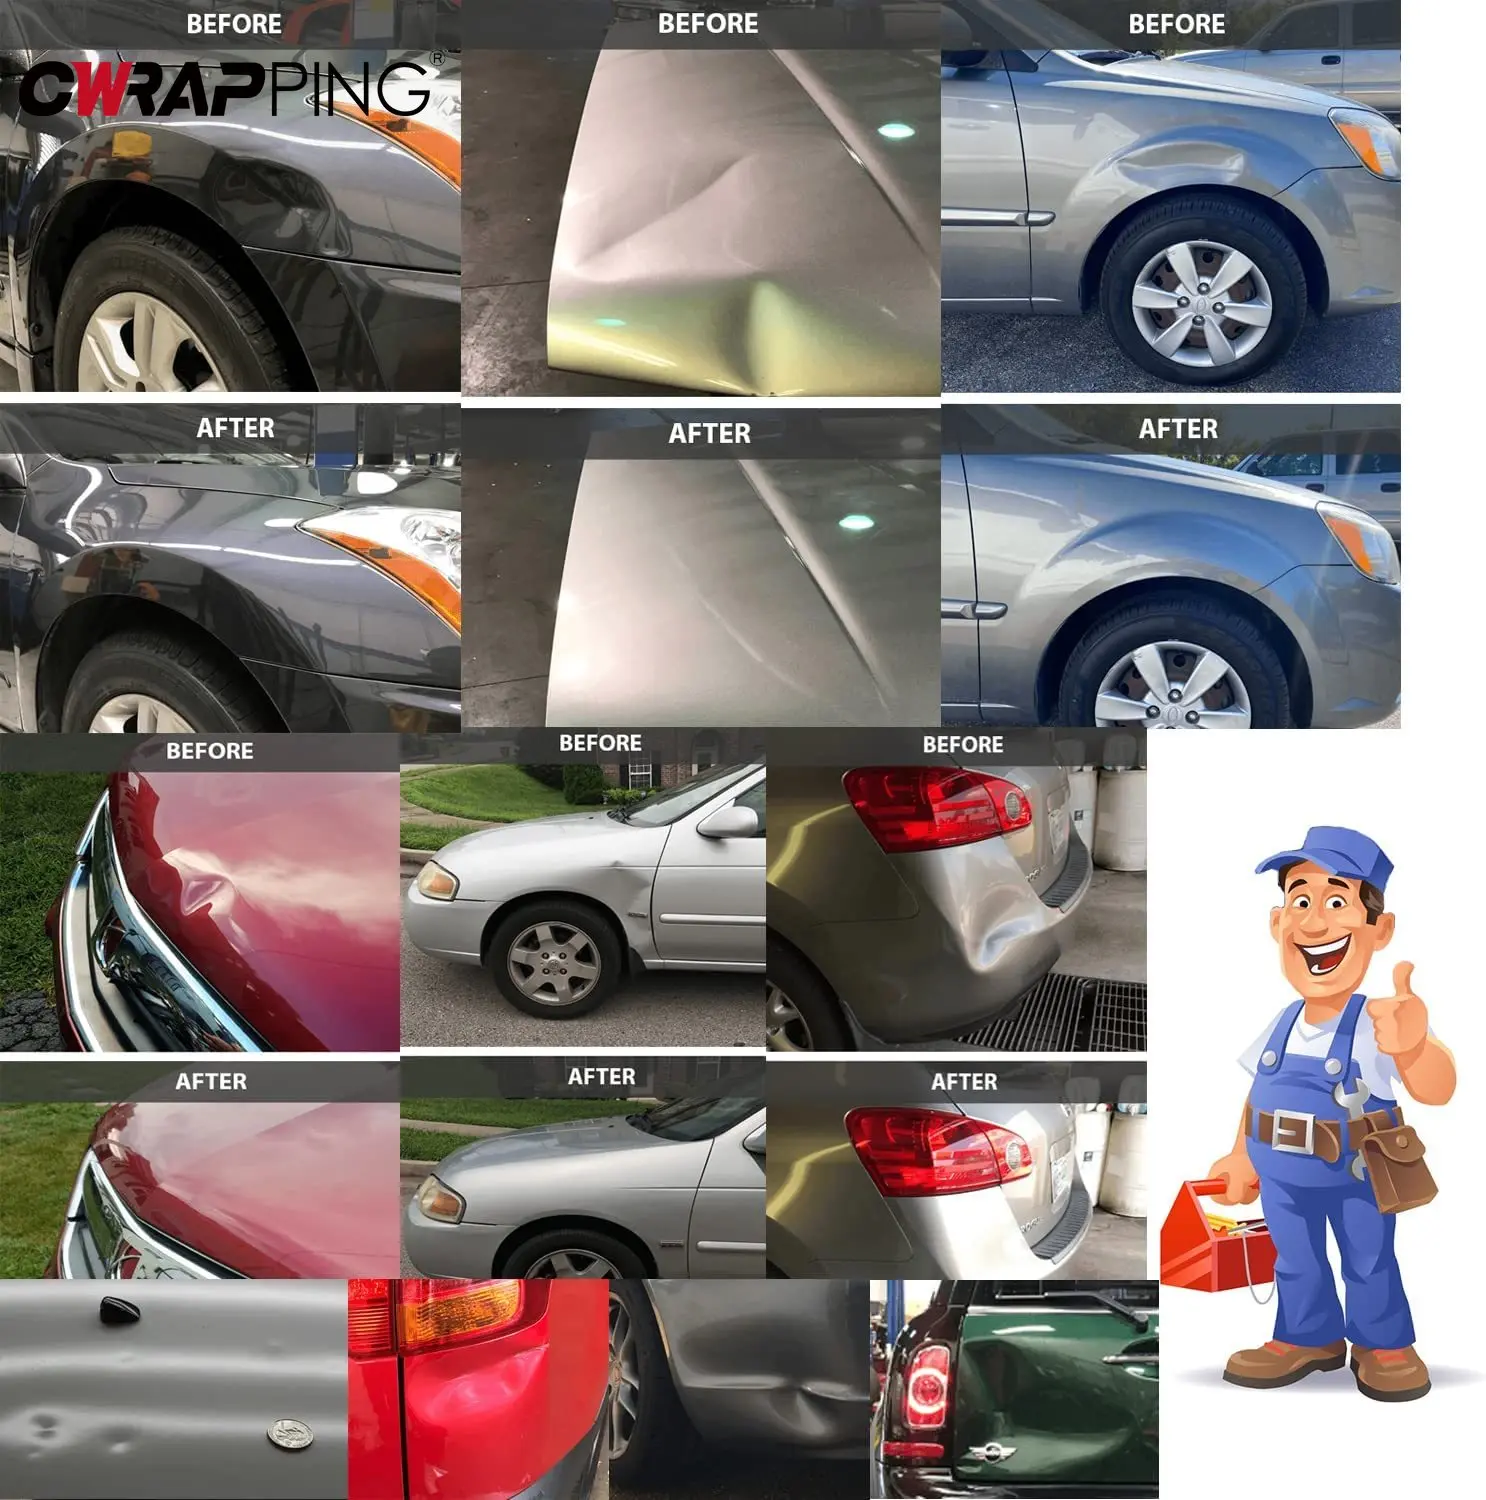
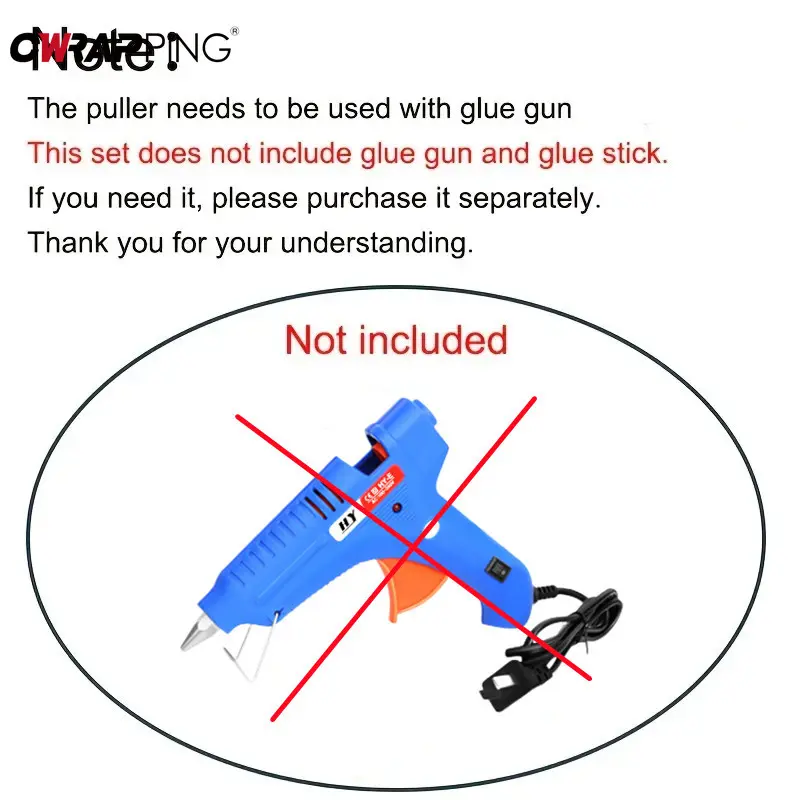
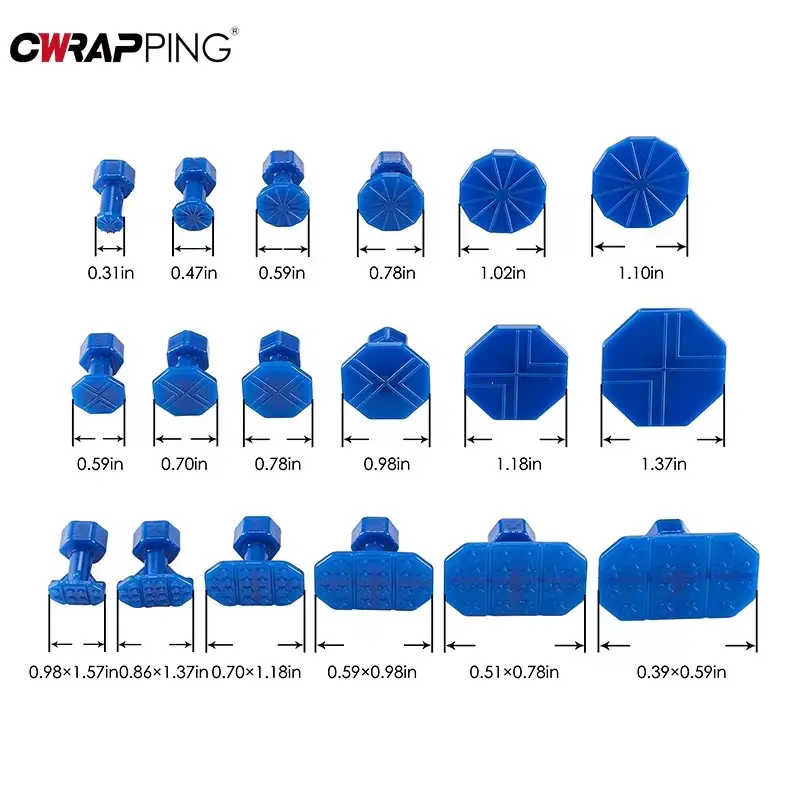
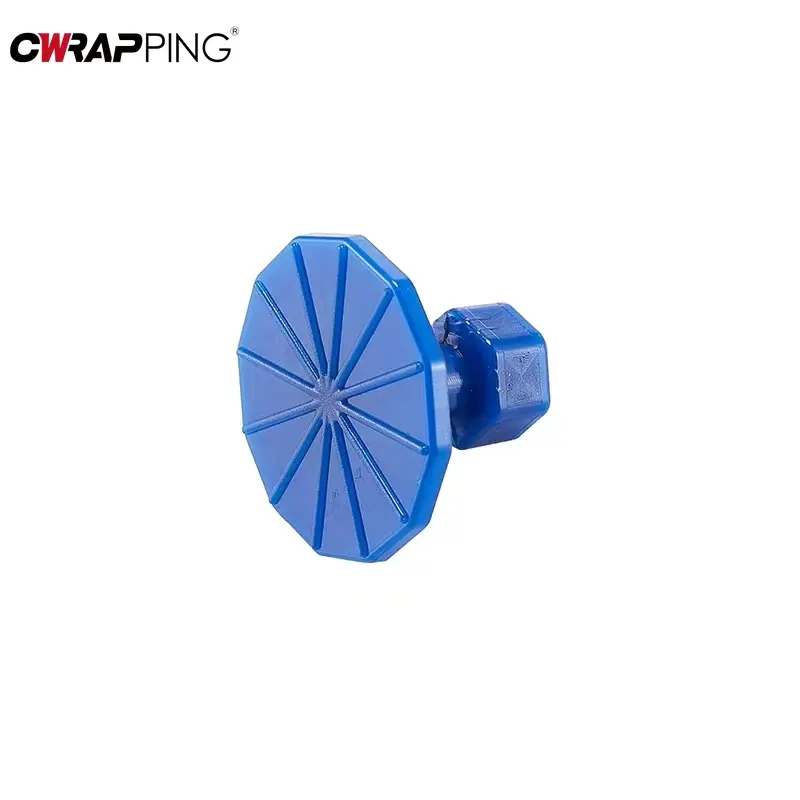
<div class="detailmodule_html"><div class="detail-desc-decorate-richtext"><p><span style="color:rgb(34, 34, 34);font-size:small;font-family:arial, helvetica, sans-serif"><strong><span style="color:rgb(0, 0, 0)">How to use this paintless dent repair kits : <br>1.Clean the dent with a clean wet cloth<br>2.Mount the glue stick into the glue gun, pull the trigger to let the glue stick enter into the glue gun, connect the power source and preheat for 5 minutes<br>3.Use a proper drawing gasket. Large dent requires a large drawing gasket. (Note: The larger the<br>drawing gasket is, the larger the drawing force is)<br>4. Pull the trigger and apply the drawing gasket with extruded glue (The 4 holes of gasket should be applied with hot melt glue)<br>5. Fast place the drawing gasket with hot melt glue at the center of dent, press lightly until the glue cures and adheres (Let the glue cool for about 8 minutes. The cooling time should be less than 10 minutes and should be shorter slightly in winter)<br>6. Align the T-shaped repairer and press the drawing gasket with hot melt glue, pull the sliding rod backwards to pull up the dent<br>7. Check with a Line board. If dent still exists, knock it slightly with a flattening hammer or pen<br>8. Clean the repaired place with a clean wet cloth</span></strong></span></p>
<p></p>
</div></div>
$24.53
$13.265
- Category : Automobiles, Parts & Accessories
- Brand : cwrapping_choice_store Cwrapping Choice Store
Colors
Sizes
-
+
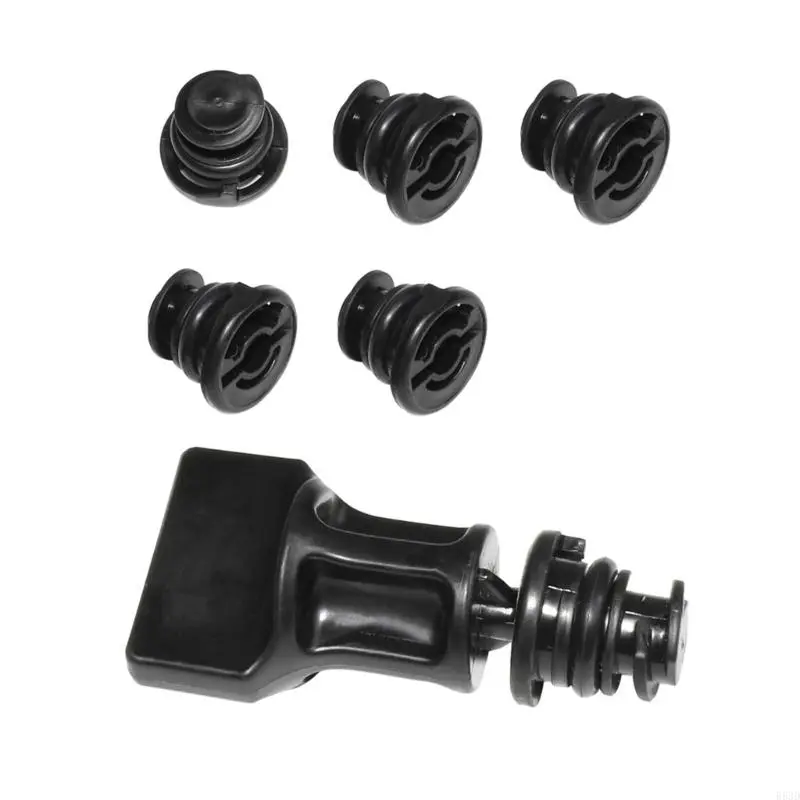
<div class="detailmodule_html"><div class="detail-desc-decorate-richtext"><p><span style="color:rgb(34, 34, 34);font-size:small;font-family:arial, helvetica, sans-serif"><strong><span style="color:rgb(0, 0, 0)">How to use this paintless dent repair kits : <br>1.Clean the dent with a clean wet cloth<br>2.Mount the glue stick into the glue gun, pull the trigger to let the glue stick enter into the glue gun, connect the power source and preheat for 5 minutes<br>3.Use a proper drawing gasket. Large dent requires a large drawing gasket. (Note: The larger the<br>drawing gasket is, the larger the drawing force is)<br>4. Pull the trigger and apply the drawing gasket with extruded glue (The 4 holes of gasket should be applied with hot melt glue)<br>5. Fast place the drawing gasket with hot melt glue at the center of dent, press lightly until the glue cures and adheres (Let the glue cool for about 8 minutes. The cooling time should be less than 10 minutes and should be shorter slightly in winter)<br>6. Align the T-shaped repairer and press the drawing gasket with hot melt glue, pull the sliding rod backwards to pull up the dent<br>7. Check with a Line board. If dent still exists, knock it slightly with a flattening hammer or pen<br>8. Clean the repaired place with a clean wet cloth</span></strong></span></p>
<p></p>
</div></div>
Related Product
Browse The Collection of Top Products.