Digital Temperature Control Switch XH-W3001 Versatile Thermostat for Heating and Cooling 12V to 220V Multi Voltage Options
<div class="detailmodule_html"><div class="detail-desc-decorate-richtext"><p>
</p>
<table class="ke-zeroborder" width="100%" cellspacing="0" cellpadding="0" border="0" style="border-collapse:collapse;">
<tbody>
<tr>
<td style="border:1px dotted #AAAAAA;">
<br />
<div style="padding:15px;border:1px solid #AEAEAE;">
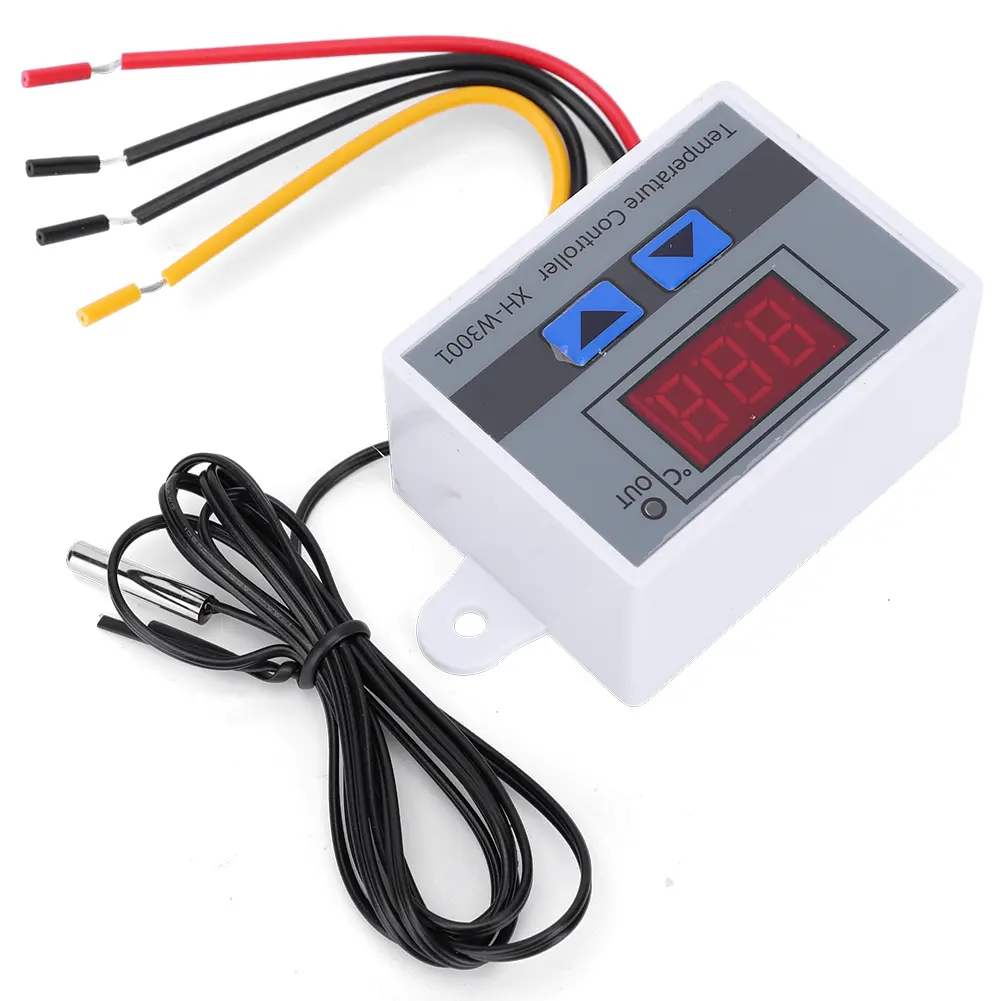
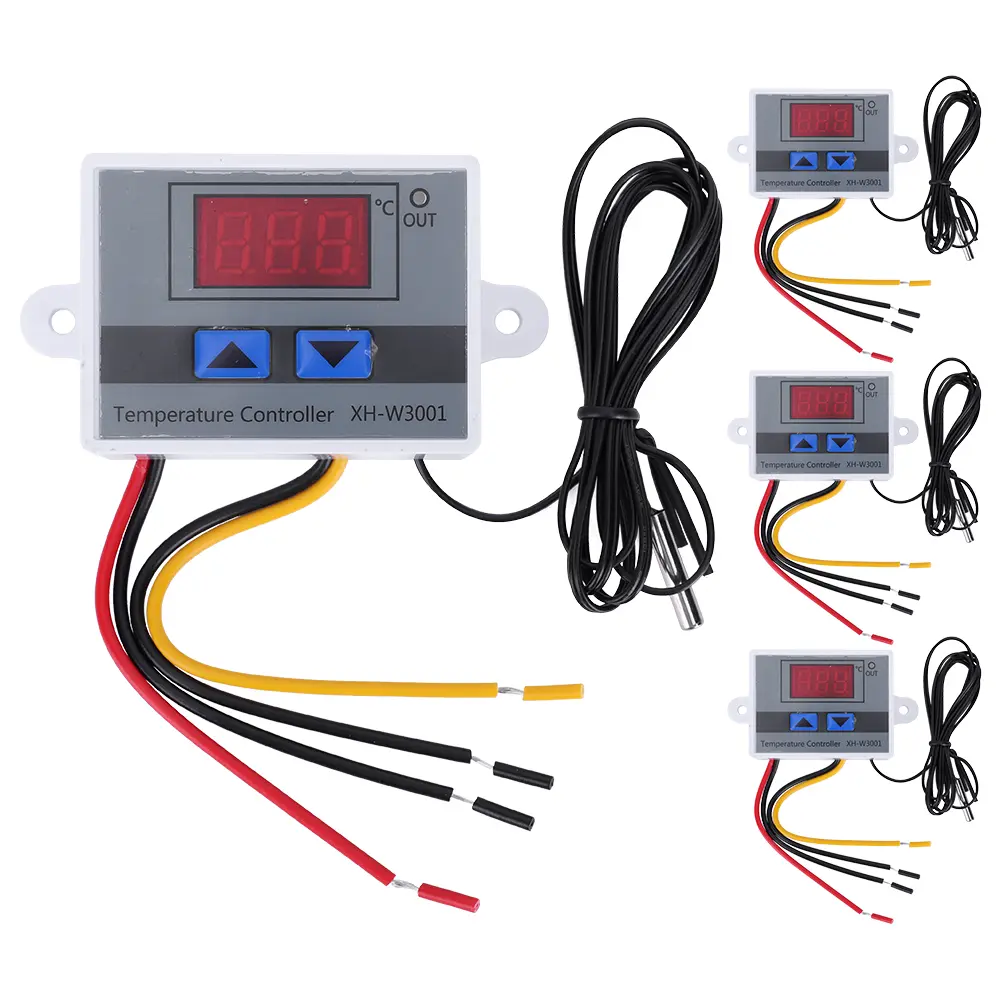
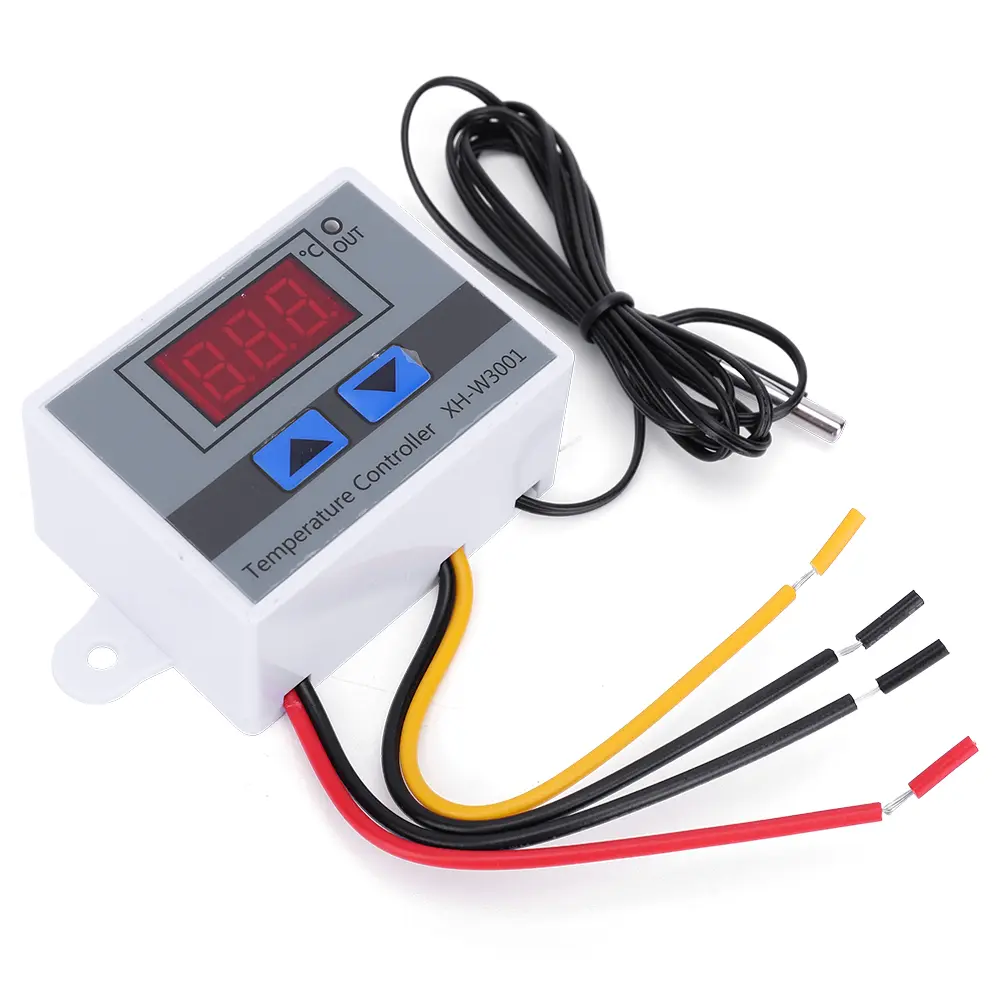
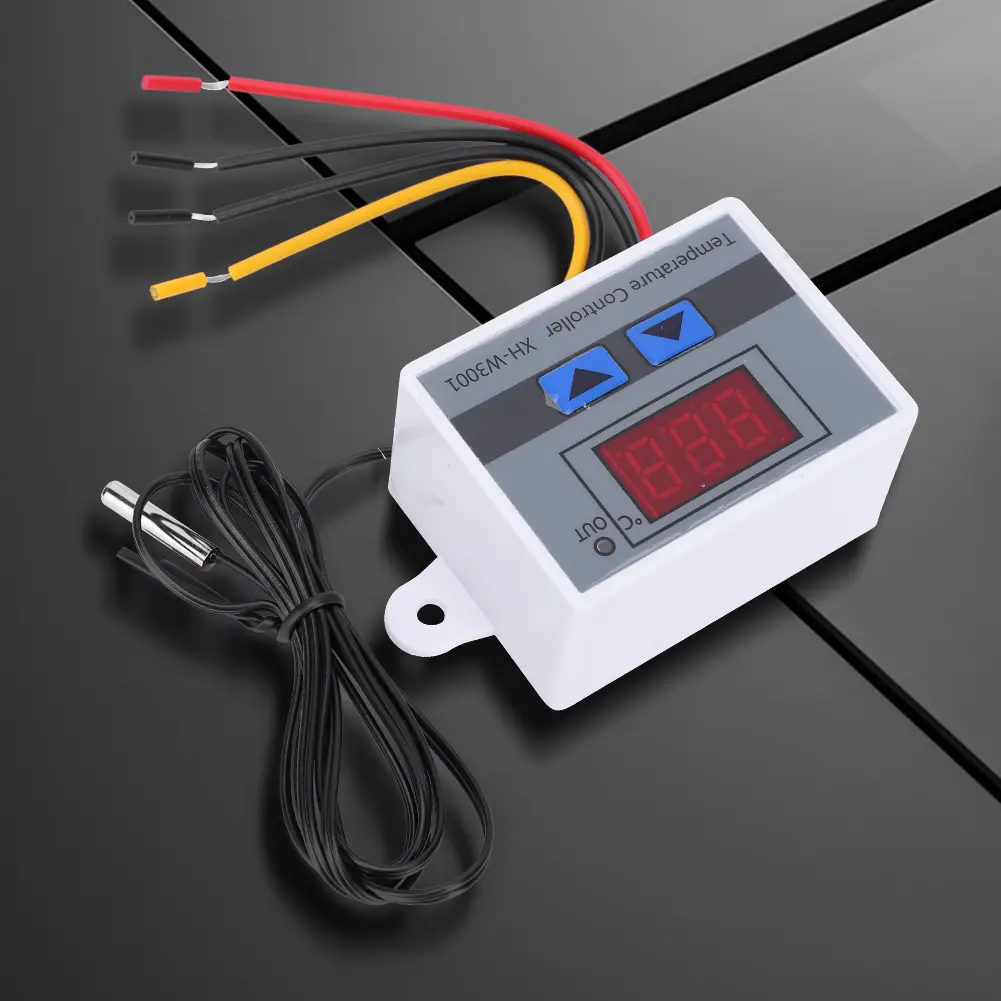
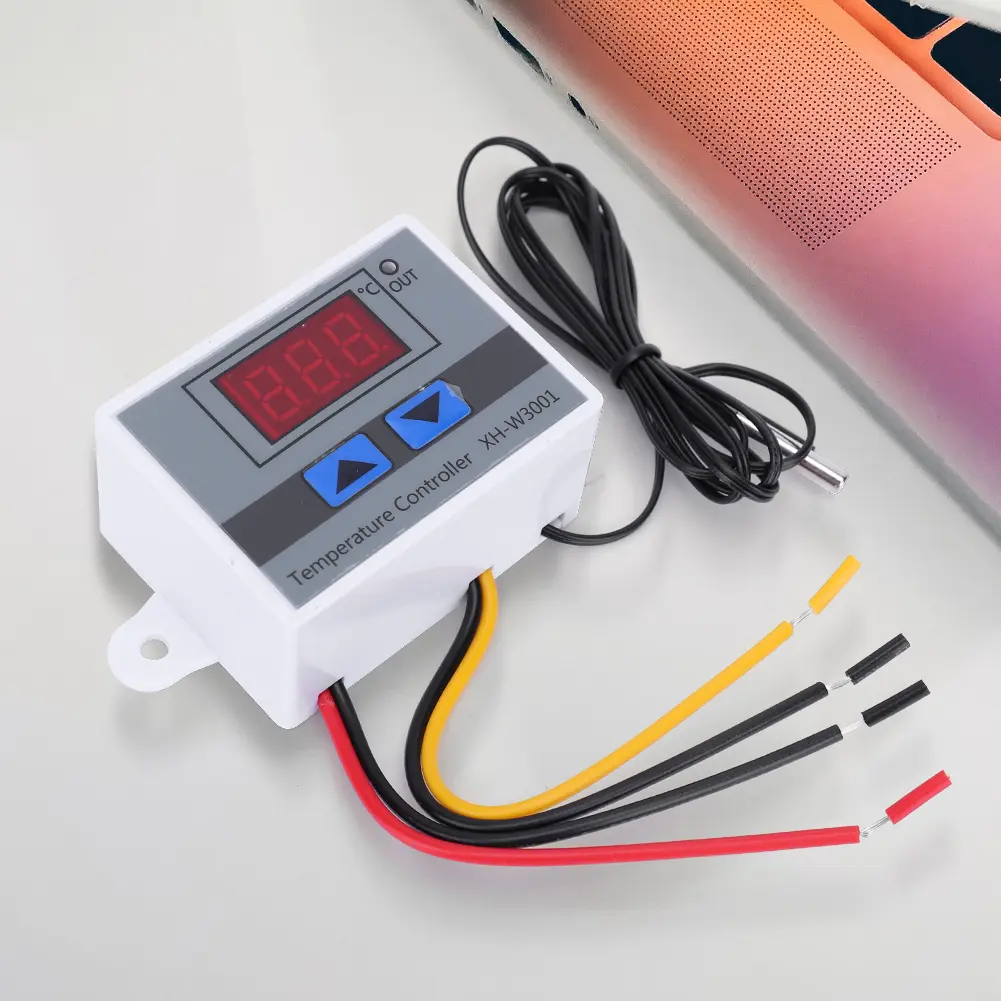
<table border="0" cellpadding="0" cellspacing="0" style="border: 1px solid #c1c7d0;border-collapse:collapse;"><tr><td style="font-size: 14px;color: orange;font-weight: bold;border: 1px solid #c1c7d0;">(12v 120w/24v 240w/110v-220v 1500w/220v)--Thermostat Controller</td></tr><tr><td style="border: 1px solid #c1c7d0;">Digital Temperature Controller XH-W3001 Thermostat Control Switch 12V/24V/110-220V/220V Microcomputer Temperature Controller 10A<br />
<strong>Feature:</strong><br />
<strong>1. Versatile Digital Temperature Control:</strong> The XH-W3001 is a digital temperature control switch with multiple parameter settings and memory functions. It offers precise temperature control for various applications.<br />
<strong>2. Multiple Power Options:</strong> This temperature controller is available in DC12V, DC24V, and AC220V power options, providing flexibility to meet different voltage requirements.<br />
<strong>3. User-Friendly Interface:</strong> Equipped with three buttons (Set, Increase, Decrease), this temperature controller allows users to easily set appropriate parameters for heating or cooling. The 3-digit LED display provides clear temperature readings and allows users to view and adjust settings effortlessly.<br />
<strong>4. Convenient Installation:</strong> The thermostat control switch features dual ear mounting holes on the housing, making it easy and convenient to install and secure in place. It ensures stability during operation.<br />
<strong>5. Reliable Performance and Easy Operation:</strong> With its wide range of temperature control capabilities and user-friendly design, this digital temperature control switch guarantees reliable performance. It offers precise temperature regulation while remaining simple to operate.<br /><br/><br/><span style="color:black;font-family:inherit;font-size:12px;"><strong>Specification:</strong></span><br />
<span style="color:black;font-family:inherit;font-size:12px;">Power supply voltage: 12V/24V/110-220V/220V (resistance capacitance voltage)<br />
Temperature control range: -50-110 degrees<br />
Temperature measurement range: -50-110 degrees<br />
Temperature control accuracy: 0.1 degrees<br />
Load power: 120/240/1500W<br />
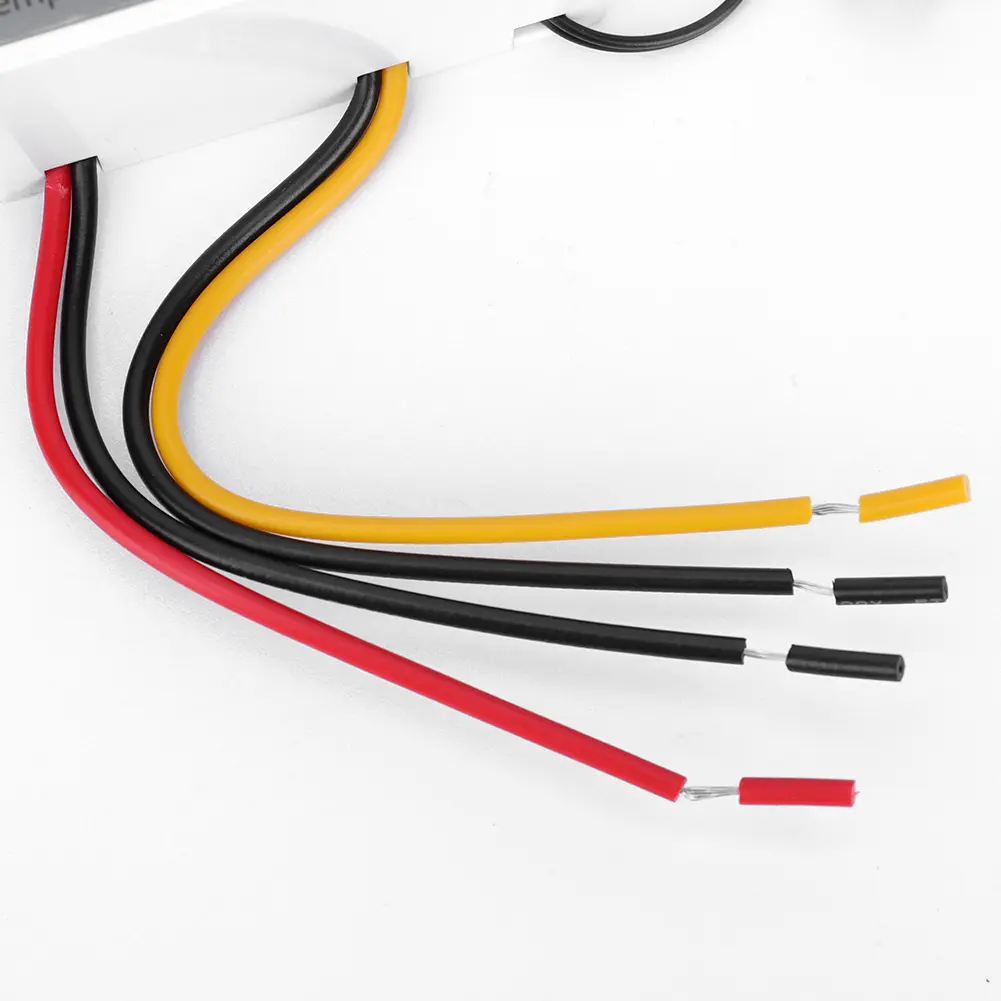
Measurement input: NTG10K waterproof probe L=1 meter<br />
Output type: direct output<br />
Output capacity: up to 10A<br />
Installation hole spacing: 73mm (aperture 4mm)<br />
External dimensions: 60 * 45 * 31mm/2.36 * 1.77 * 1.22inch<br />
Packaging weight: 47g<br />
<br />
Operating instructions<br />
Set startup temperature:<br />
Press the up button once to display the startup temperature. Press and hold the up button for about 3 seconds, and the startup temperature number will flash. The desired temperature value can be set through the up and down buttons<br />
Set stop temperature: Press the down button once to display the stop temperature. Press and hold the button for about 3 seconds to flash the stop temperature number. The desired temperature value can be set through the up and down buttons<br />
How to Factory reset: When the power is on, press and hold the up and down keys at the same time, the Nixie tube displays 888, and then automatically jumps to the detection temperature, that is, Factory reset.<br />
<br />
Heating mode setting method<br />
Setting essentials: Start temperature<stop temperature (the program automatically determines that the working mode is heating mode)<br />
Setting method:<br />
1. Long press the up/down button, the startup temperature flashes, and set the startup temperature value through the up/down buttons<br />
2. Long press the down button to stop the temperature flashing, and set the stop temperature value through the up and down buttons<br />
Usage case: Control the water heater, stop heating at 65 ℃, and start heating again when the temperature drops back to 50 ° C. How to set it?<br />
Step 1: Confirm that the working mode is heating mode, with starting temperature<stopping temperature<br />
Step 2: Long press the up/down button to flash the startup temperature. Use the up/down buttons to set the startup temperature to 50 ° C<br />
Step 3: Long press the down button to stop the temperature flashing. Use the up and down buttons to set the stop temperature to 65 ° C, and the setting is complete!<br />
<br />
Cooling mode setting method<br />
Setting essentials: Start temperature>Stop temperature (the program automatically determines that the working mode is refrigeration mode)<br />
Setting method<br />
1. Long press the up/down button, the startup temperature flashes, and set the startup temperature value through the up/down buttons<br />
2. Long press and hold the down button to stop the temperature flashing, and set the stop temperature value through the up and down buttons<br />
Use Case:<br />
Control the breeding farm, stop ventilation at 26 ° C, and restart refrigeration when the temperature rises to 28 ° C. How to set it?<br />
Step 1: Determine the working mode as refrigeration mode, start temperature>stop temperature<br />
Step 2: Long press the up/down button to flash the startup temperature. Use the up/down buttons to set the startup temperature to 28 ° C<br />
Step 3: Long press the down button to stop the temperature flashing. Use the up and down buttons to set the stop temperature to 26 ° C, and the setting is complete<br />
<br />
Reminder:<br />
When setting the heating mode, if the set temperature value is accidentally reversed, the output indicator light will not light up and the load will not work. If the above situation occurs after setting, you can check if the set temperature value is reversed</span><span style="color:black;font-family:inherit;font-size:12px;"></span><br />
<br />
<p style="color:black;font-family:inherit;font-size:12px;">
<strong>Note:</strong><br />
Due to the different monitor and light effect, the actual color of the item might be slightly different from the color showed on the pictures. Thank you!<br />
Please allow 1-2cm measuring deviation due to manual measurement.
</p></td></tr></table> <br />
</div>
<br />
<div>
<br />
</div>
<div style="padding:15px;border:1px solid #AEAEAE;">
<table border="0" cellpadding="0" cellspacing="0" style="border: 1px solid #c1c7d0;border-collapse:collapse;"><tr><td style="border-right: 1px solid #c1c7d0;">Product</td><td>Included</td></tr><td style="border: 1px solid #c1c7d0;">12v 120w:</td><td style="border: 1px solid #c1c7d0;">1 x Digital Temperature Controller<br /></td></tr><td style="border: 1px solid #c1c7d0;">24v 240w:</td><td style="border: 1px solid #c1c7d0;">1 x Digital Temperature Controller<br /></td></tr><td style="border: 1px solid #c1c7d0;">110v-220v 1500w:</td><td style="border: 1px solid #c1c7d0;">1 x Digital Temperature Controller<br /></td></tr><td style="border: 1px solid #c1c7d0;">220v:</td><td style="border: 1px solid #c1c7d0;">1 x Digital Temperature Controller<br /></td></tr></table> <br />
</div>
<p>
</p>
<p>
<br />
</p>
<div style="text-align:center;">
<br />
</div>
<div>
<br />
</div>
<div style="padding:15px;border:1px solid #AEAEAE;">
[relateproductdetail/]
</div>
</td>
</tr>
</tbody>
</table></div></div>
$17.63
$10.13
- Category : Consumer Electronics
- Brand : digitalgame_killer_store Digital&Game Killer Store
Colors
Sizes
-
+
<div class="detailmodule_html"><div class="detail-desc-decorate-richtext"><p>
</p>
<table class="ke-zeroborder" width="100%" cellspacing="0" cellpadding="0" border="0" style="border-collapse:collapse;">
<tbody>
<tr>
<td style="border:1px dotted #AAAAAA;">
<br />
<div style="padding:15px;border:1px solid #AEAEAE;">
<table border="0" cellpadding="0" cellspacing="0" style="border: 1px solid #c1c7d0;border-collapse:collapse;"><tr><td style="font-size: 14px;color: orange;font-weight: bold;border: 1px solid #c1c7d0;">(12v 120w/24v 240w/110v-220v 1500w/220v)--Thermostat Controller</td></tr><tr><td style="border: 1px solid #c1c7d0;">Digital Temperature Controller XH-W3001 Thermostat Control Switch 12V/24V/110-220V/220V Microcomputer Temperature Controller 10A<br />
<strong>Feature:</strong><br />
<strong>1. Versatile Digital Temperature Control:</strong> The XH-W3001 is a digital temperature control switch with multiple parameter settings and memory functions. It offers precise temperature control for various applications.<br />
<strong>2. Multiple Power Options:</strong> This temperature controller is available in DC12V, DC24V, and AC220V power options, providing flexibility to meet different voltage requirements.<br />
<strong>3. User-Friendly Interface:</strong> Equipped with three buttons (Set, Increase, Decrease), this temperature controller allows users to easily set appropriate parameters for heating or cooling. The 3-digit LED display provides clear temperature readings and allows users to view and adjust settings effortlessly.<br />
<strong>4. Convenient Installation:</strong> The thermostat control switch features dual ear mounting holes on the housing, making it easy and convenient to install and secure in place. It ensures stability during operation.<br />
<strong>5. Reliable Performance and Easy Operation:</strong> With its wide range of temperature control capabilities and user-friendly design, this digital temperature control switch guarantees reliable performance. It offers precise temperature regulation while remaining simple to operate.<br /><br/><br/><span style="color:black;font-family:inherit;font-size:12px;"><strong>Specification:</strong></span><br />
<span style="color:black;font-family:inherit;font-size:12px;">Power supply voltage: 12V/24V/110-220V/220V (resistance capacitance voltage)<br />
Temperature control range: -50-110 degrees<br />
Temperature measurement range: -50-110 degrees<br />
Temperature control accuracy: 0.1 degrees<br />
Load power: 120/240/1500W<br />
Measurement input: NTG10K waterproof probe L=1 meter<br />
Output type: direct output<br />
Output capacity: up to 10A<br />
Installation hole spacing: 73mm (aperture 4mm)<br />
External dimensions: 60 * 45 * 31mm/2.36 * 1.77 * 1.22inch<br />
Packaging weight: 47g<br />
<br />
Operating instructions<br />
Set startup temperature:<br />
Press the up button once to display the startup temperature. Press and hold the up button for about 3 seconds, and the startup temperature number will flash. The desired temperature value can be set through the up and down buttons<br />
Set stop temperature: Press the down button once to display the stop temperature. Press and hold the button for about 3 seconds to flash the stop temperature number. The desired temperature value can be set through the up and down buttons<br />
How to Factory reset: When the power is on, press and hold the up and down keys at the same time, the Nixie tube displays 888, and then automatically jumps to the detection temperature, that is, Factory reset.<br />
<br />
Heating mode setting method<br />
Setting essentials: Start temperature<stop temperature (the program automatically determines that the working mode is heating mode)<br />
Setting method:<br />
1. Long press the up/down button, the startup temperature flashes, and set the startup temperature value through the up/down buttons<br />
2. Long press the down button to stop the temperature flashing, and set the stop temperature value through the up and down buttons<br />
Usage case: Control the water heater, stop heating at 65 ℃, and start heating again when the temperature drops back to 50 ° C. How to set it?<br />
Step 1: Confirm that the working mode is heating mode, with starting temperature<stopping temperature<br />
Step 2: Long press the up/down button to flash the startup temperature. Use the up/down buttons to set the startup temperature to 50 ° C<br />
Step 3: Long press the down button to stop the temperature flashing. Use the up and down buttons to set the stop temperature to 65 ° C, and the setting is complete!<br />
<br />
Cooling mode setting method<br />
Setting essentials: Start temperature>Stop temperature (the program automatically determines that the working mode is refrigeration mode)<br />
Setting method<br />
1. Long press the up/down button, the startup temperature flashes, and set the startup temperature value through the up/down buttons<br />
2. Long press and hold the down button to stop the temperature flashing, and set the stop temperature value through the up and down buttons<br />
Use Case:<br />
Control the breeding farm, stop ventilation at 26 ° C, and restart refrigeration when the temperature rises to 28 ° C. How to set it?<br />
Step 1: Determine the working mode as refrigeration mode, start temperature>stop temperature<br />
Step 2: Long press the up/down button to flash the startup temperature. Use the up/down buttons to set the startup temperature to 28 ° C<br />
Step 3: Long press the down button to stop the temperature flashing. Use the up and down buttons to set the stop temperature to 26 ° C, and the setting is complete<br />
<br />
Reminder:<br />
When setting the heating mode, if the set temperature value is accidentally reversed, the output indicator light will not light up and the load will not work. If the above situation occurs after setting, you can check if the set temperature value is reversed</span><span style="color:black;font-family:inherit;font-size:12px;"></span><br />
<br />
<p style="color:black;font-family:inherit;font-size:12px;">
<strong>Note:</strong><br />
Due to the different monitor and light effect, the actual color of the item might be slightly different from the color showed on the pictures. Thank you!<br />
Please allow 1-2cm measuring deviation due to manual measurement.
</p></td></tr></table> <br />
</div>
<br />
<div>
<br />
</div>
<div style="padding:15px;border:1px solid #AEAEAE;">
<table border="0" cellpadding="0" cellspacing="0" style="border: 1px solid #c1c7d0;border-collapse:collapse;"><tr><td style="border-right: 1px solid #c1c7d0;">Product</td><td>Included</td></tr><td style="border: 1px solid #c1c7d0;">12v 120w:</td><td style="border: 1px solid #c1c7d0;">1 x Digital Temperature Controller<br /></td></tr><td style="border: 1px solid #c1c7d0;">24v 240w:</td><td style="border: 1px solid #c1c7d0;">1 x Digital Temperature Controller<br /></td></tr><td style="border: 1px solid #c1c7d0;">110v-220v 1500w:</td><td style="border: 1px solid #c1c7d0;">1 x Digital Temperature Controller<br /></td></tr><td style="border: 1px solid #c1c7d0;">220v:</td><td style="border: 1px solid #c1c7d0;">1 x Digital Temperature Controller<br /></td></tr></table> <br />
</div>
<p>
</p>
<p>
<br />
</p>
<div style="text-align:center;">
<br />
</div>
<div>
<br />
</div>
<div style="padding:15px;border:1px solid #AEAEAE;">
[relateproductdetail/]
</div>
</td>
</tr>
</tbody>
</table></div></div>