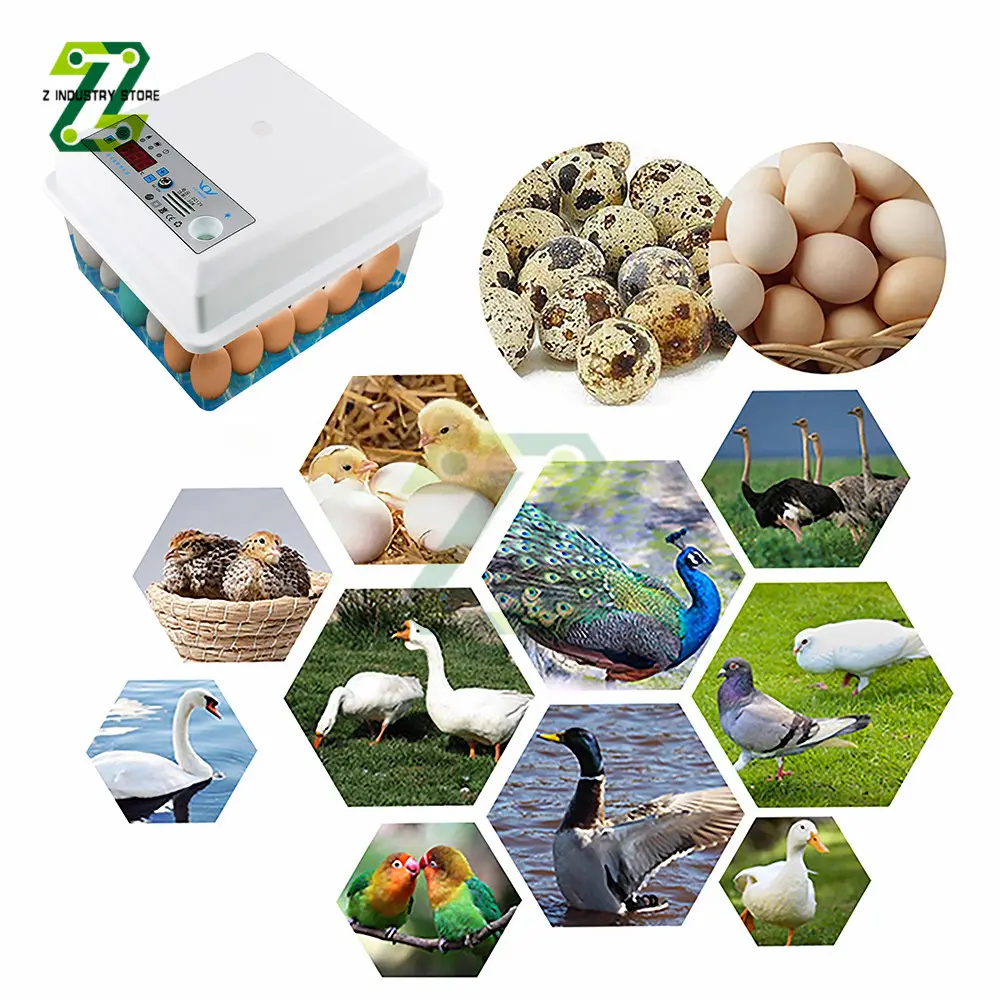
Eggs Incubator Brooder Bird Quail Incubator Chick Incubator Poultry Hatcher Automatic Farm Incubation Tools
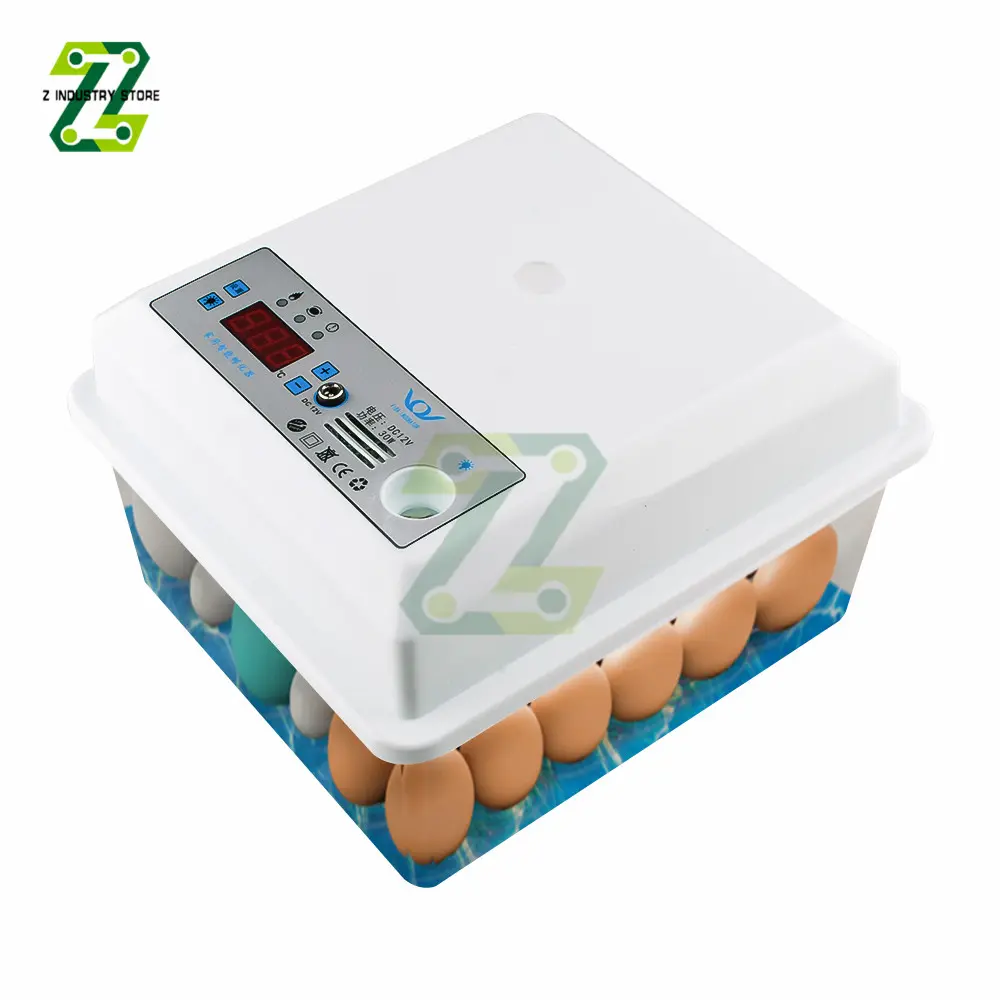
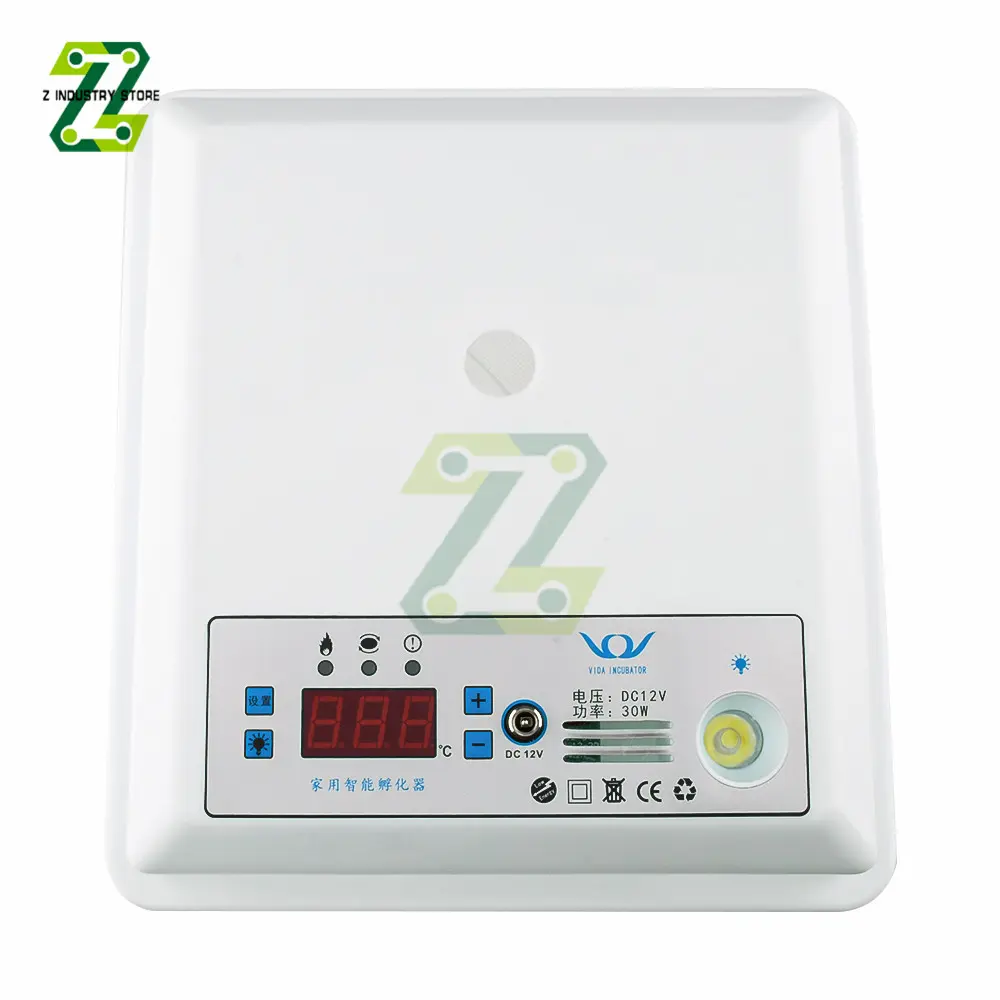
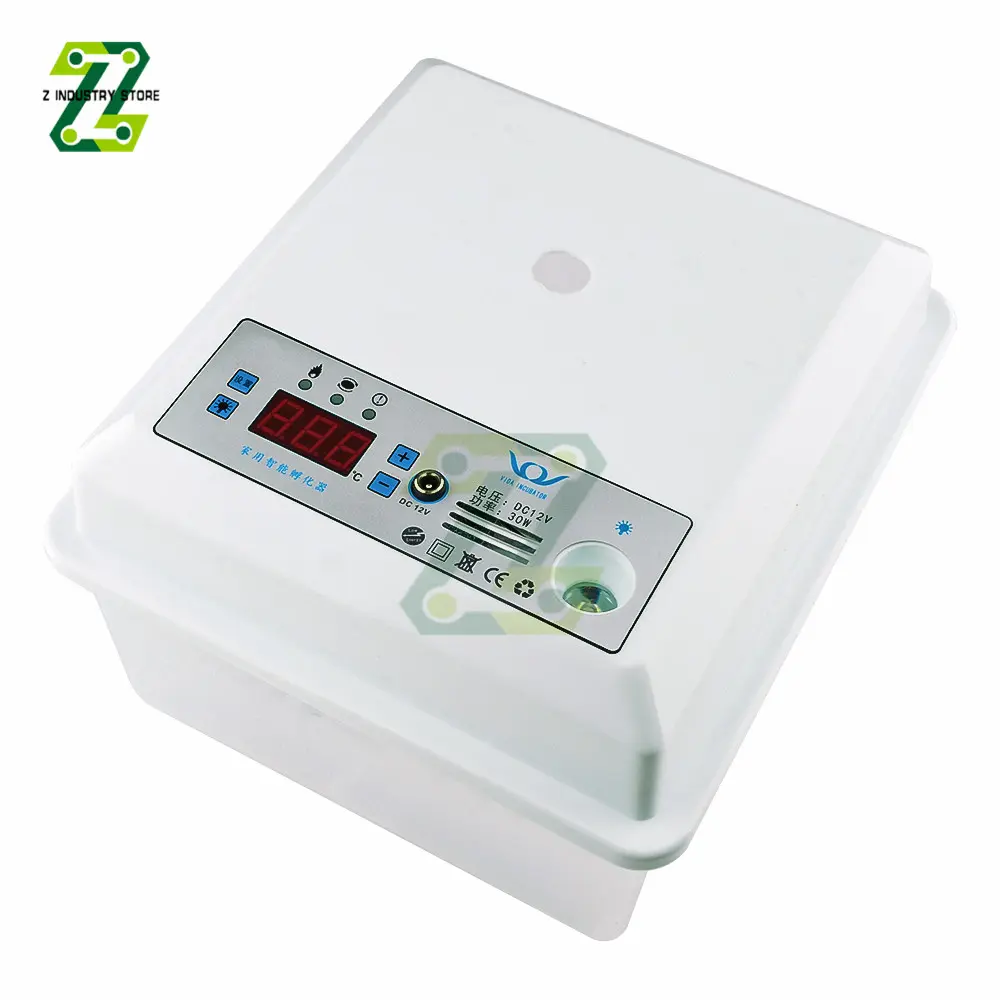
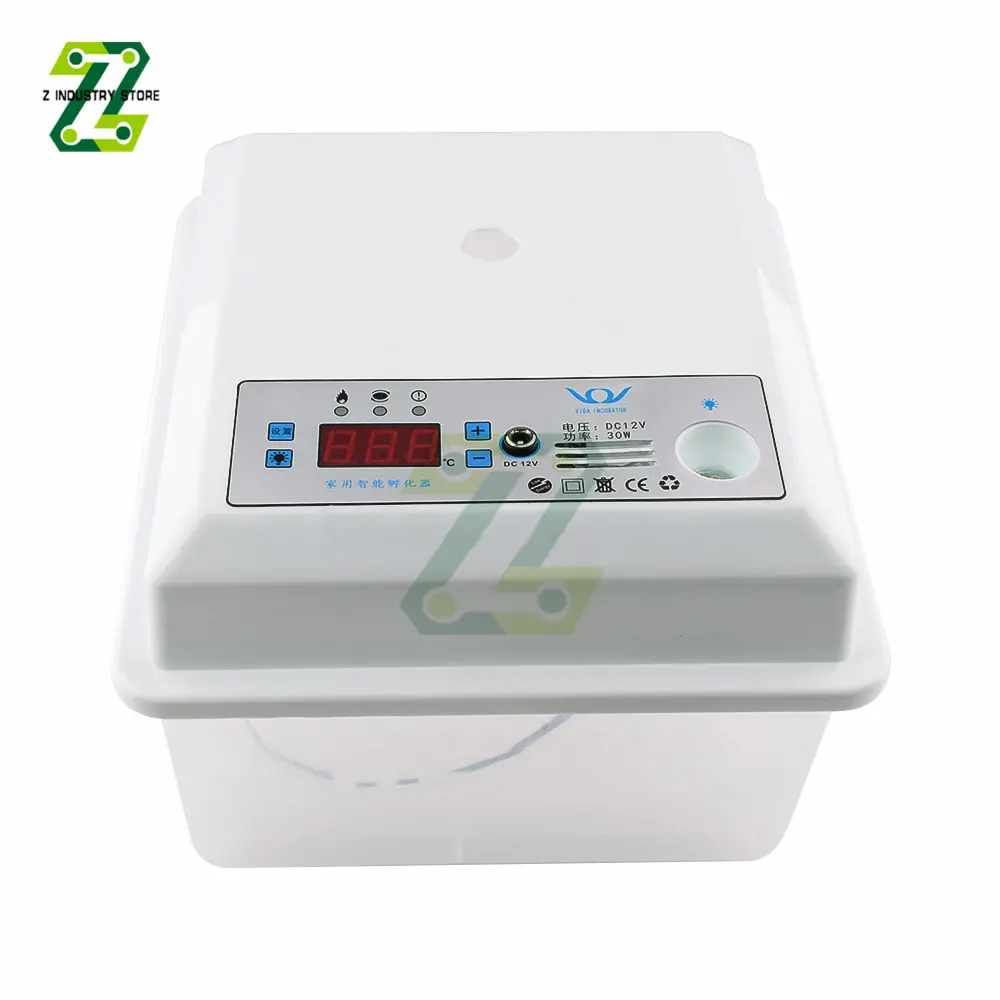
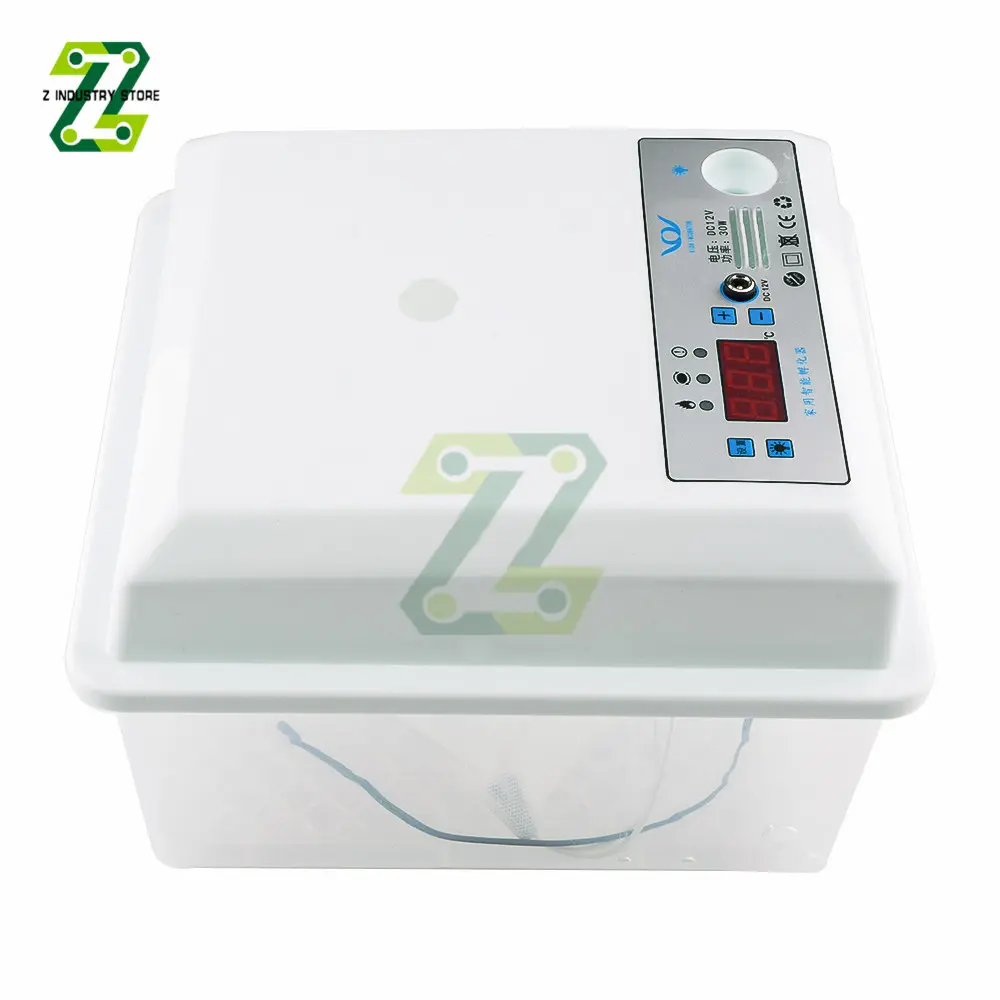
<p><kse:widget data-widget-type="customText" id="1005000000542054" type="relation"></kse:widget></p><p><span style="font-size:20px"><strong>Eggs Incubator Brooder Bird Quail Incubator Chick Incubator Poultry Hatcher Automatic Farm Incubation Tools</strong></span></p><p><br/></p><p><span style="font-size:18px"><strong>Product selling point:</strong></span></p><p><span style="font-size:18px">1. Using high-quality materials, the quality is guaranteed</span></p><p><span style="font-size:18px">2. Wide range of applications</span></p><p><span style="font-size:18px">3. The temperature difference of the machine can be calibrated according to the measured temperature, so that the temperature is more accurate and the carcass rate is higher</span></p><p><span style="font-size:18px">4. Dual power supply, not afraid of power failure</span></p><p><span style="font-size:18px">5. Bionic hatching, inspired by the structure and function of the organism, the bionic water bed designed according to the mother's hatching conditions can easily hatch each egg</span></p><p><span style="font-size:18px">6. Precise temperature control, independent camera eggs, not afraid of power failure, low power consumption</span></p><p><br/></p><p><span style="font-size:18px"><strong>Parameter;</strong></span></p><p><span style="font-size:18px">Product voltage: AC110V-220V/DC12V</span></p><p><span style="font-size:18px">Power: 20W</span></p><p><span style="font-size:18px">Size: 36*24*19cm</span></p><p><span style="font-size:18px">Plug: EU/US</span></p><p><span style="font-size:18px">Scope of application: all kinds of eggs</span></p><p><br/></p><p><span style="font-size:18px"><strong>Operation method:</strong></span></p><p><span style="font-size:18px">Step 1: First add an appropriate amount of water to the hatching water bag and set aside.</span></p><p><br/></p><p><span style="font-size:18px">Step 2: After receiving the incubator, lay the bottom heating pad flat. Place a water bag filled with water on the heating pad. The opening of the water bag is clamped to the foam box next to the incubator to prevent water from splashing out.</span></p><p><br/></p><p><span style="font-size:18px">Step 3: Put the temperature sensor into the water bag and fix it with tape (it must be attached to the surface of the water bag and in contact with the water bag). When ready, lay the eggs.</span></p><p><br/></p><p><span style="font-size:18px">Step 4: Start the test machine. After the temperature has stabilized, put the sterilized eggs evenly into the water bag of the incubator.</span></p><p><br/></p><p><span style="font-size:18px">Step 5: In the incubator, after the hatched eggs are put in, cover the egg quilt with a breathable and warm quilt. It's not too loose or too tight. The hatching process does not need to cover the lid of the incubator. If the temperature is low, cover the quilt well; if the temperature is high, do not cover it too tightly.</span></p><p><br/></p><p><span style="font-size:18px">Step 6: Fill the watering can with water, put it in the machine, and keep the water temperature in the jug according to the temperature of the eggs. Spray water three days before hatching, 2-3 times a day.</span></p><p><br/></p><p><span style="font-size:18px"><strong>Hint:</strong></span></p><p><span style="font-size:18px">1. Be sure to test whether the water bag leaks, otherwise there will be a risk of short circuit.</span></p><p><span style="font-size:18px">You must ensure that the covering material is breathable and that there is sufficient oxygen in the incubator.</span></p><p><span style="font-size:18px">Invert the eggs in the incubator daily (2-3 times/day). Do not turn the eggs to remove heat.</span></p><p><span style="font-size:18px"> 2. This product requires manual egg turning and automatic egg temperature control.</span></p><p><br/></p><p><span style="font-size:18px"><strong>Package list:</strong></span></p><p><span style="font-size:18px">Incubator *1</span></p><p><span style="font-size:18px">Mini nozzle *1</span></p><p><span style="font-size:18px">Alligator clip line*1</span></p><p><span style="font-size:18px">Transparent plastic bag*1</span></p><p><span style="font-size:18px">Quilt*1</span></p><p><span style="font-size:18px">EU/US Plug Adapter * 1</span></p><p></p>
$41.015
$30.485
- Category : Tools
- Brand : z_industry_store Z Industry Store
Colors
Sizes
-
+
<p><kse:widget data-widget-type="customText" id="1005000000542054" type="relation"></kse:widget></p><p><span style="font-size:20px"><strong>Eggs Incubator Brooder Bird Quail Incubator Chick Incubator Poultry Hatcher Automatic Farm Incubation Tools</strong></span></p><p><br/></p><p><span style="font-size:18px"><strong>Product selling point:</strong></span></p><p><span style="font-size:18px">1. Using high-quality materials, the quality is guaranteed</span></p><p><span style="font-size:18px">2. Wide range of applications</span></p><p><span style="font-size:18px">3. The temperature difference of the machine can be calibrated according to the measured temperature, so that the temperature is more accurate and the carcass rate is higher</span></p><p><span style="font-size:18px">4. Dual power supply, not afraid of power failure</span></p><p><span style="font-size:18px">5. Bionic hatching, inspired by the structure and function of the organism, the bionic water bed designed according to the mother's hatching conditions can easily hatch each egg</span></p><p><span style="font-size:18px">6. Precise temperature control, independent camera eggs, not afraid of power failure, low power consumption</span></p><p><br/></p><p><span style="font-size:18px"><strong>Parameter;</strong></span></p><p><span style="font-size:18px">Product voltage: AC110V-220V/DC12V</span></p><p><span style="font-size:18px">Power: 20W</span></p><p><span style="font-size:18px">Size: 36*24*19cm</span></p><p><span style="font-size:18px">Plug: EU/US</span></p><p><span style="font-size:18px">Scope of application: all kinds of eggs</span></p><p><br/></p><p><span style="font-size:18px"><strong>Operation method:</strong></span></p><p><span style="font-size:18px">Step 1: First add an appropriate amount of water to the hatching water bag and set aside.</span></p><p><br/></p><p><span style="font-size:18px">Step 2: After receiving the incubator, lay the bottom heating pad flat. Place a water bag filled with water on the heating pad. The opening of the water bag is clamped to the foam box next to the incubator to prevent water from splashing out.</span></p><p><br/></p><p><span style="font-size:18px">Step 3: Put the temperature sensor into the water bag and fix it with tape (it must be attached to the surface of the water bag and in contact with the water bag). When ready, lay the eggs.</span></p><p><br/></p><p><span style="font-size:18px">Step 4: Start the test machine. After the temperature has stabilized, put the sterilized eggs evenly into the water bag of the incubator.</span></p><p><br/></p><p><span style="font-size:18px">Step 5: In the incubator, after the hatched eggs are put in, cover the egg quilt with a breathable and warm quilt. It's not too loose or too tight. The hatching process does not need to cover the lid of the incubator. If the temperature is low, cover the quilt well; if the temperature is high, do not cover it too tightly.</span></p><p><br/></p><p><span style="font-size:18px">Step 6: Fill the watering can with water, put it in the machine, and keep the water temperature in the jug according to the temperature of the eggs. Spray water three days before hatching, 2-3 times a day.</span></p><p><br/></p><p><span style="font-size:18px"><strong>Hint:</strong></span></p><p><span style="font-size:18px">1. Be sure to test whether the water bag leaks, otherwise there will be a risk of short circuit.</span></p><p><span style="font-size:18px">You must ensure that the covering material is breathable and that there is sufficient oxygen in the incubator.</span></p><p><span style="font-size:18px">Invert the eggs in the incubator daily (2-3 times/day). Do not turn the eggs to remove heat.</span></p><p><span style="font-size:18px"> 2. This product requires manual egg turning and automatic egg temperature control.</span></p><p><br/></p><p><span style="font-size:18px"><strong>Package list:</strong></span></p><p><span style="font-size:18px">Incubator *1</span></p><p><span style="font-size:18px">Mini nozzle *1</span></p><p><span style="font-size:18px">Alligator clip line*1</span></p><p><span style="font-size:18px">Transparent plastic bag*1</span></p><p><span style="font-size:18px">Quilt*1</span></p><p><span style="font-size:18px">EU/US Plug Adapter * 1</span></p><p></p>
Related Product
Browse The Collection of Top Products.