High-precision Solar TPMS Tire Pressure Tyre Temperature Monitoring Alarm System Wireless Motorcycle Replacement Parts
<div class="detailmodule_html"><div class="detail-desc-decorate-richtext"><p>
<span> </span>
</p>
<p>
<br />
</p>
<h2>
<span style="font-size:14px;font-family:Arial;"></span>
</h2>
<table class="ke-zeroborder" width="100%" cellspacing="0" cellpadding="0" border="0">
<tbody>
<tr>
<td>
<br />
<div style="padding:15px;border:1px solid #AEAEAE;">
<p>
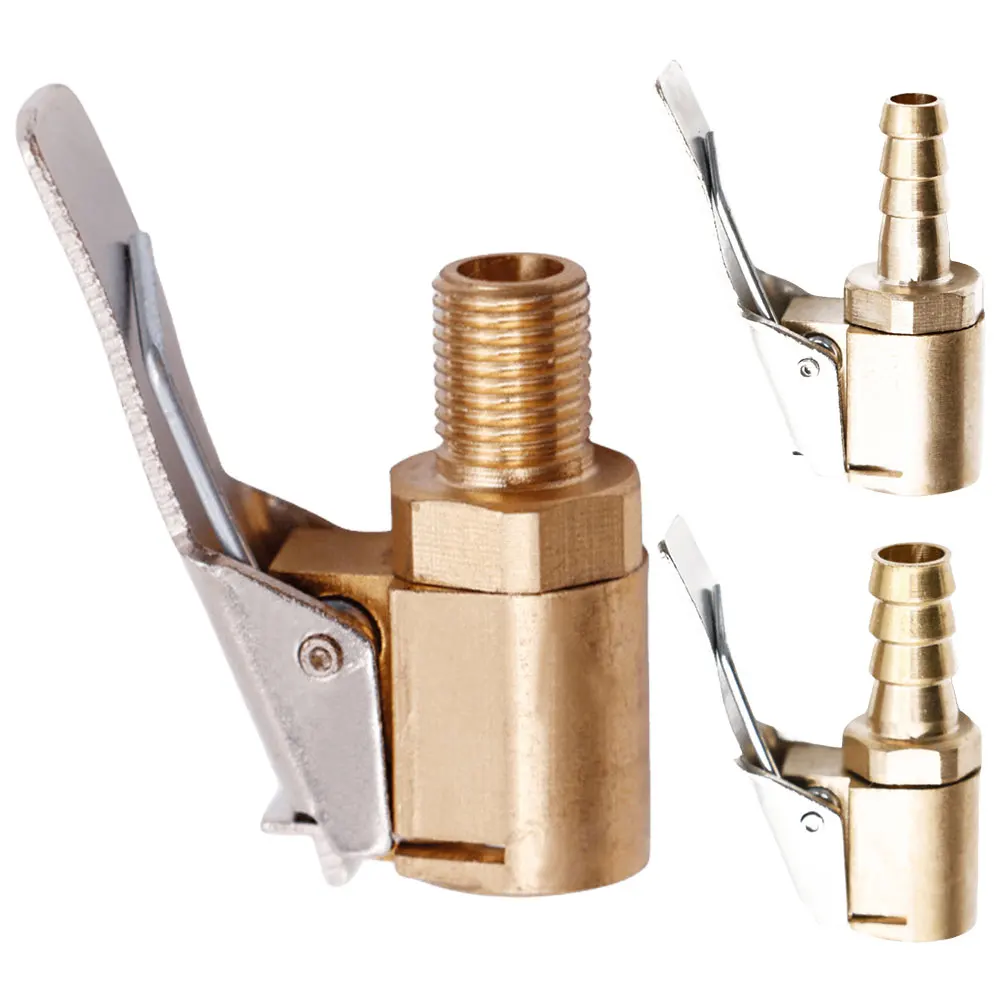
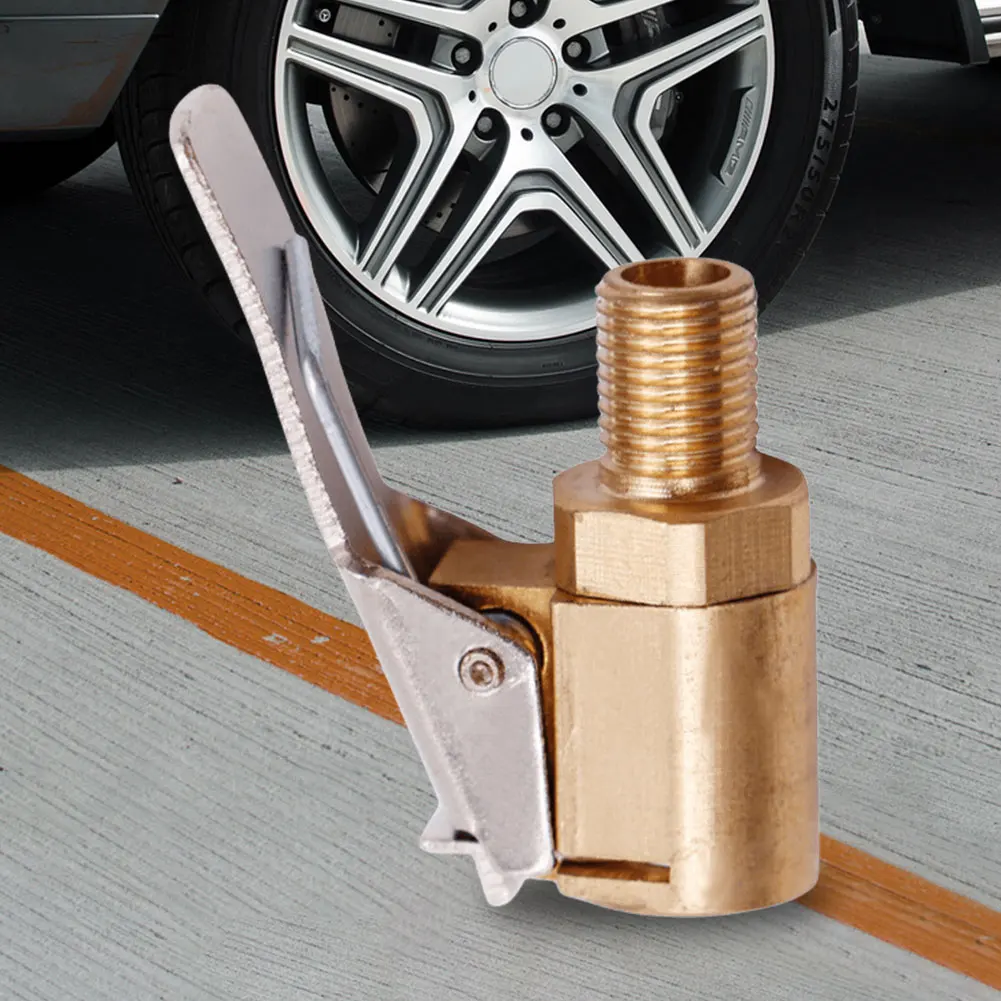
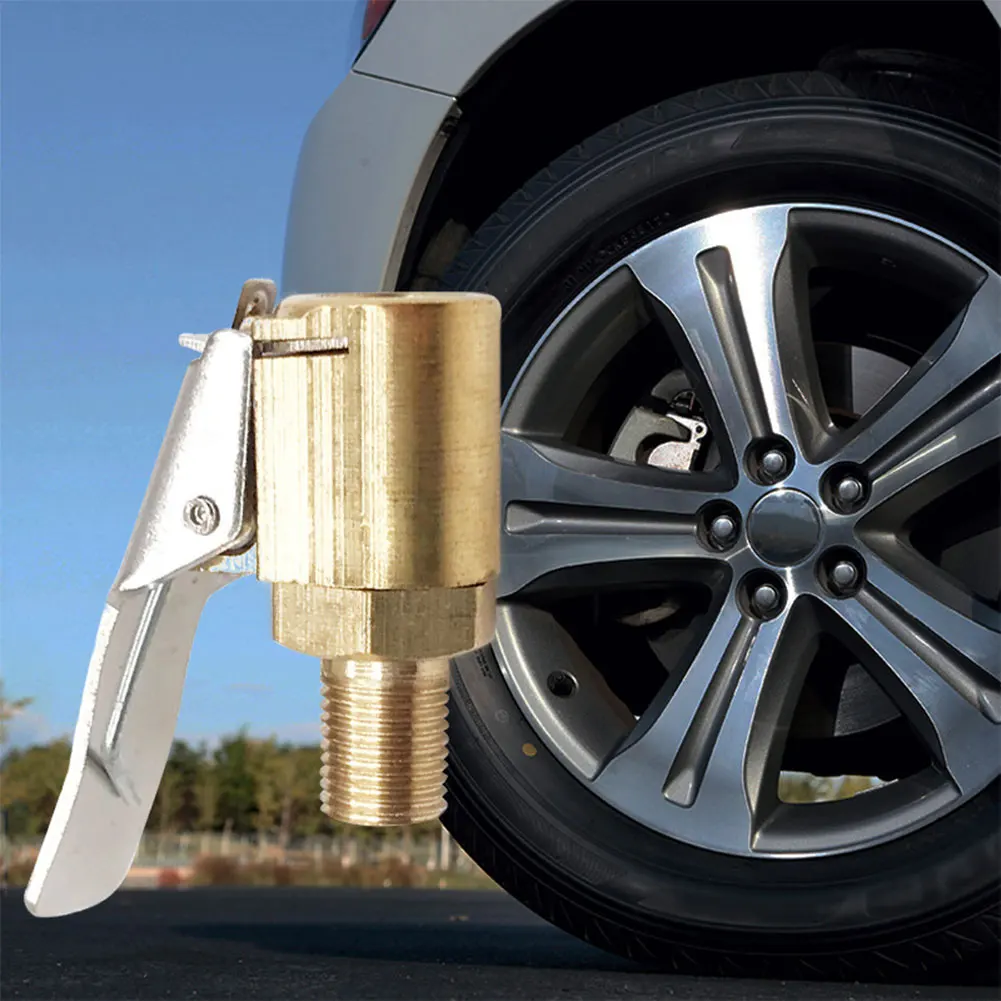
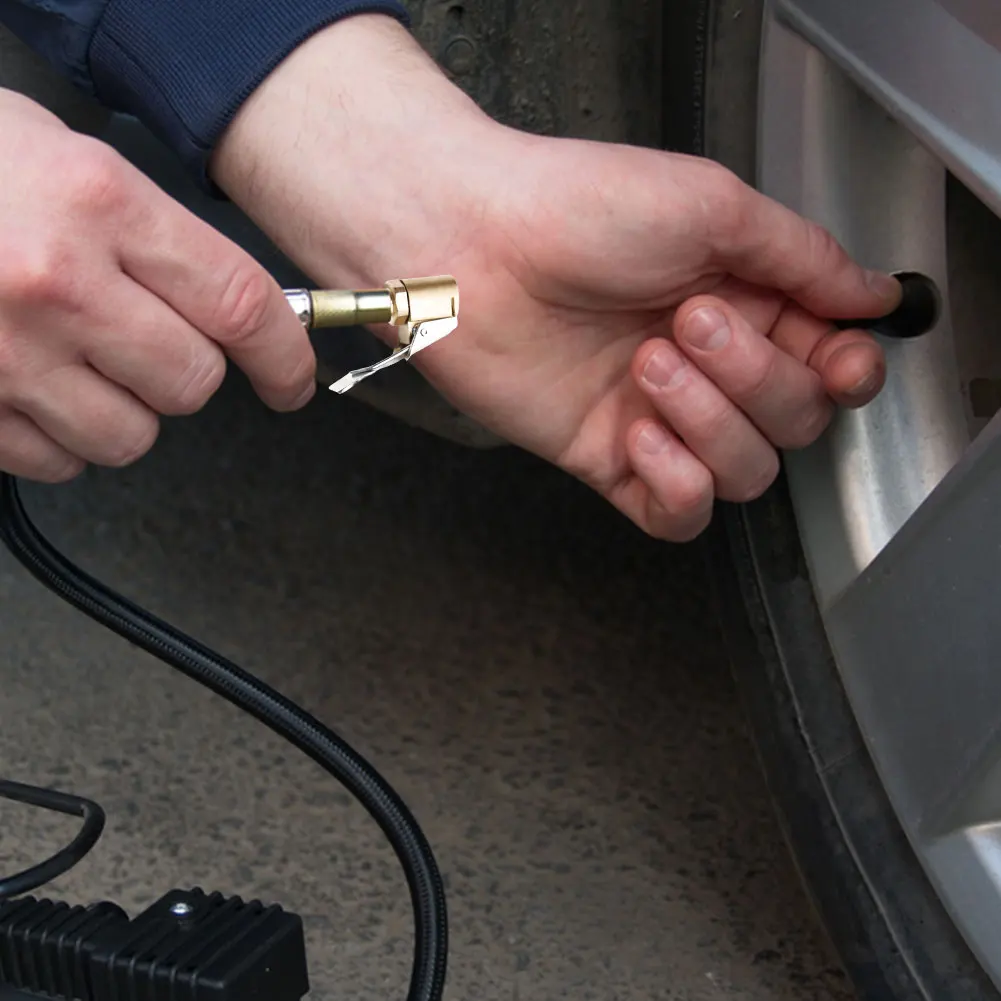
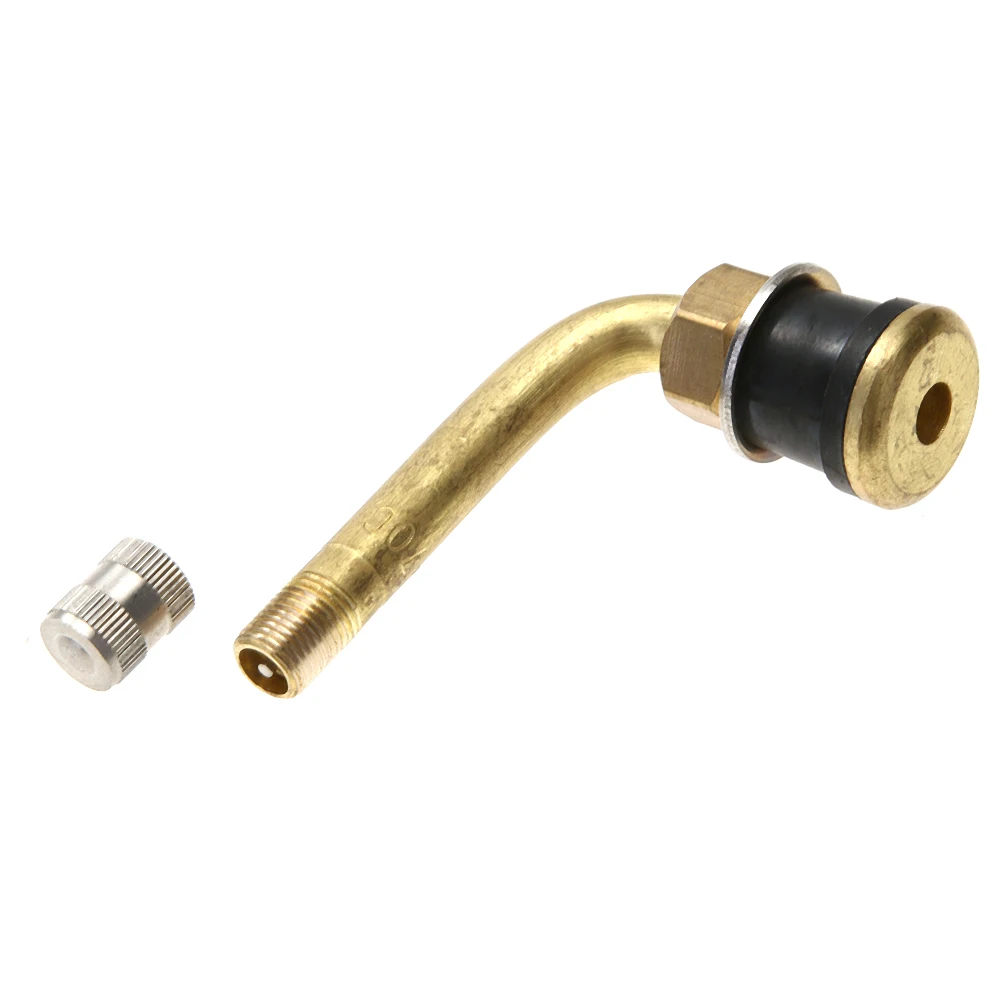
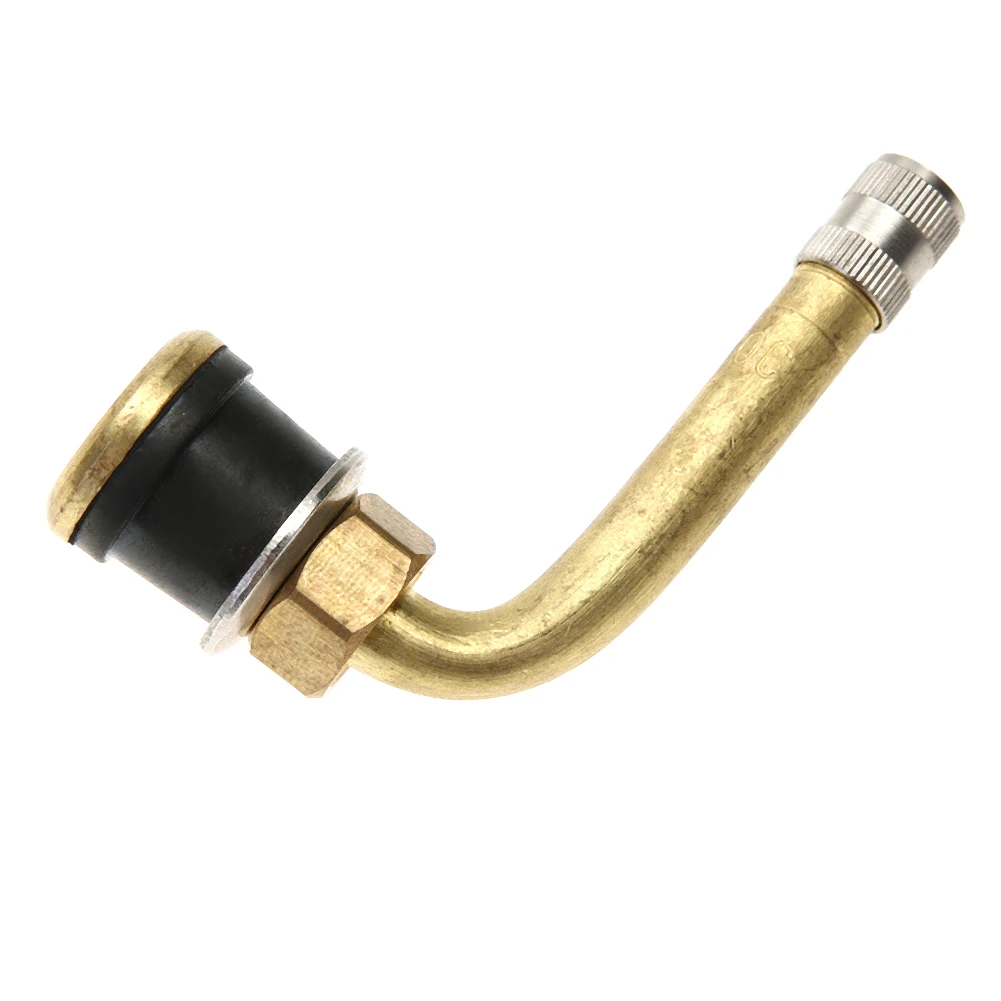
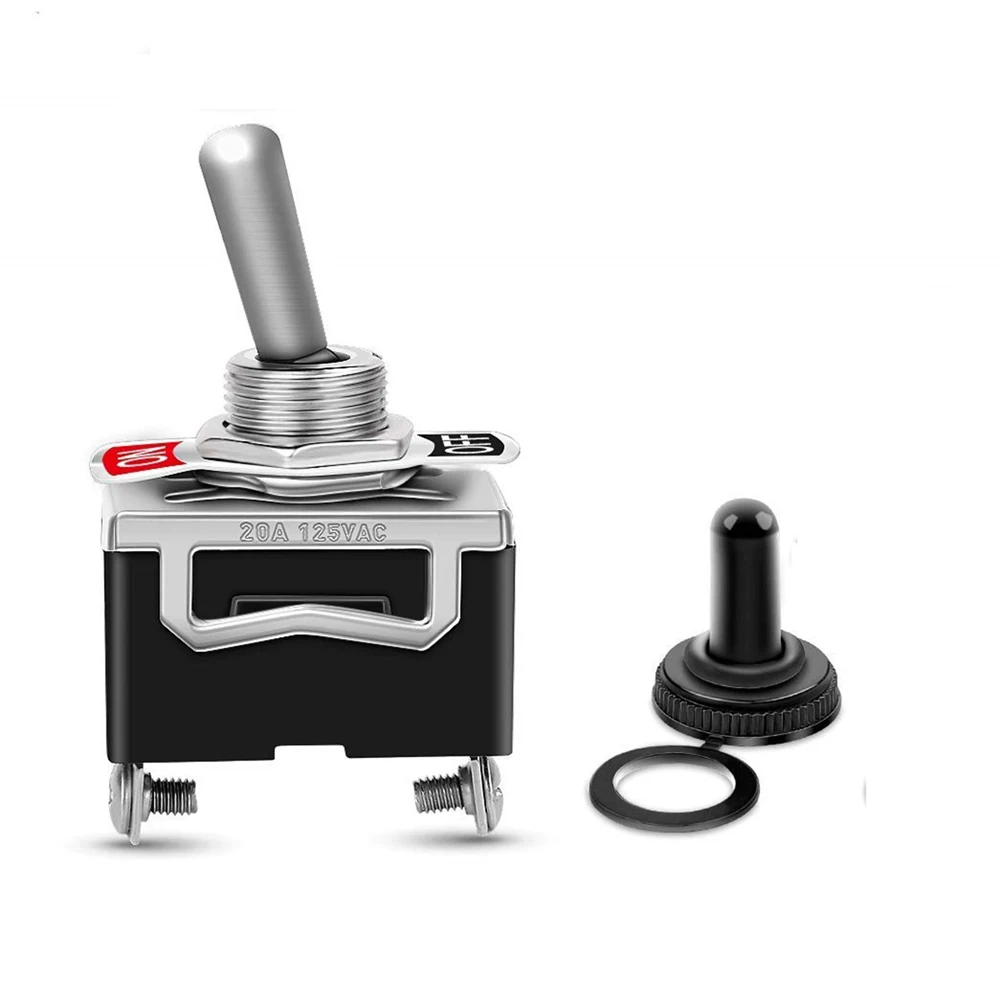
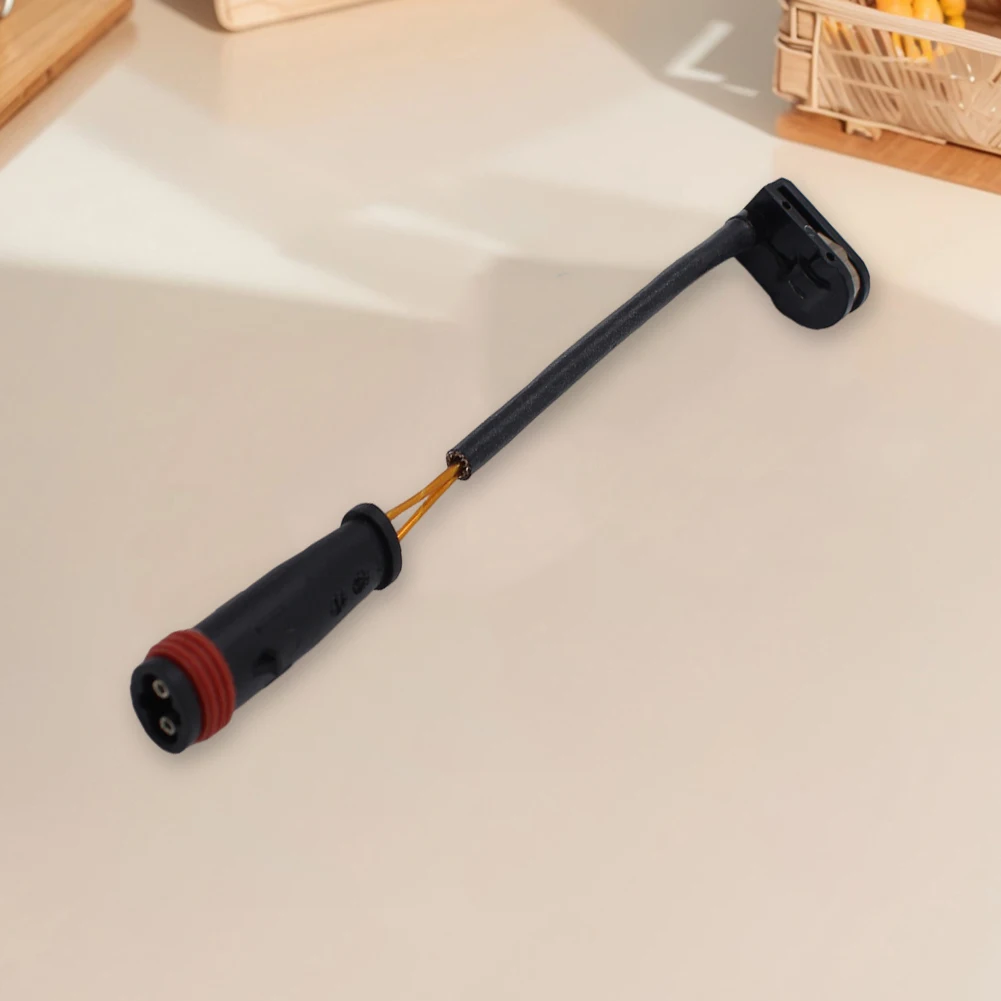
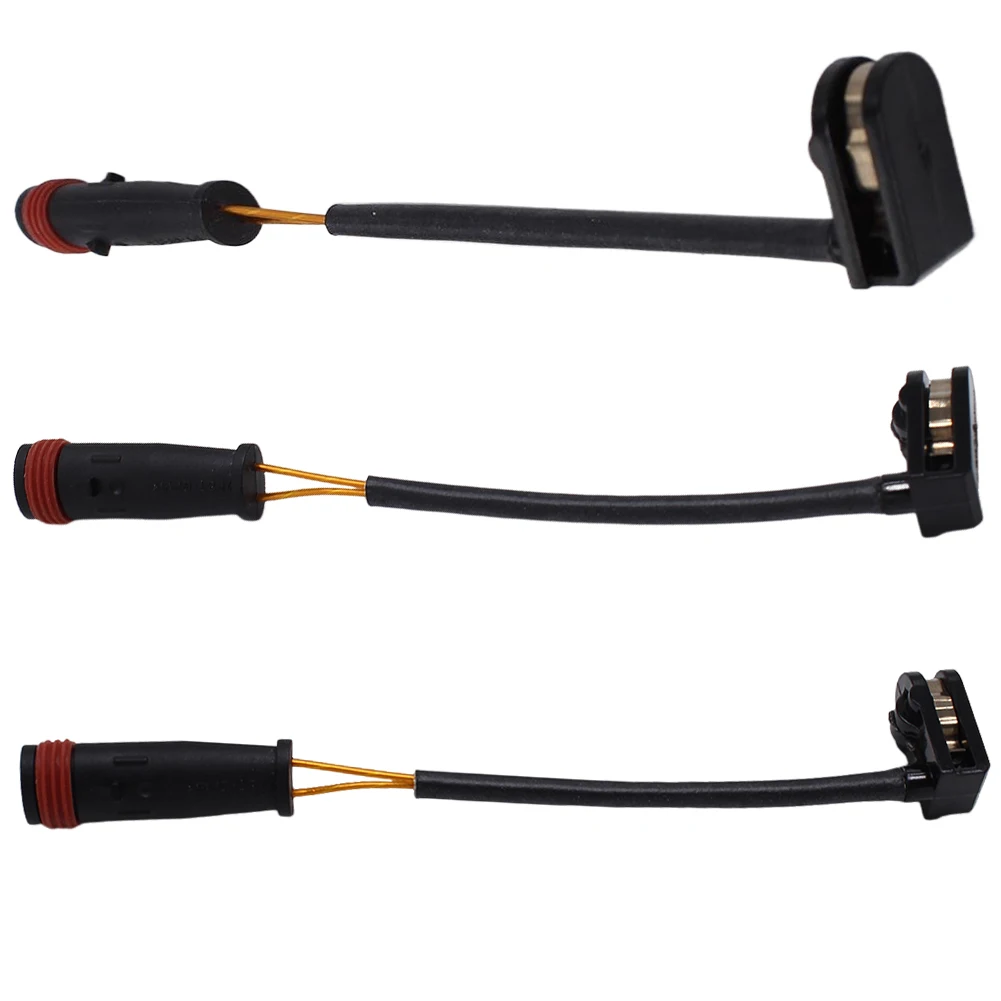
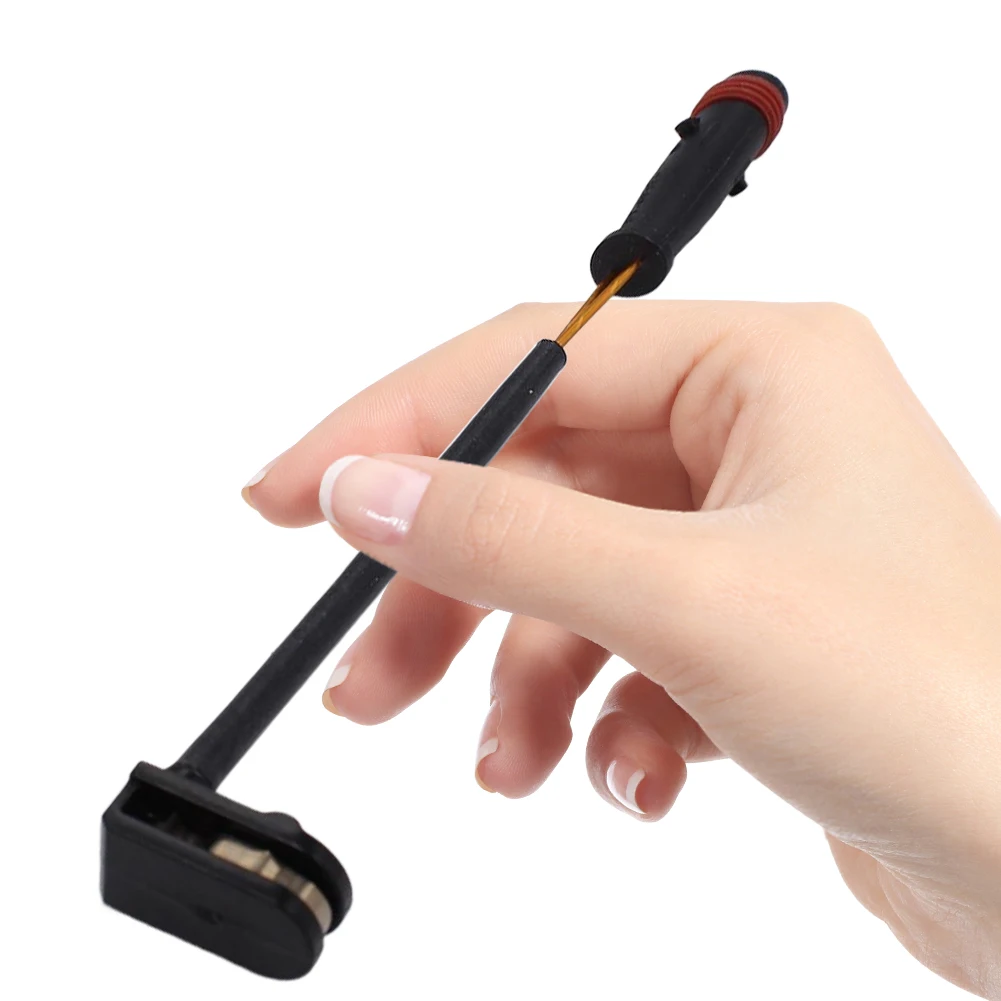
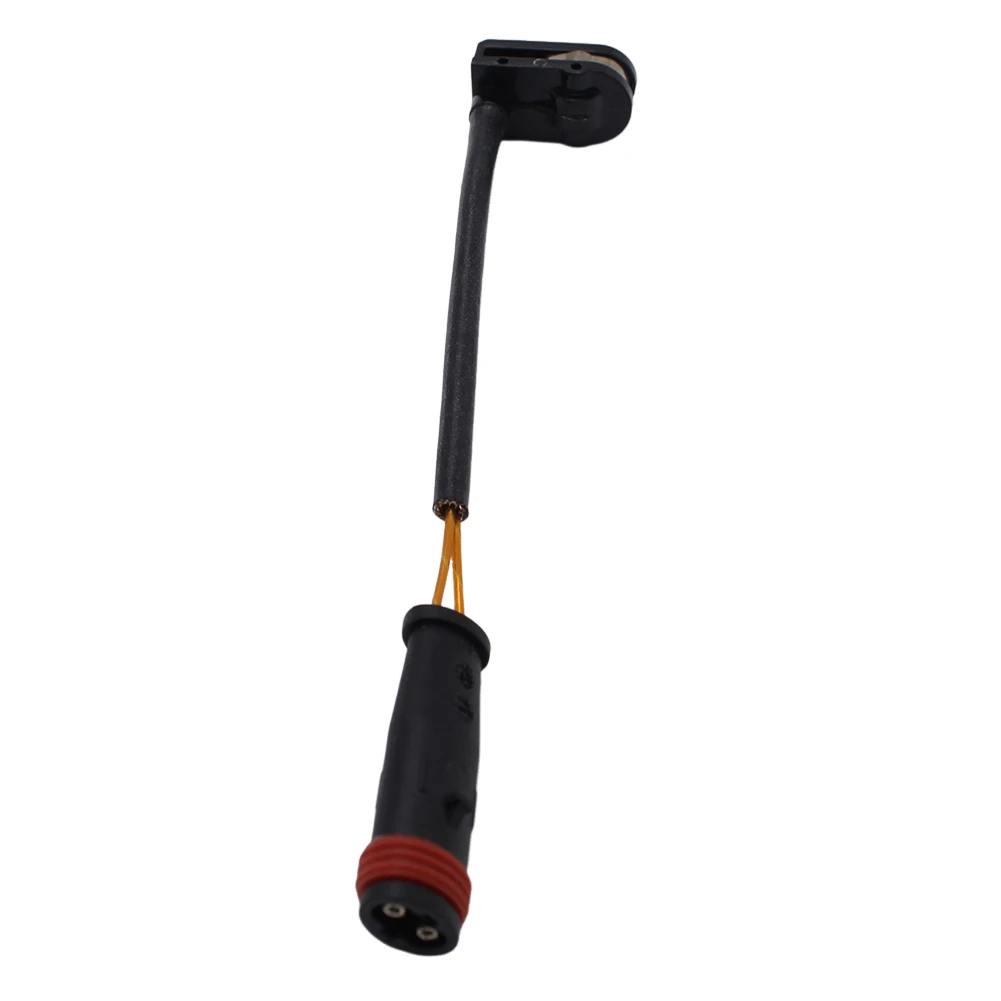
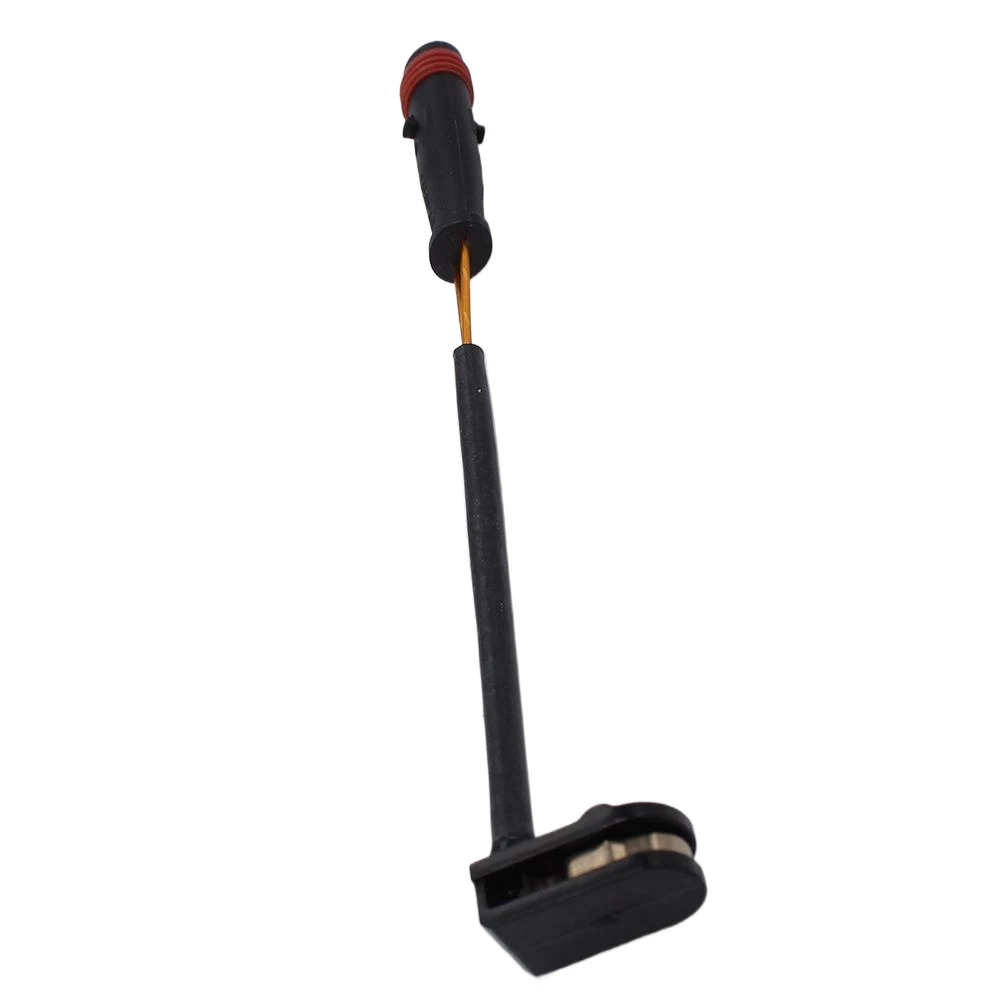
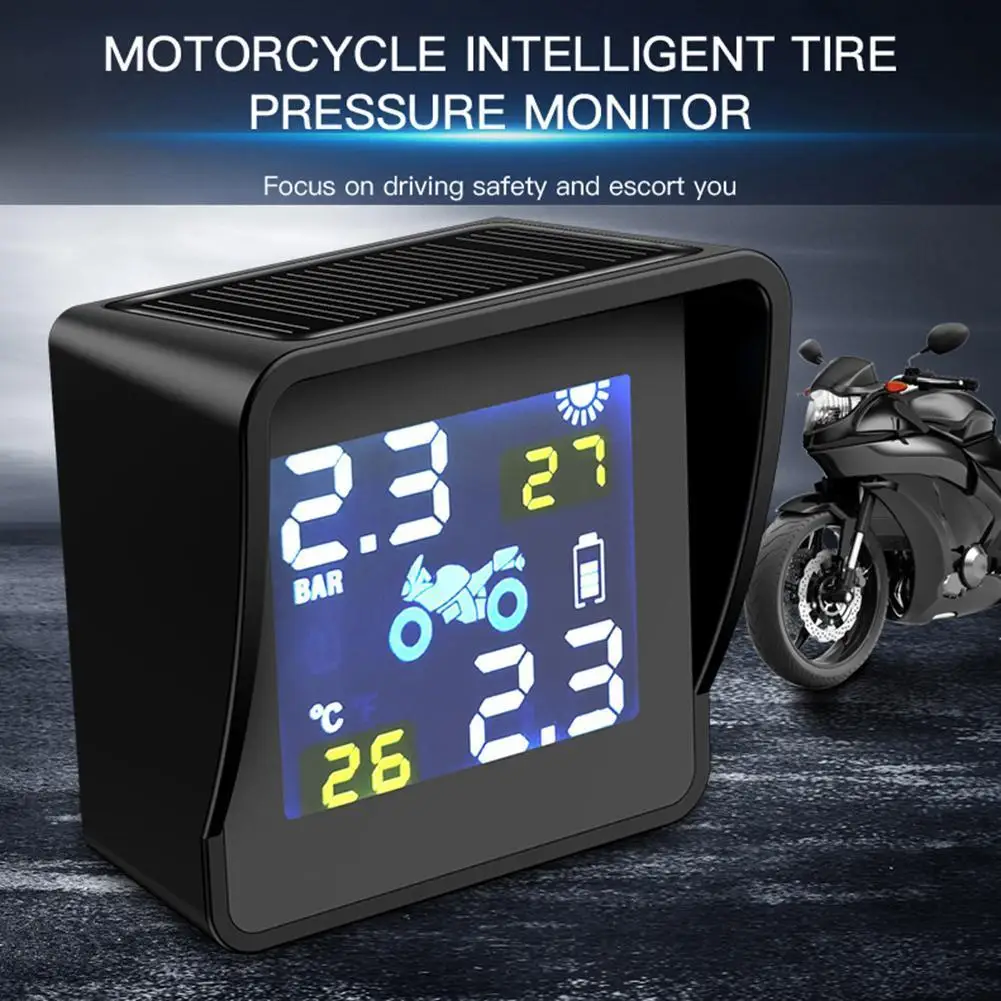
Solar Charging LCD Motorcycle TPMS Tire Pressure Tyre Temperature Monitoring Alarm System with 2 Sensors<br />
Descriptions:<br />
This tire pressure monitoring system is designed to provide you with an extra protection while driving. It will warn the tire condition of the car in advance.<br />
After installing TPMS, it can monitor the tire pressure and temperature in real time. If abnormal tire pressure and temperature are detected, the system will send real-time warning sounds and flashing icons on screen to inform you, avoiding traffic accidents.<br />
<br />
Features:<br />
- Supports solar charging<br />
- IP65 waterproof<br />
- High-efficiency solar panel with super long battery time<br />
- Built-in large capacity lithium battery, no worry in rainy days<br />
- Accurate monitoring of tire pressure and temperature stability all the way<br />
- LCD high precision display<br />
- High volume alarm sound alert<br />
- Long receiving distance, stable signal<br />
<br />
Specifications:<br />
Mani unit<br />
Working temperature: -20 ~ + 80 C<br />
Storage temperature: -30 ~ + 85 C<br />
Working voltage: DC 5V<br />
Frequency: 433.92MHz ± 20.00MHz<br />
<br />
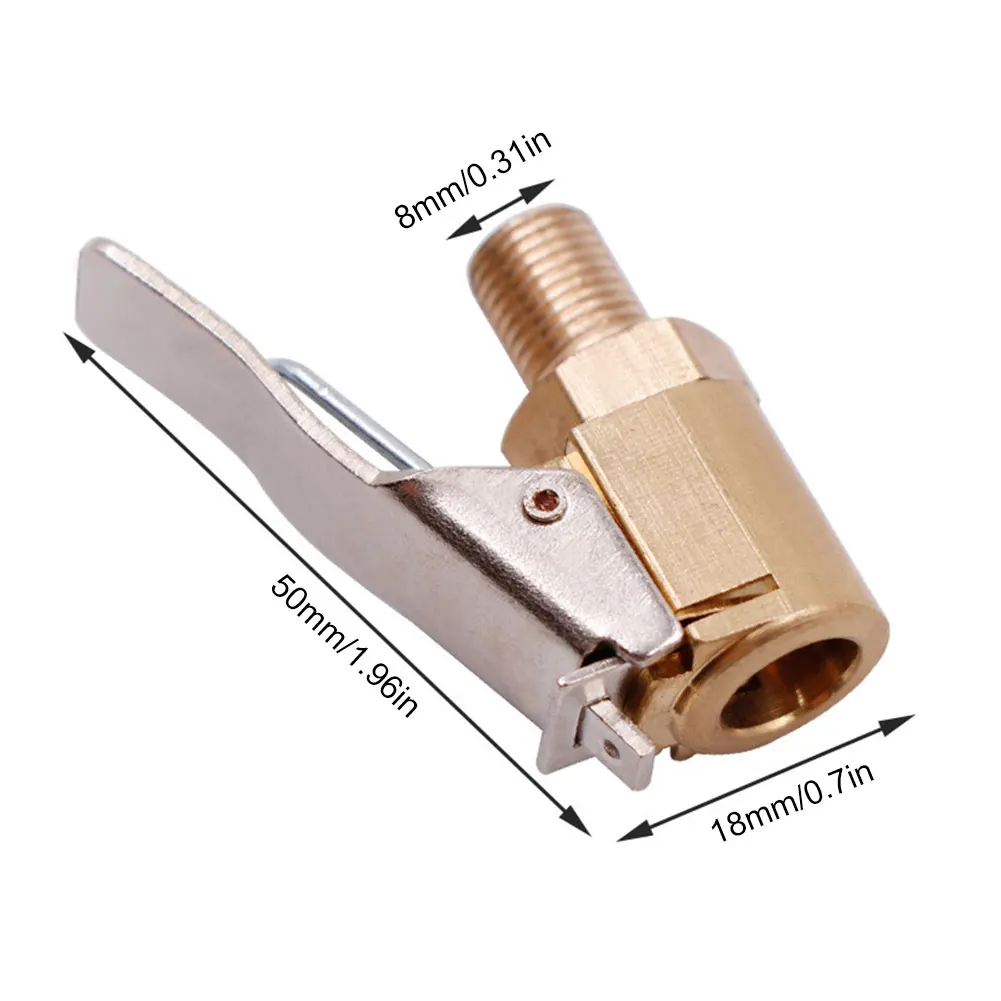
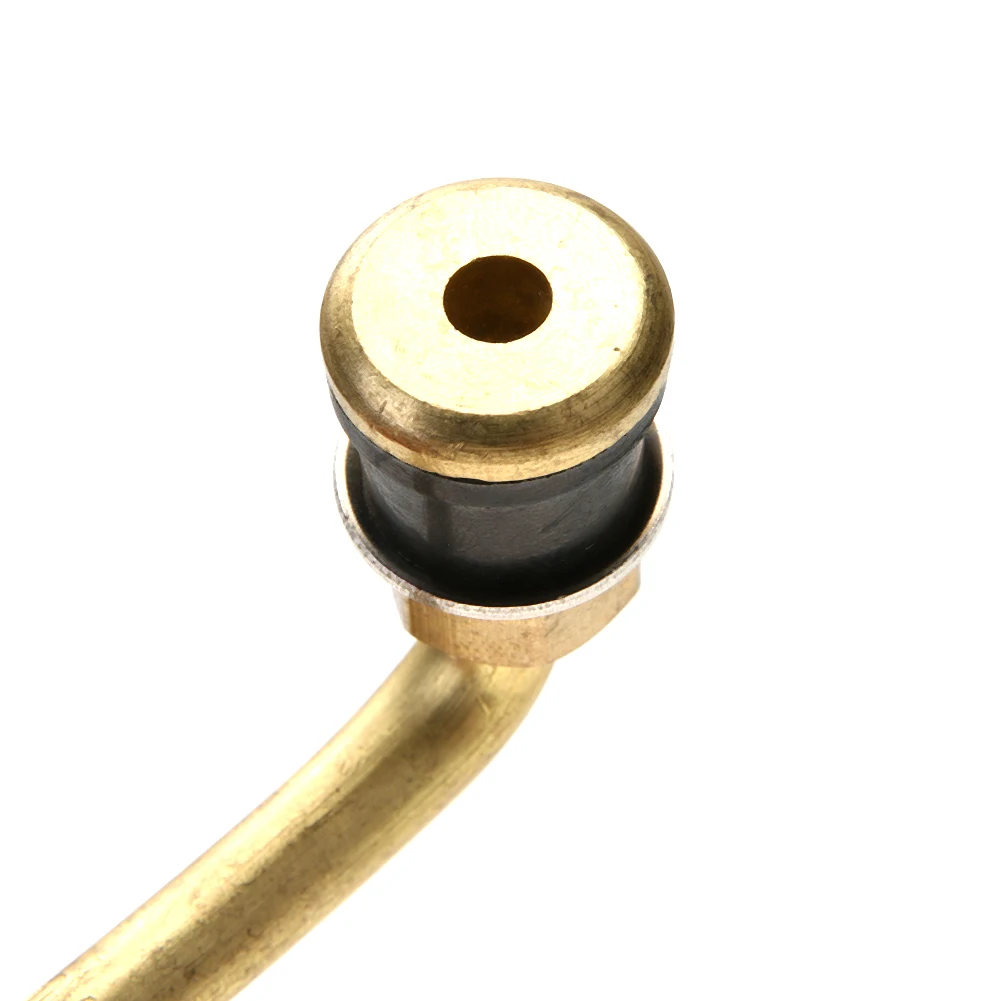
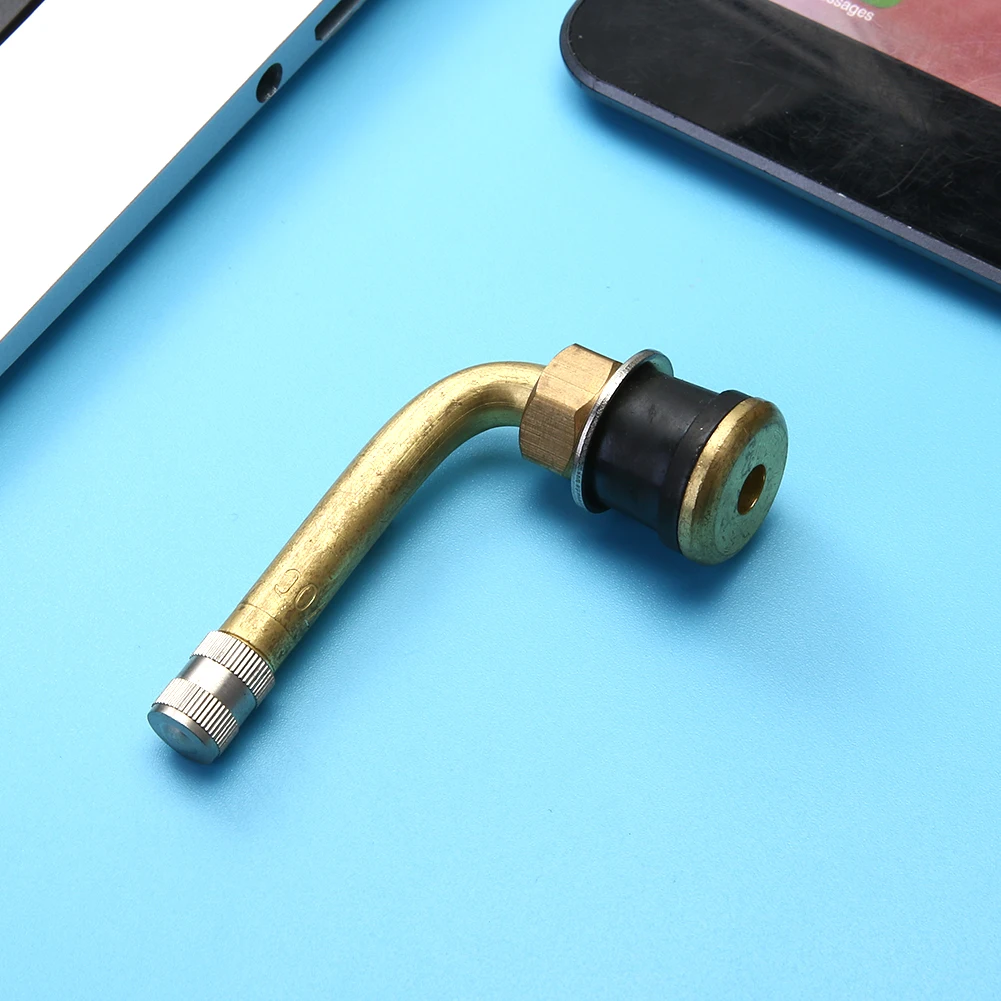
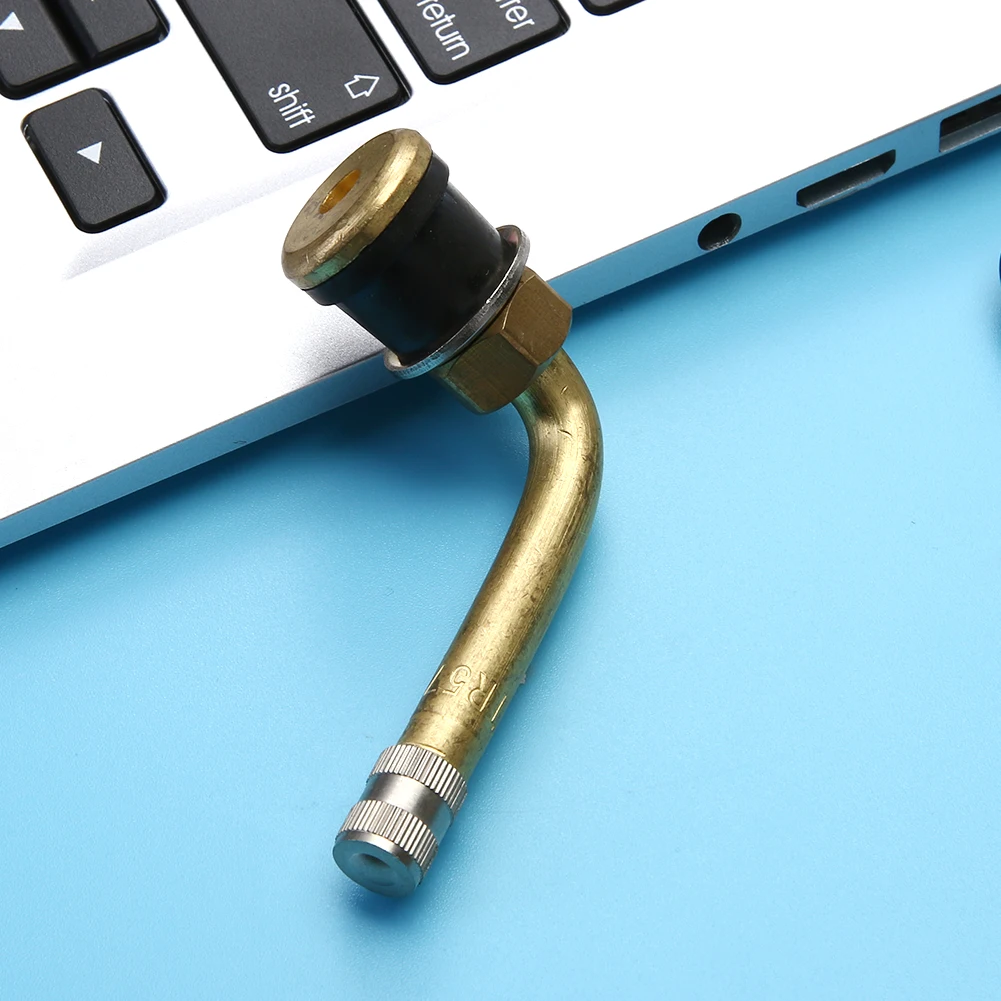
Sensor<br />
Working temperature: -20 ~ +80 C<br />
Storage temperature: -30 ~ +85 C<br />
Pressure range: 0 ~ 6.6Bar<br />
Precise pressure: +/- 0.1Bar<br />
Accurate temperature: +/- 3 C<br />
Transmitting power: <10dB<br />
Frequency: 433.92MHz ± 20.00MHz<br />
<br />
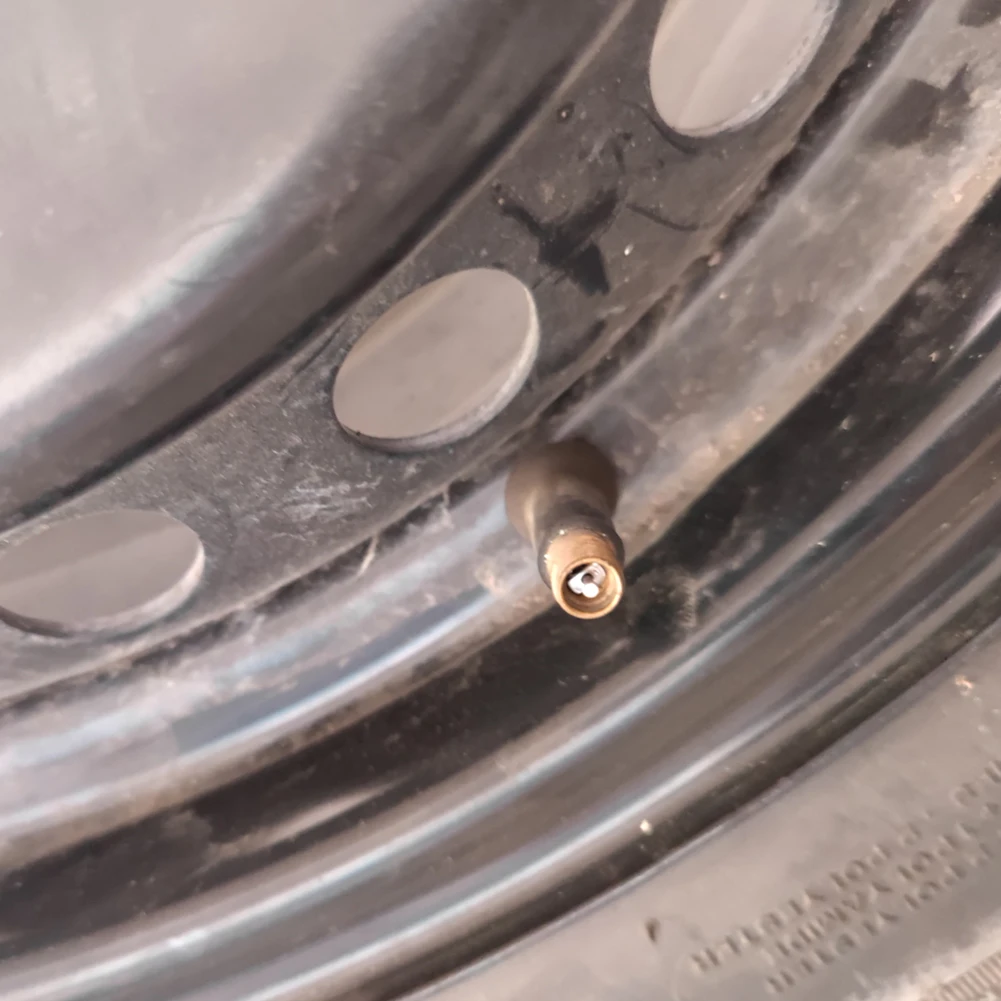
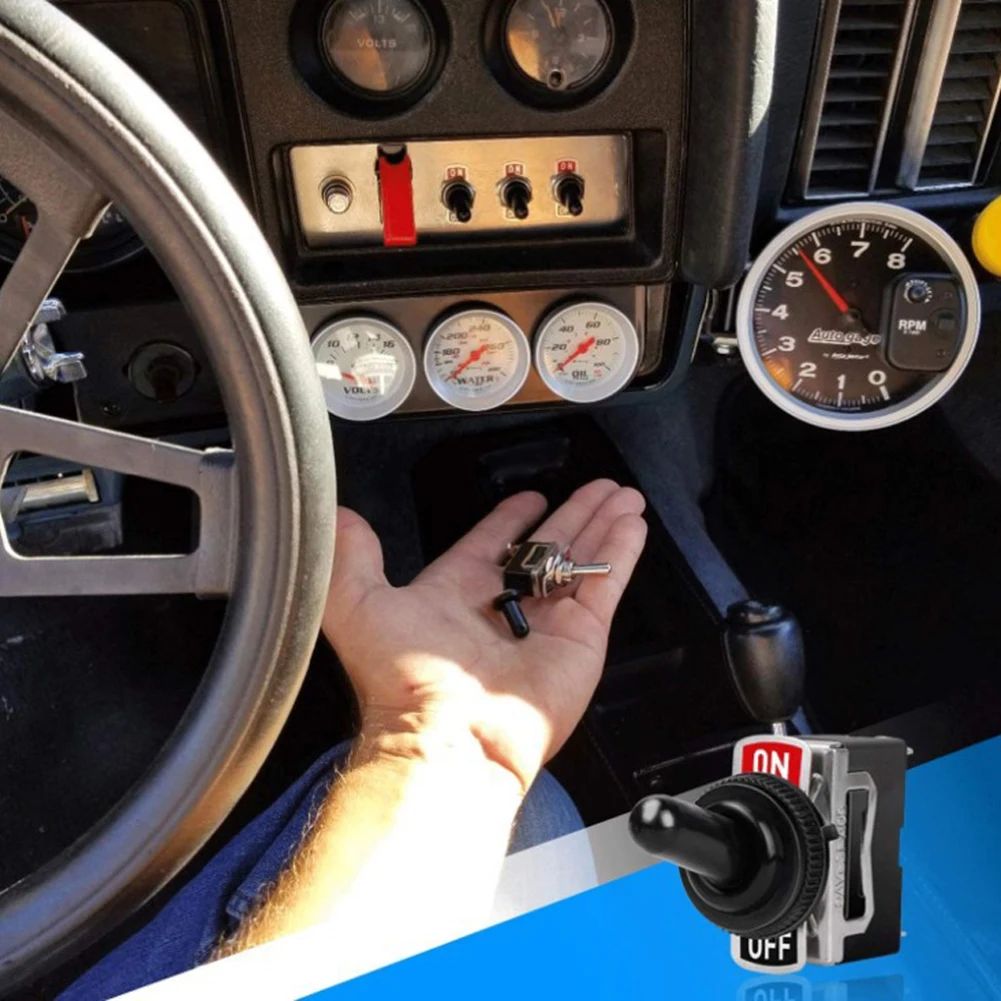
Stand mounting instructions<br />
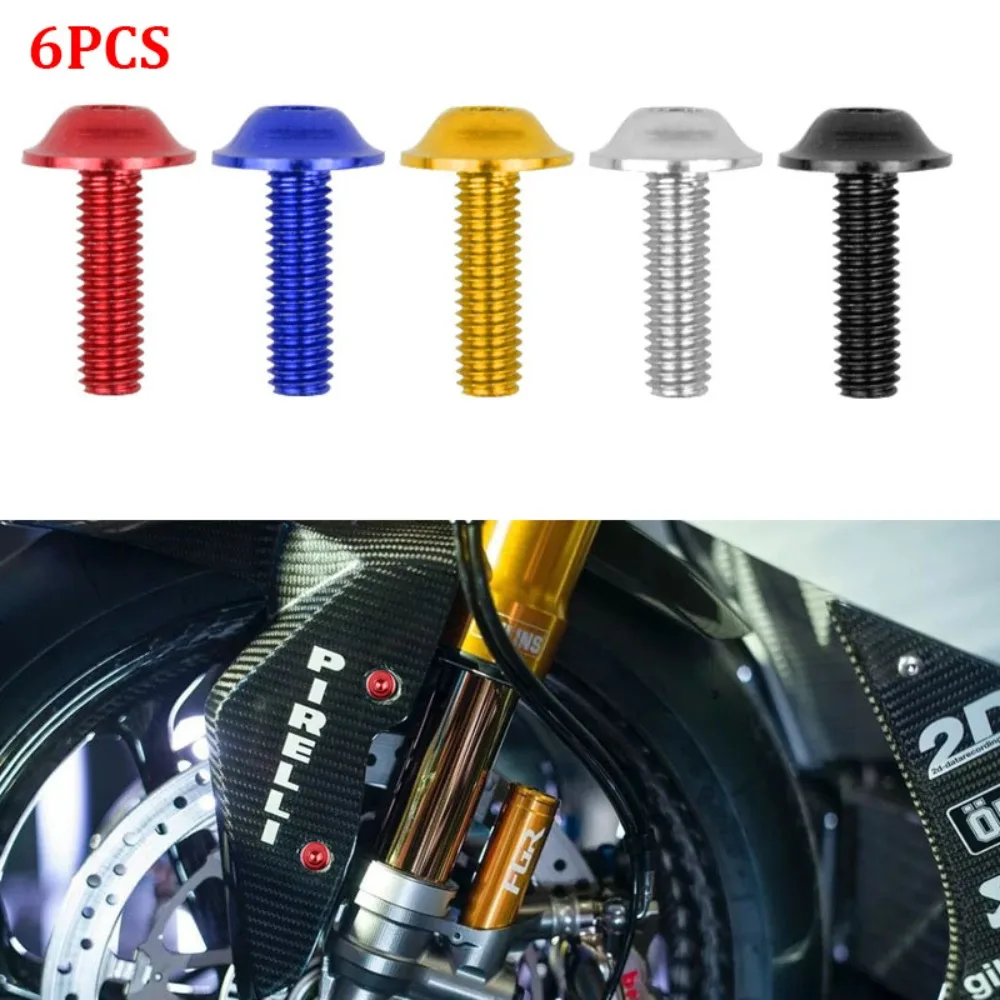
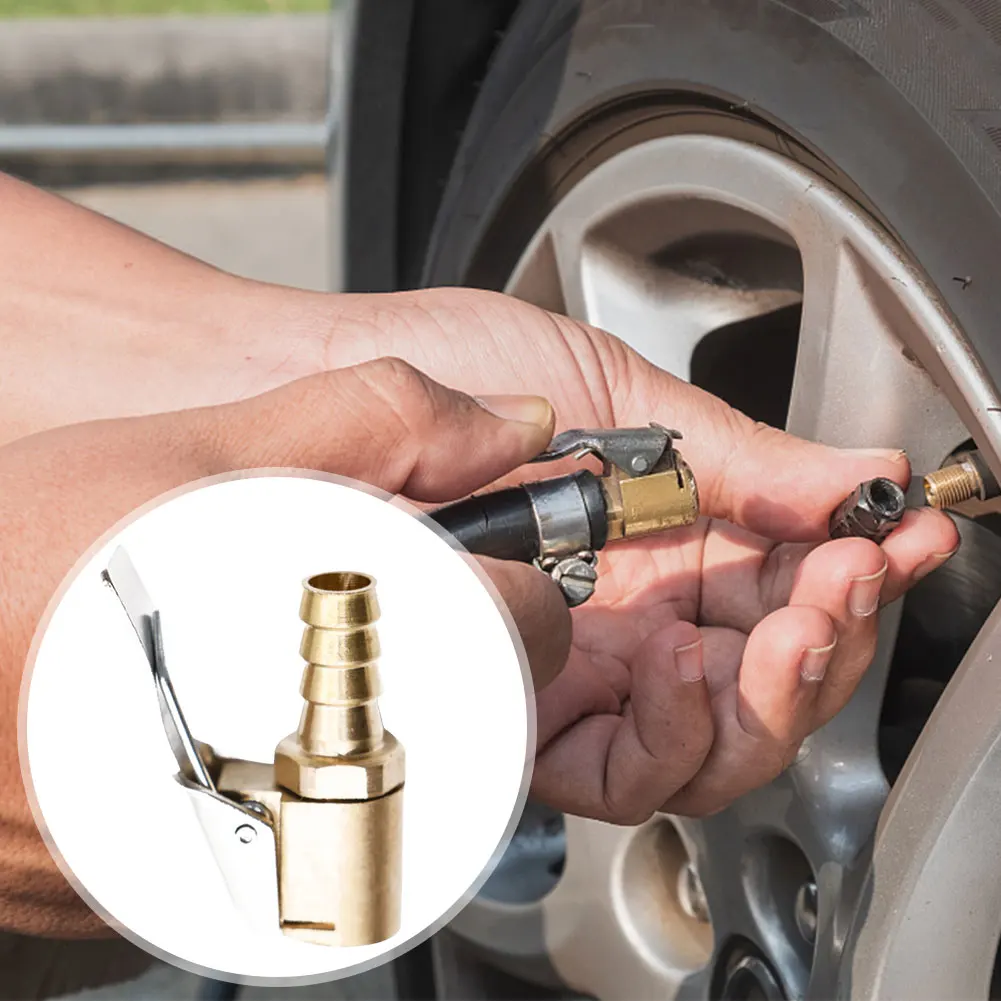
1. Unscrew the 2 screws and put them on the tires of motorcycles / electric bikes / bicycles and tighten them;<br />
2. Point the mounting head of the bracket to the position you want, and confirm that the bracket is secure;<br />
3. Install the receiver on the bracket, tighten it and then lock it.<br />
4. Adjust the appropriate angle by moving the joints by turning the knob on the ball head<br />
<br />
Notes:<br />
1. There may be slight size deviations due to manual measurement, different measuring methods and tools.<br />
2. The picture may not reflect the actual color of the item because of different photographing light, angle and display monitor.<br />
</p>
</div>
<br />
<div>
<br />
</div>
<div style="padding:15px;border:1px solid #AEAEAE;">
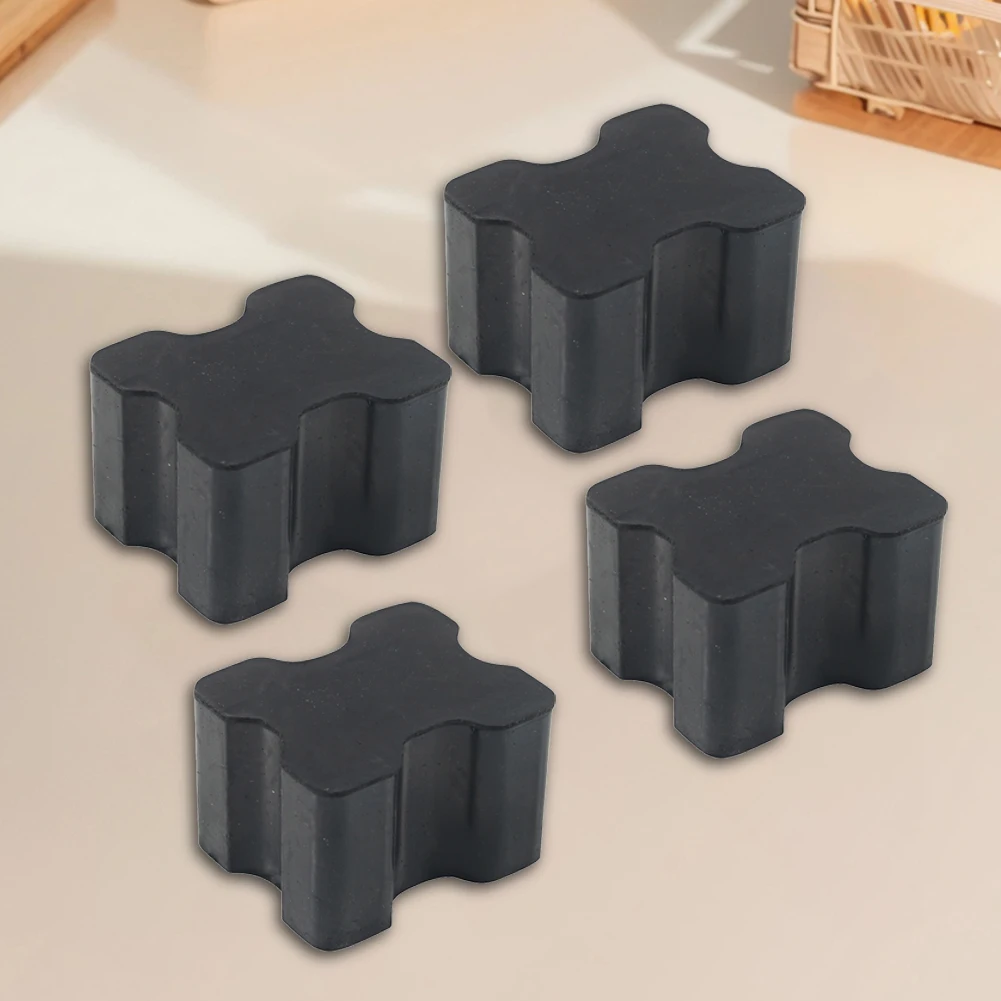
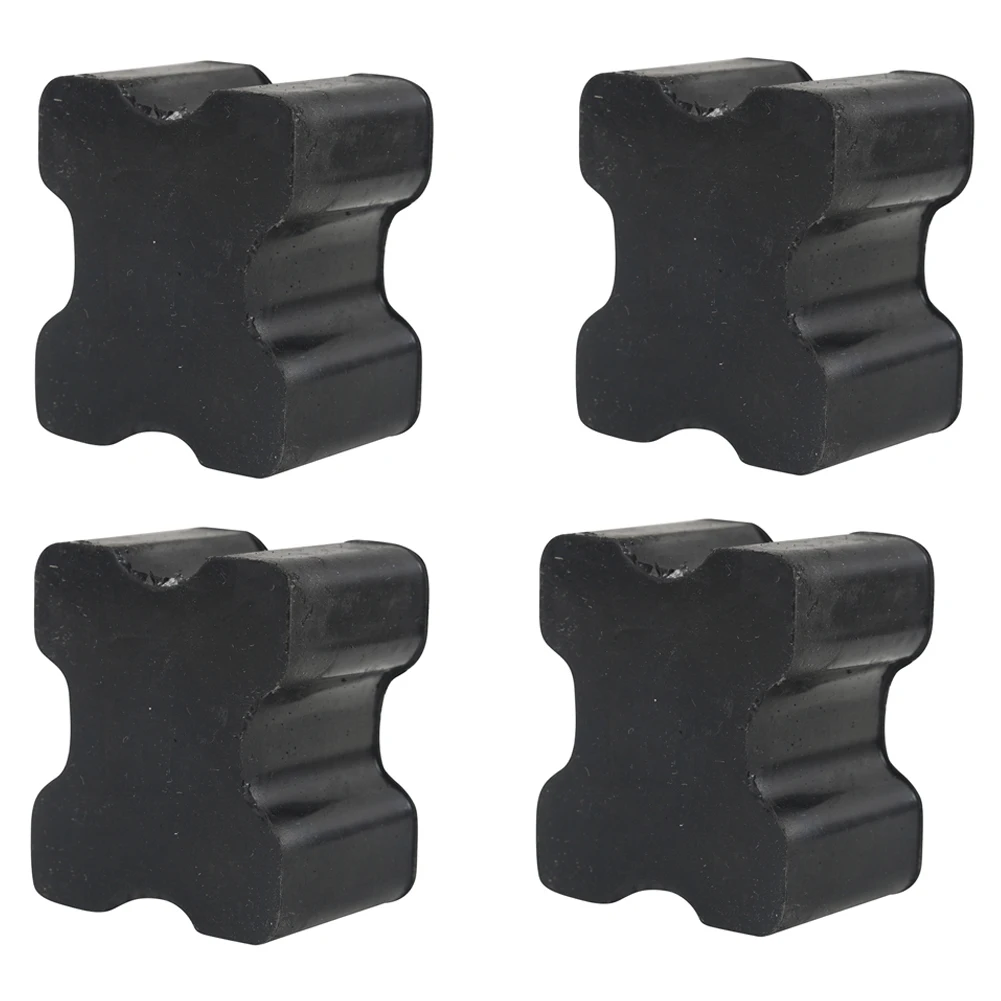
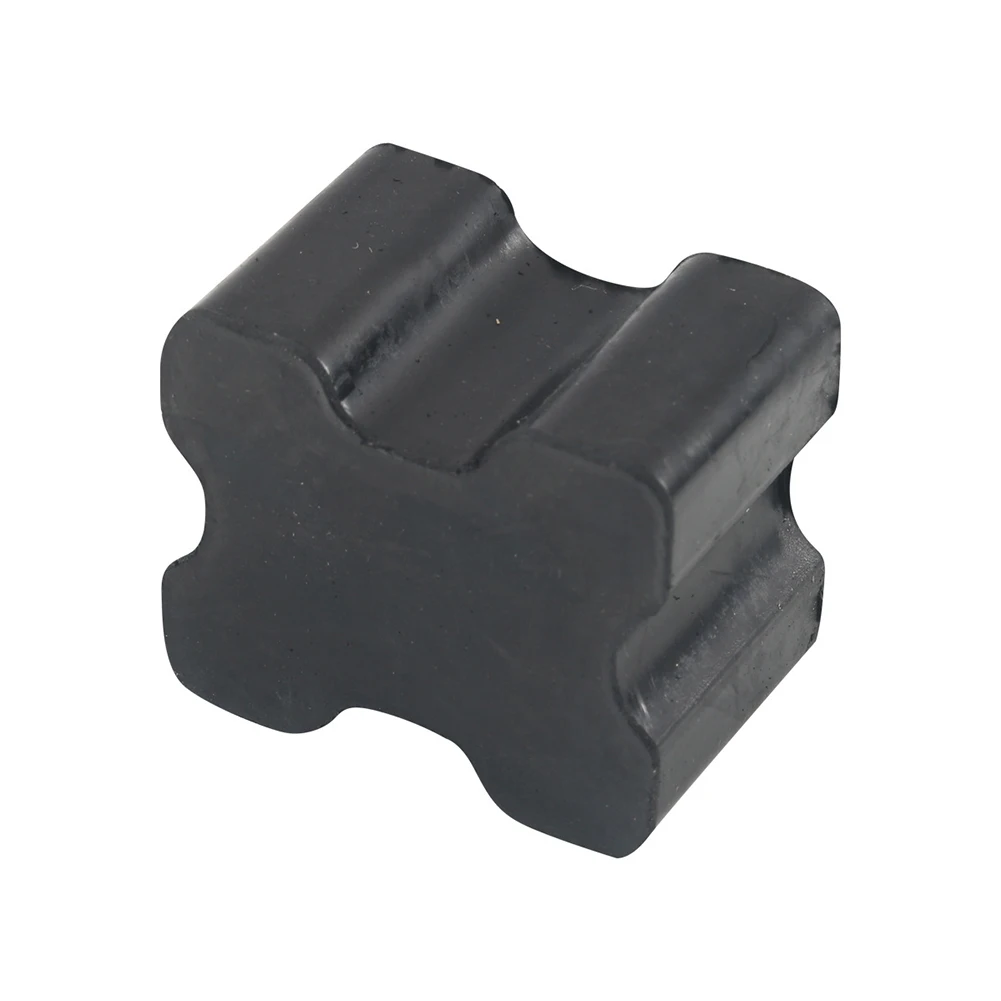
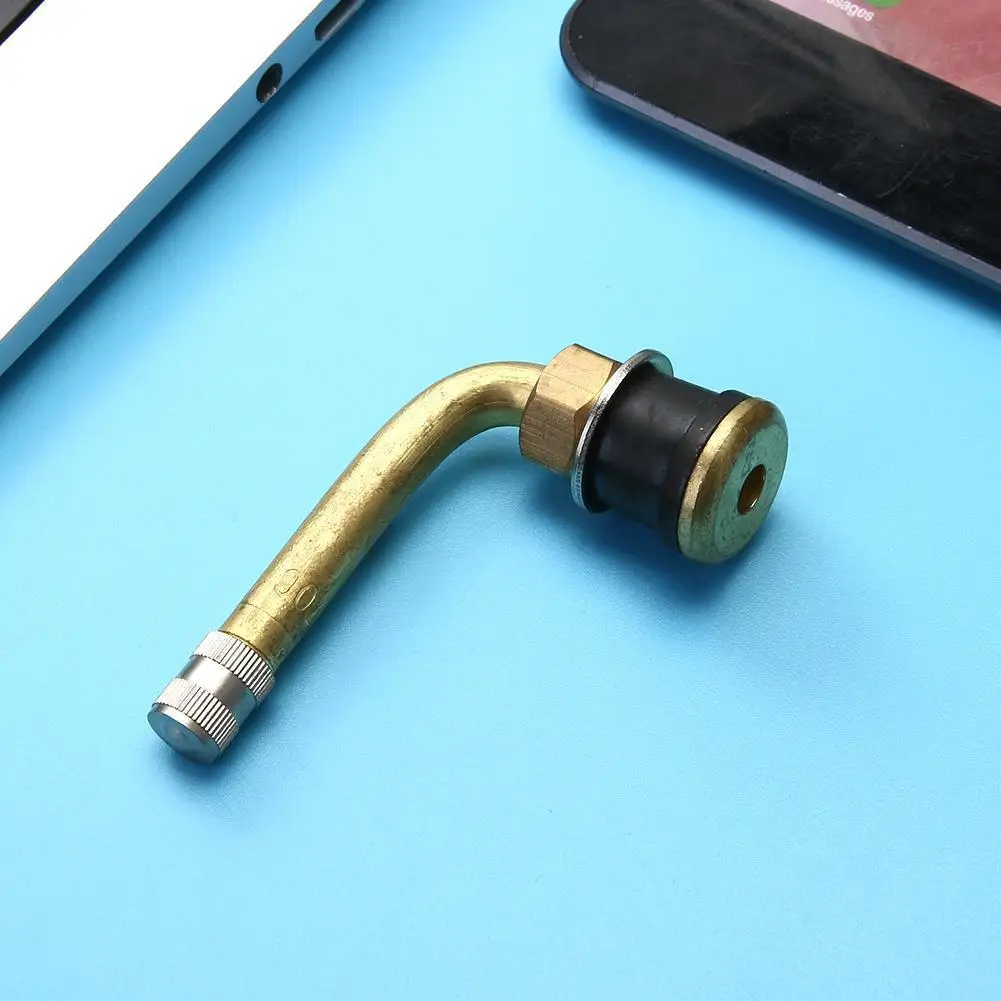
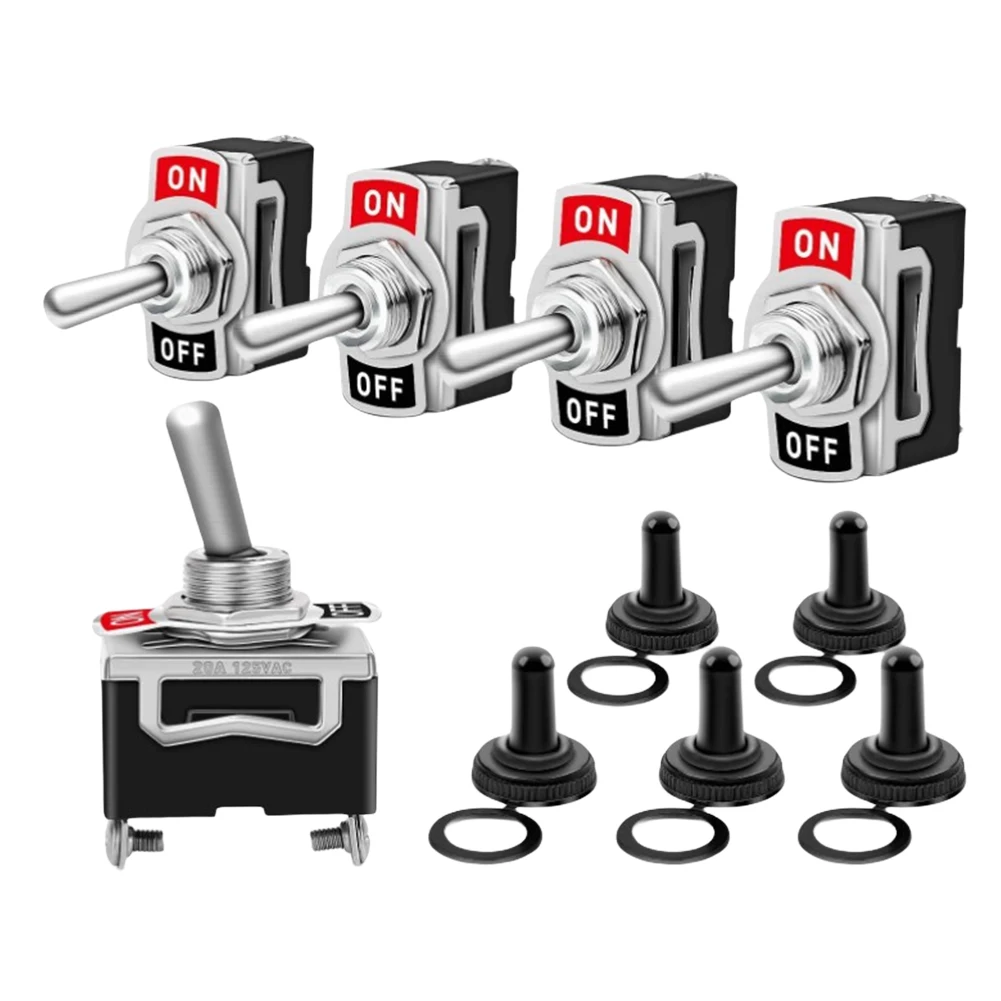
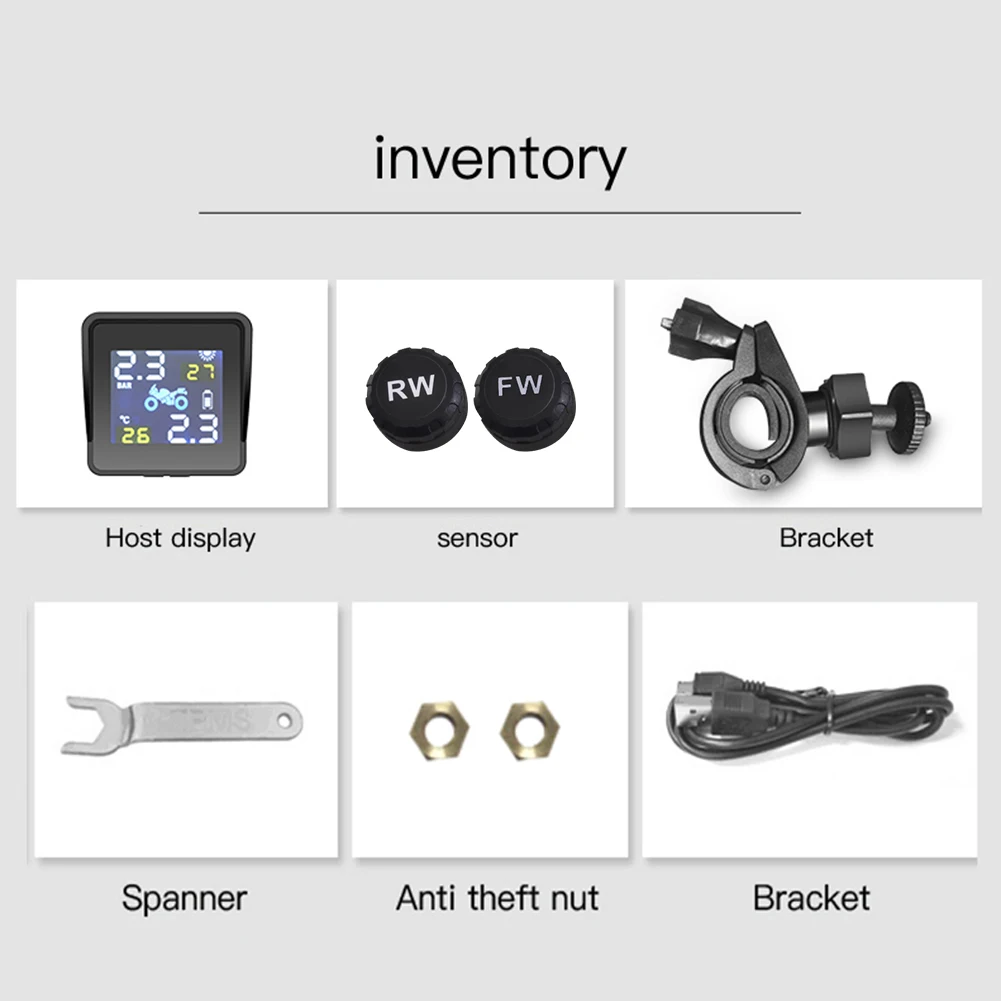
1 X Main Unit<br />
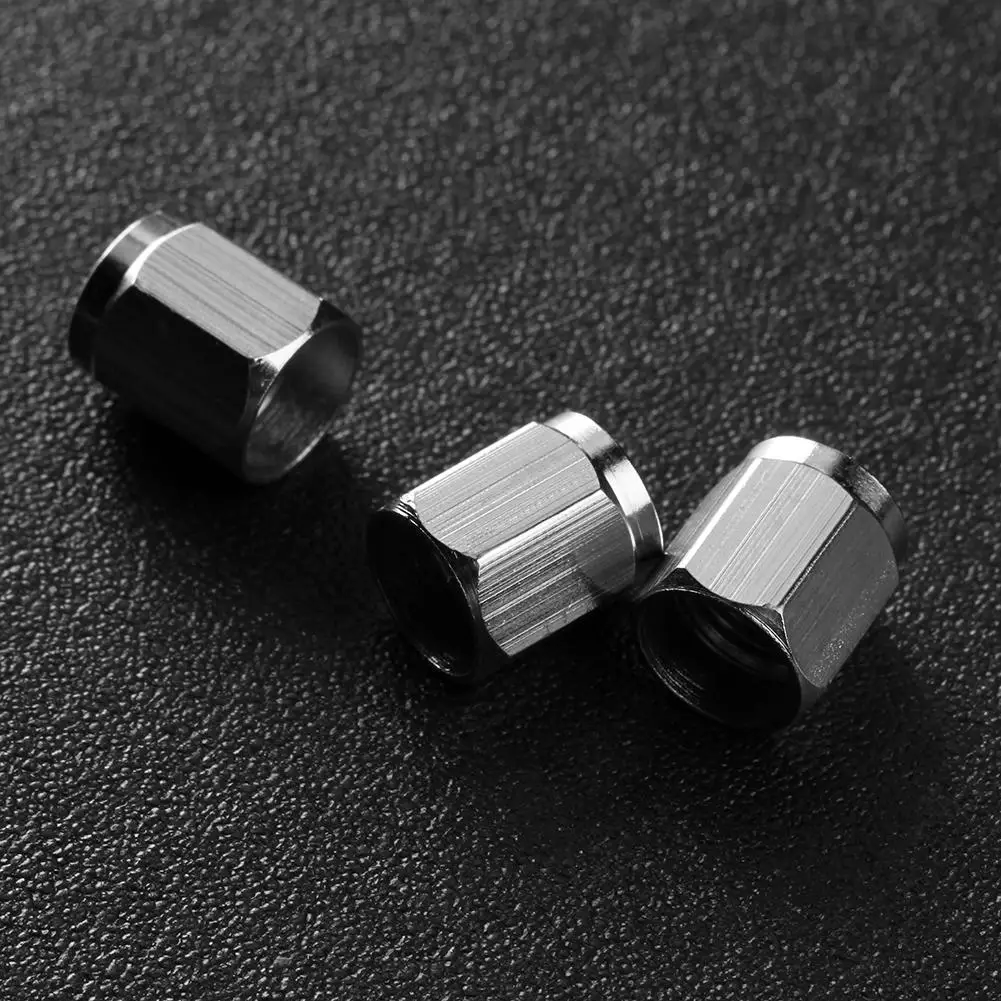
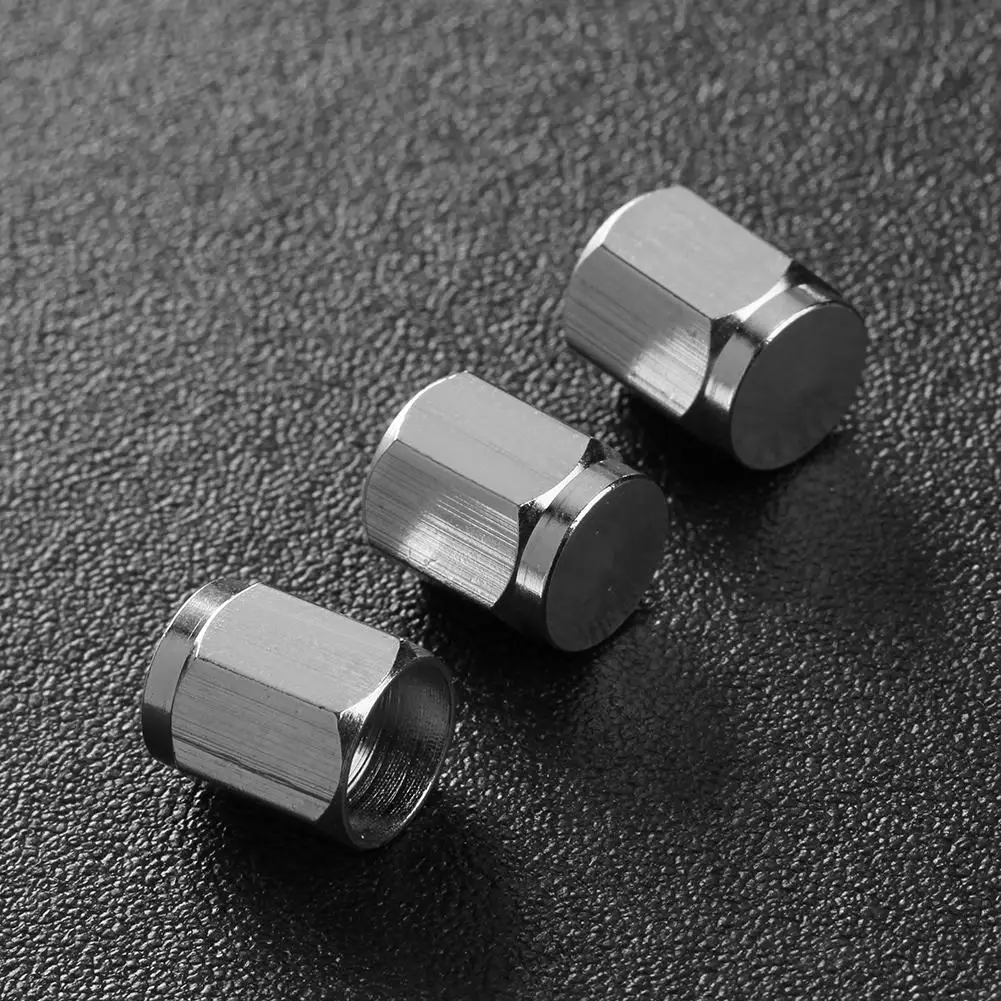
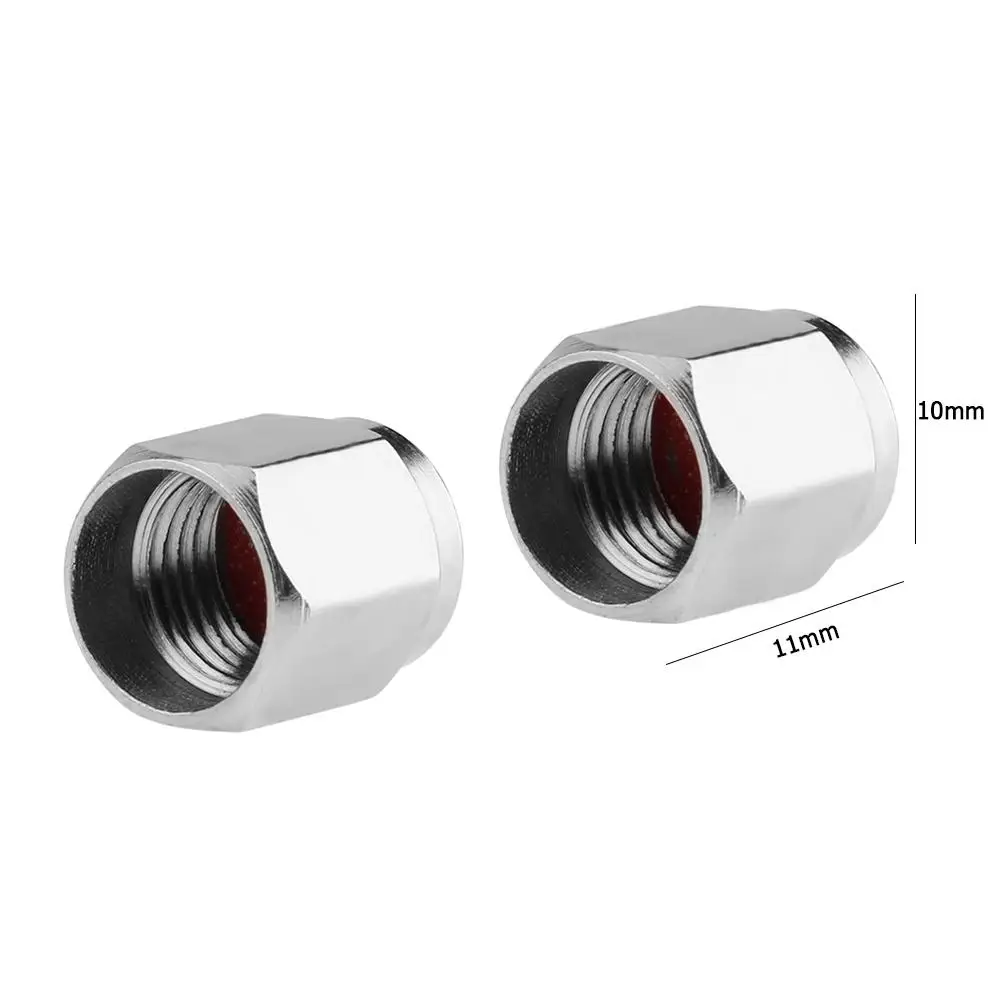
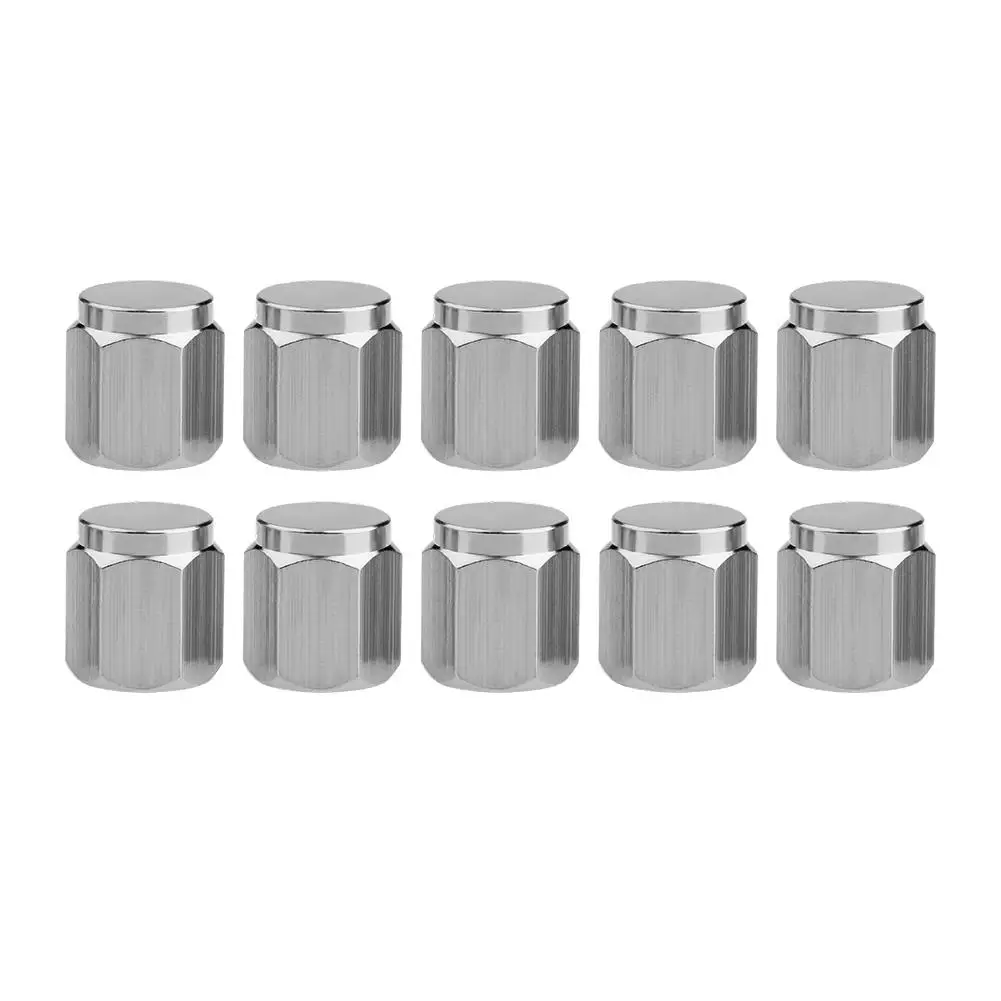
2 X Sensors<br />
1 X USB Cable<br />
1 X Stand<br />
1 Set X Accessories<br /> <br />
</div>
<br />
<div style="text-align:center;">
</div>
<br />
<div>
<br />
</div>
<div style="padding:15px;border:1px solid #AEAEAE;">
[relateproductdetail/]
</div>
<br />
<p>
<br />
</p>
<p>
</p>
</td>
</tr>
</tbody>
</table>
<p>
<br />
</p></div></div>
$97.79
$49.46
- Category : Automobiles, Parts & Accessories
- Brand : us_local_delivery_store_store US Local Delivery Store Store
Colors
Sizes
-
+
<div class="detailmodule_html"><div class="detail-desc-decorate-richtext"><p>
<span> </span>
</p>
<p>
<br />
</p>
<h2>
<span style="font-size:14px;font-family:Arial;"></span>
</h2>
<table class="ke-zeroborder" width="100%" cellspacing="0" cellpadding="0" border="0">
<tbody>
<tr>
<td>
<br />
<div style="padding:15px;border:1px solid #AEAEAE;">
<p>
Solar Charging LCD Motorcycle TPMS Tire Pressure Tyre Temperature Monitoring Alarm System with 2 Sensors<br />
Descriptions:<br />
This tire pressure monitoring system is designed to provide you with an extra protection while driving. It will warn the tire condition of the car in advance.<br />
After installing TPMS, it can monitor the tire pressure and temperature in real time. If abnormal tire pressure and temperature are detected, the system will send real-time warning sounds and flashing icons on screen to inform you, avoiding traffic accidents.<br />
<br />
Features:<br />
- Supports solar charging<br />
- IP65 waterproof<br />
- High-efficiency solar panel with super long battery time<br />
- Built-in large capacity lithium battery, no worry in rainy days<br />
- Accurate monitoring of tire pressure and temperature stability all the way<br />
- LCD high precision display<br />
- High volume alarm sound alert<br />
- Long receiving distance, stable signal<br />
<br />
Specifications:<br />
Mani unit<br />
Working temperature: -20 ~ + 80 C<br />
Storage temperature: -30 ~ + 85 C<br />
Working voltage: DC 5V<br />
Frequency: 433.92MHz ± 20.00MHz<br />
<br />
Sensor<br />
Working temperature: -20 ~ +80 C<br />
Storage temperature: -30 ~ +85 C<br />
Pressure range: 0 ~ 6.6Bar<br />
Precise pressure: +/- 0.1Bar<br />
Accurate temperature: +/- 3 C<br />
Transmitting power: <10dB<br />
Frequency: 433.92MHz ± 20.00MHz<br />
<br />
Stand mounting instructions<br />
1. Unscrew the 2 screws and put them on the tires of motorcycles / electric bikes / bicycles and tighten them;<br />
2. Point the mounting head of the bracket to the position you want, and confirm that the bracket is secure;<br />
3. Install the receiver on the bracket, tighten it and then lock it.<br />
4. Adjust the appropriate angle by moving the joints by turning the knob on the ball head<br />
<br />
Notes:<br />
1. There may be slight size deviations due to manual measurement, different measuring methods and tools.<br />
2. The picture may not reflect the actual color of the item because of different photographing light, angle and display monitor.<br />
</p>
</div>
<br />
<div>
<br />
</div>
<div style="padding:15px;border:1px solid #AEAEAE;">
1 X Main Unit<br />
2 X Sensors<br />
1 X USB Cable<br />
1 X Stand<br />
1 Set X Accessories<br /> <br />
</div>
<br />
<div style="text-align:center;">
</div>
<br />
<div>
<br />
</div>
<div style="padding:15px;border:1px solid #AEAEAE;">
[relateproductdetail/]
</div>
<br />
<p>
<br />
</p>
<p>
</p>
</td>
</tr>
</tbody>
</table>
<p>
<br />
</p></div></div>
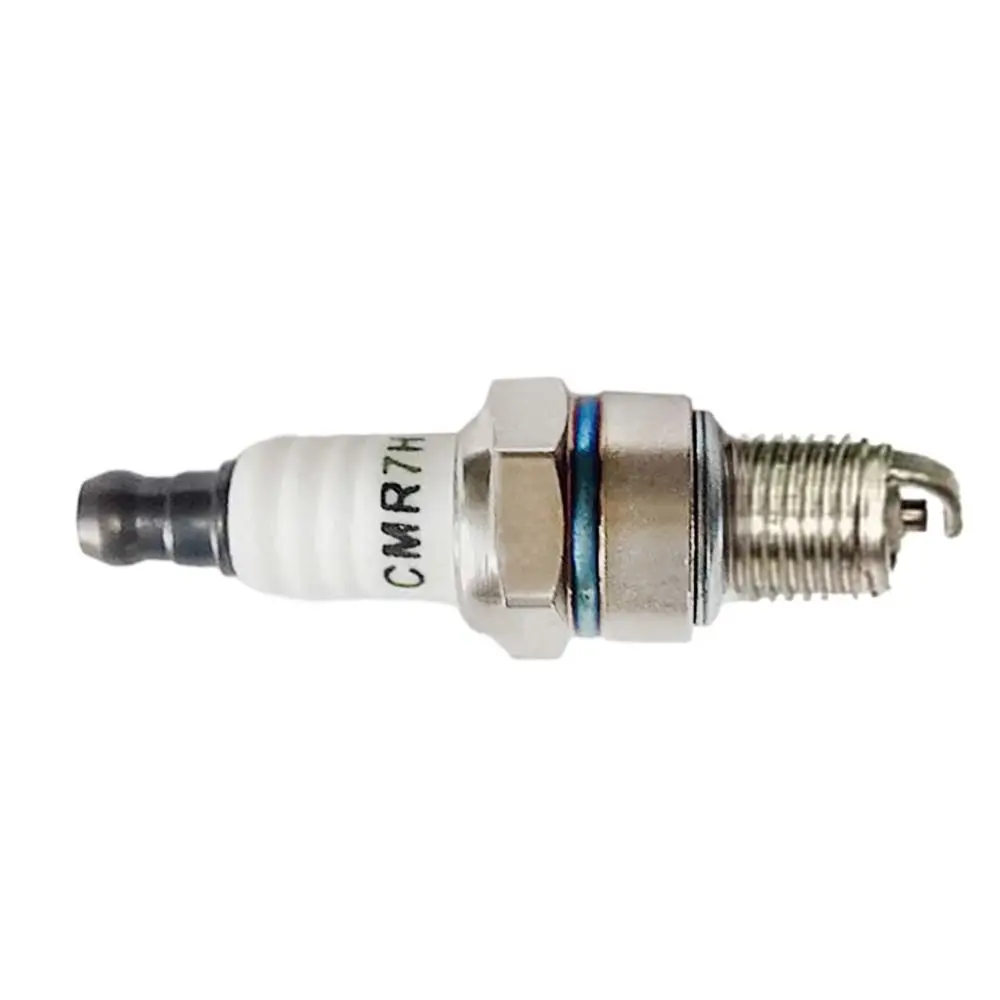
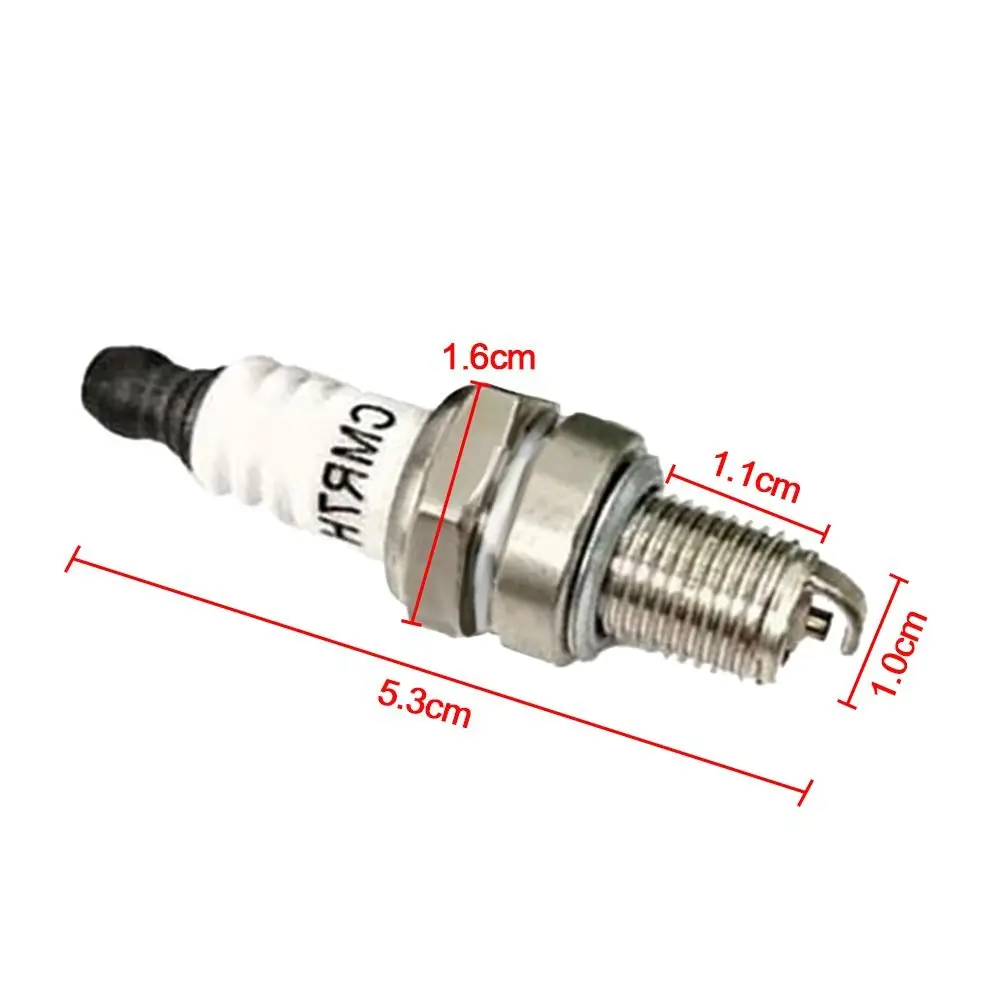
Related Product
Browse The Collection of Top Products.