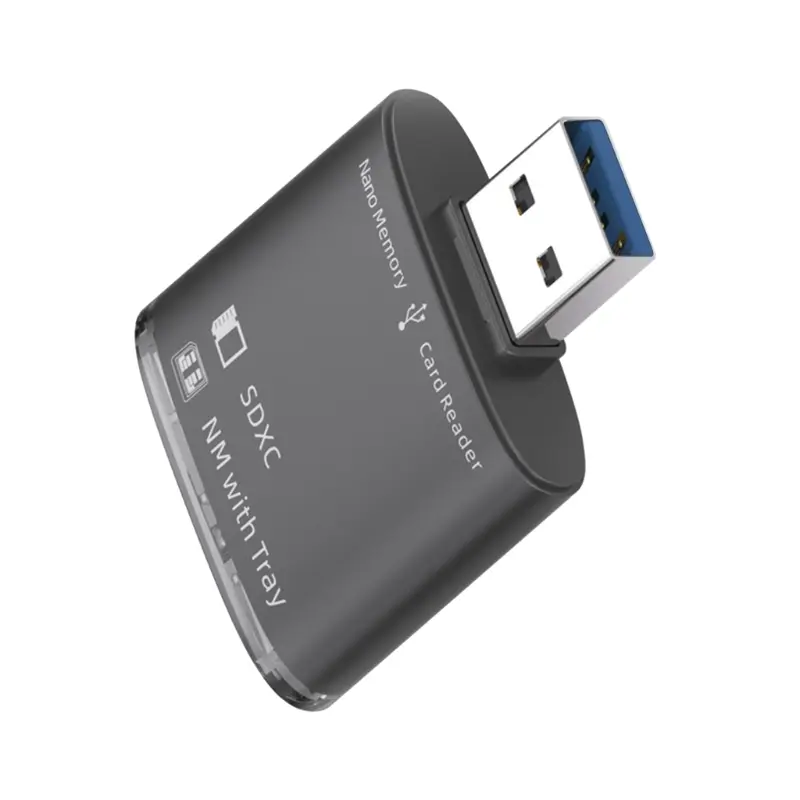
Optimal CM4 IO Expansion Baseboard USB 2.0 -Compatible Network Port As Shown PCB For Raspberry Pi
<meta http-equiv="Content-Type" content="text/html; charset=utf-8" />
<title>
</title>
<style>
body {
font-size: 75%;
color: #000;
font-family: Open Sans,Arial,Helvetica,sans-senif,SimSun,"宋体";
line-height: 1.3;
}
dl {
margin: 0px;
width: 480px;
float: left;
}
dt {
width: 100px;
height: 15px;
float: left;
}
dd {
width: 240px;
height: 15px;
float: left;
}
dl dt {
margin: 0px;
line-height: 22px;
color: #474747;
font-size: 14px;
font-family: tahoma;
}
#product-desc {
width: 100%;
height: 209px;
}
#description {
width: 100%;
height: 50%;
}
#details {
width: 100%;
height: 50%;
}
.ui-box-title {
height: 30px;
font-size: 15px;
font-family: tahoma;
font-weight: bold;
background-color: #ddd;
text-anchor: inherit;
padding-top: 8px;
margin: 0px;
}
.ui-box-body {
margin: 0px;
}
#tbspecifics {
border-right: 1px solid black;
border-bottom: 1px solid black;
}
#tbspecifics tr {
height: 30px;
}
#tbspecifics td {
width: 100px;
border-left: 1px solid black;
border-top: 1px solid black;
}
</style>
<div style="width:100%;height:100%;">
<div style="width:100%;text-align:center;height:30px;" id="title">
<span style="font-weight:bold;font-size:16px;">Optimal CM4 IO Expansion Baseboard USB 2.0 -Compatible Network Port As Shown PCB For Raspberry Pi</span>
</div>
<div id="description">
<div class="ui-box-body">
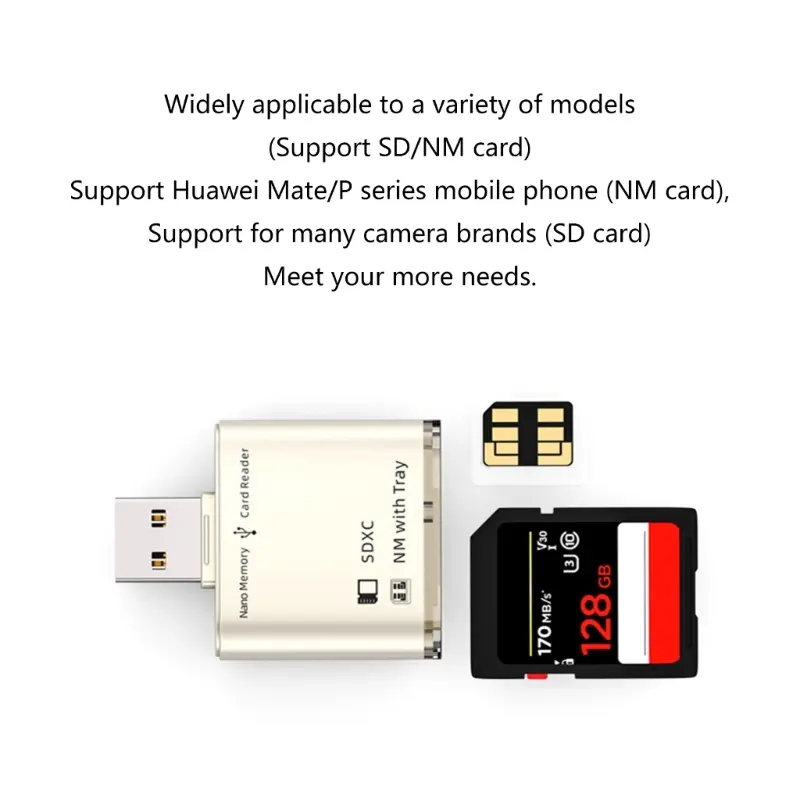
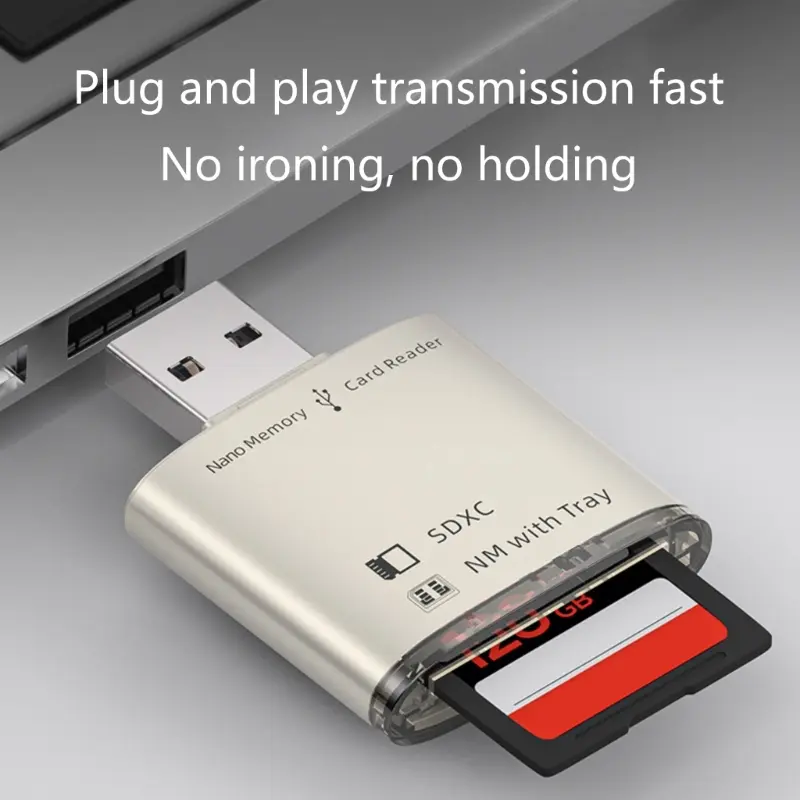
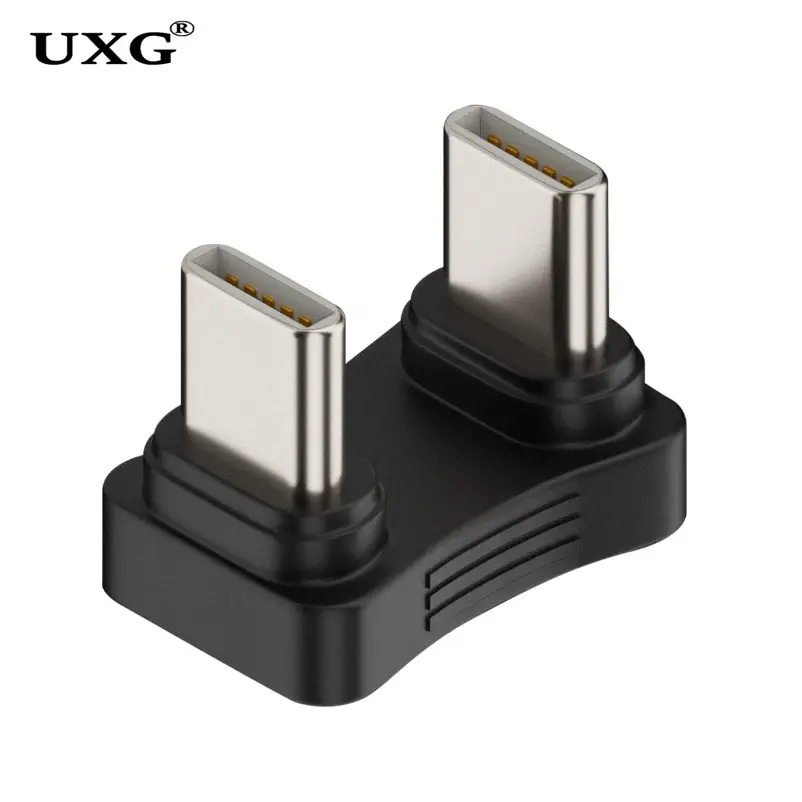
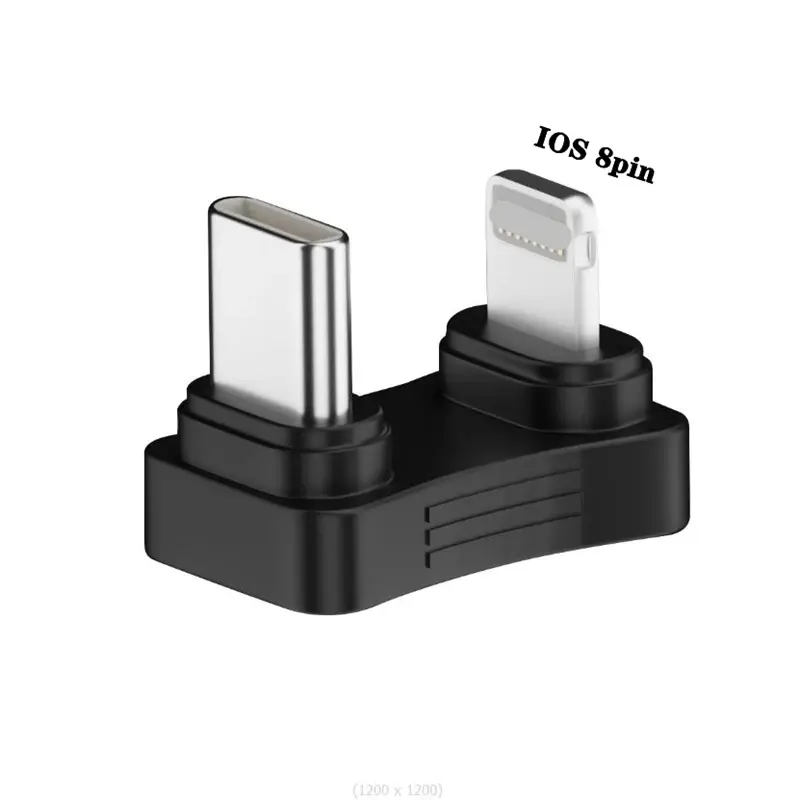
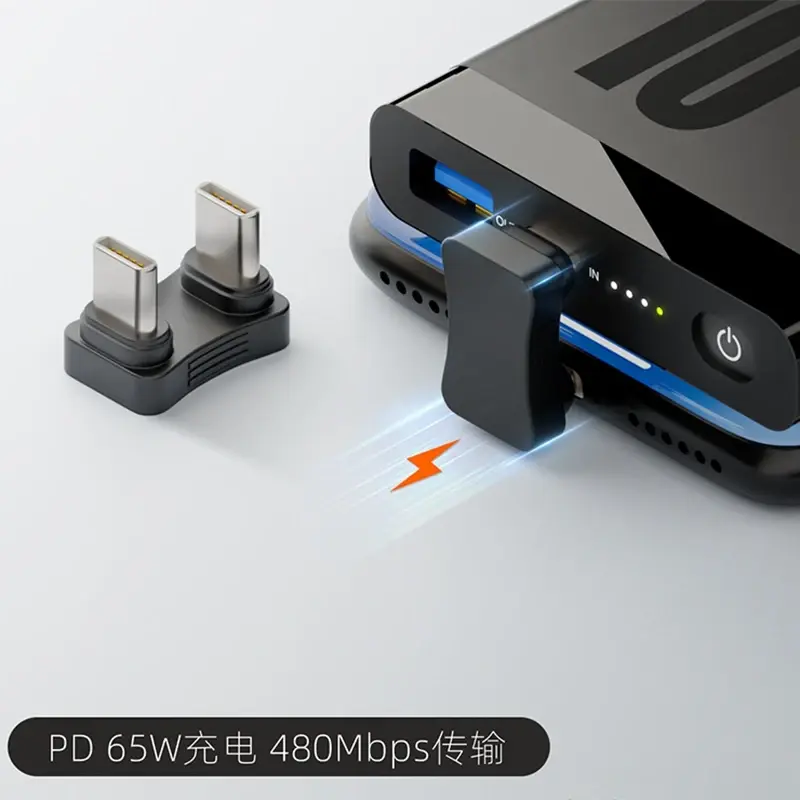
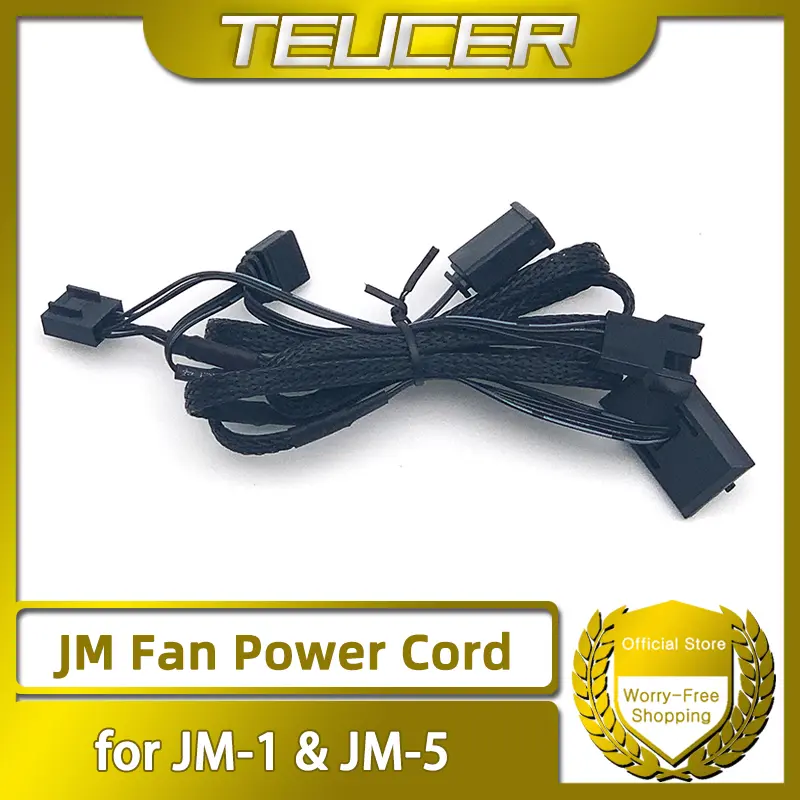
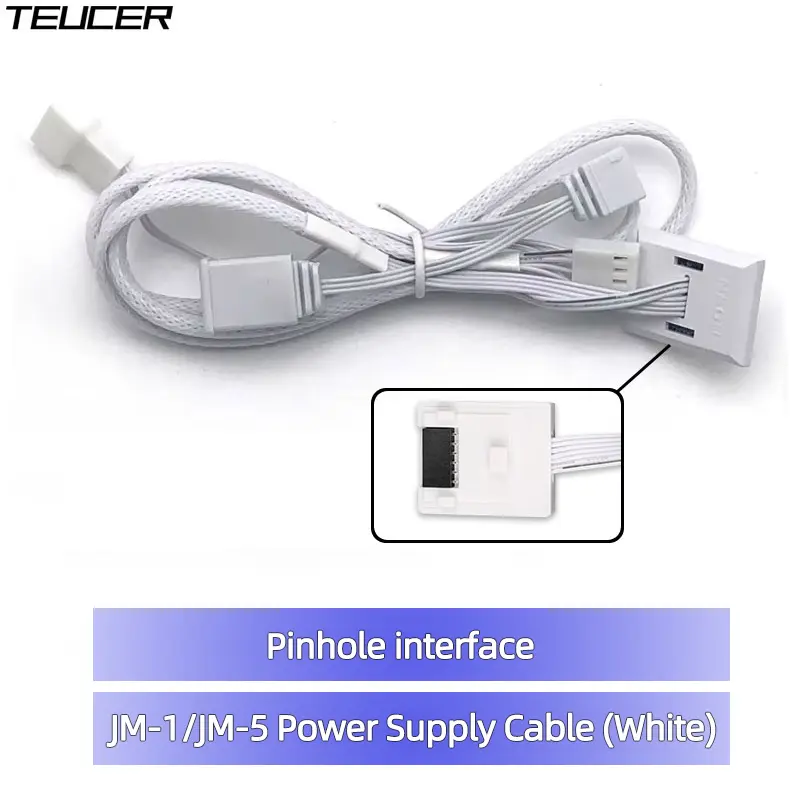
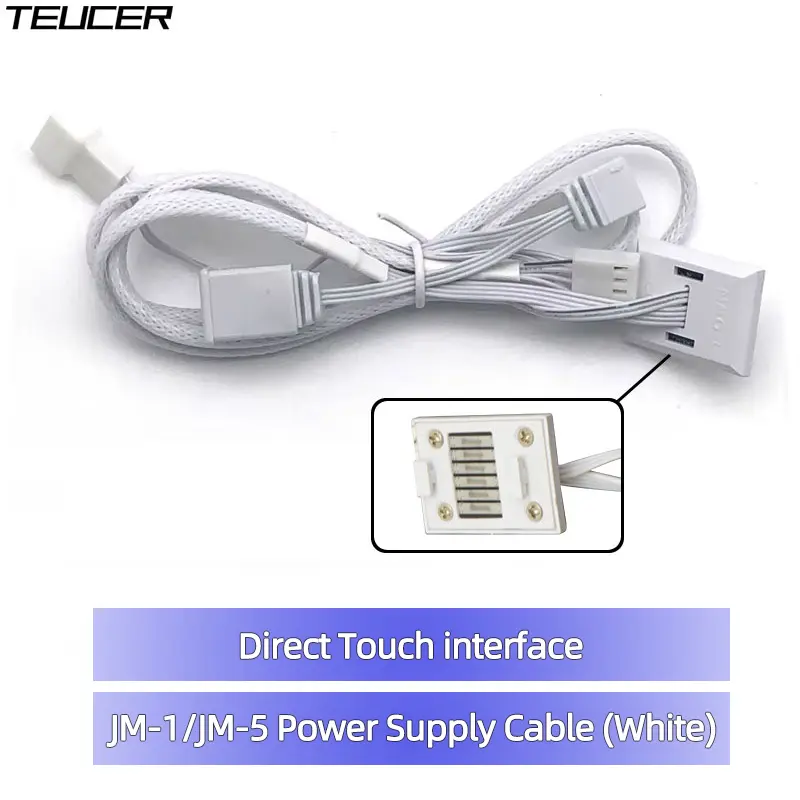
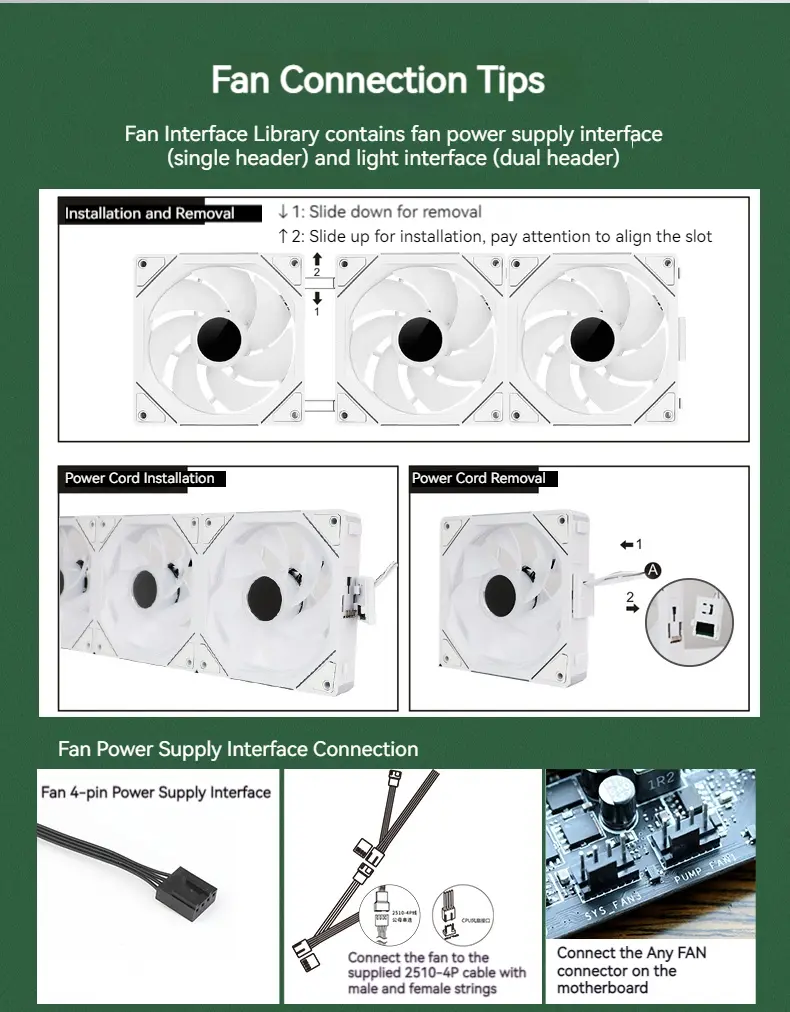
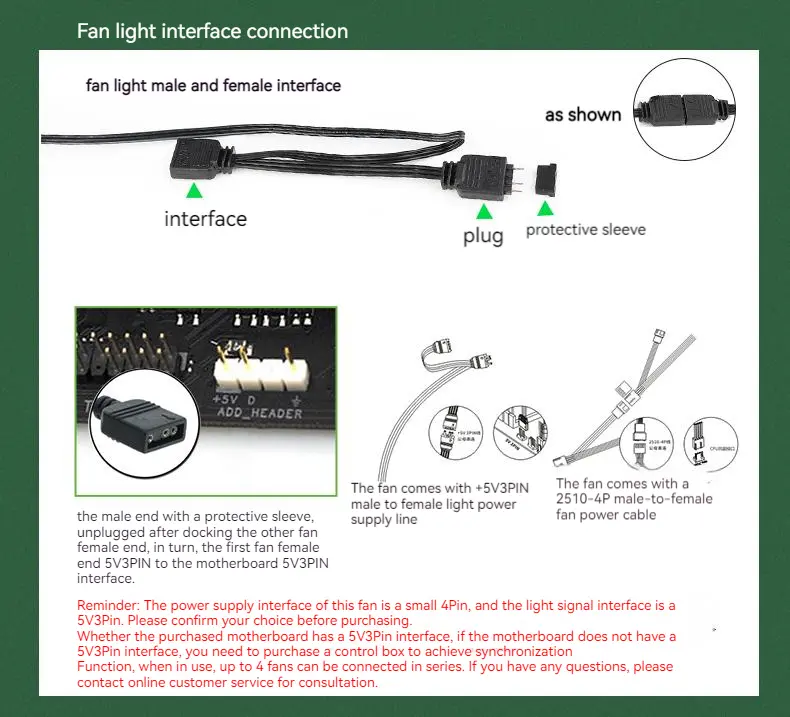
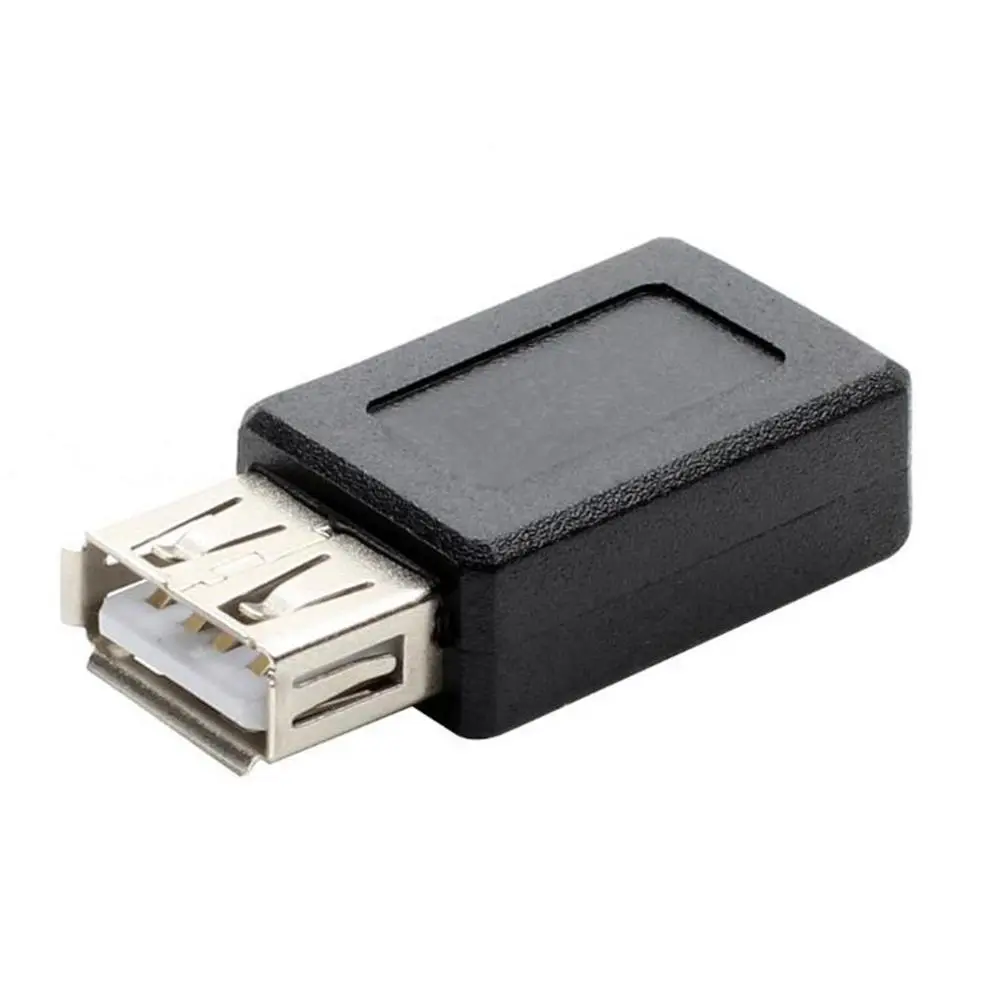
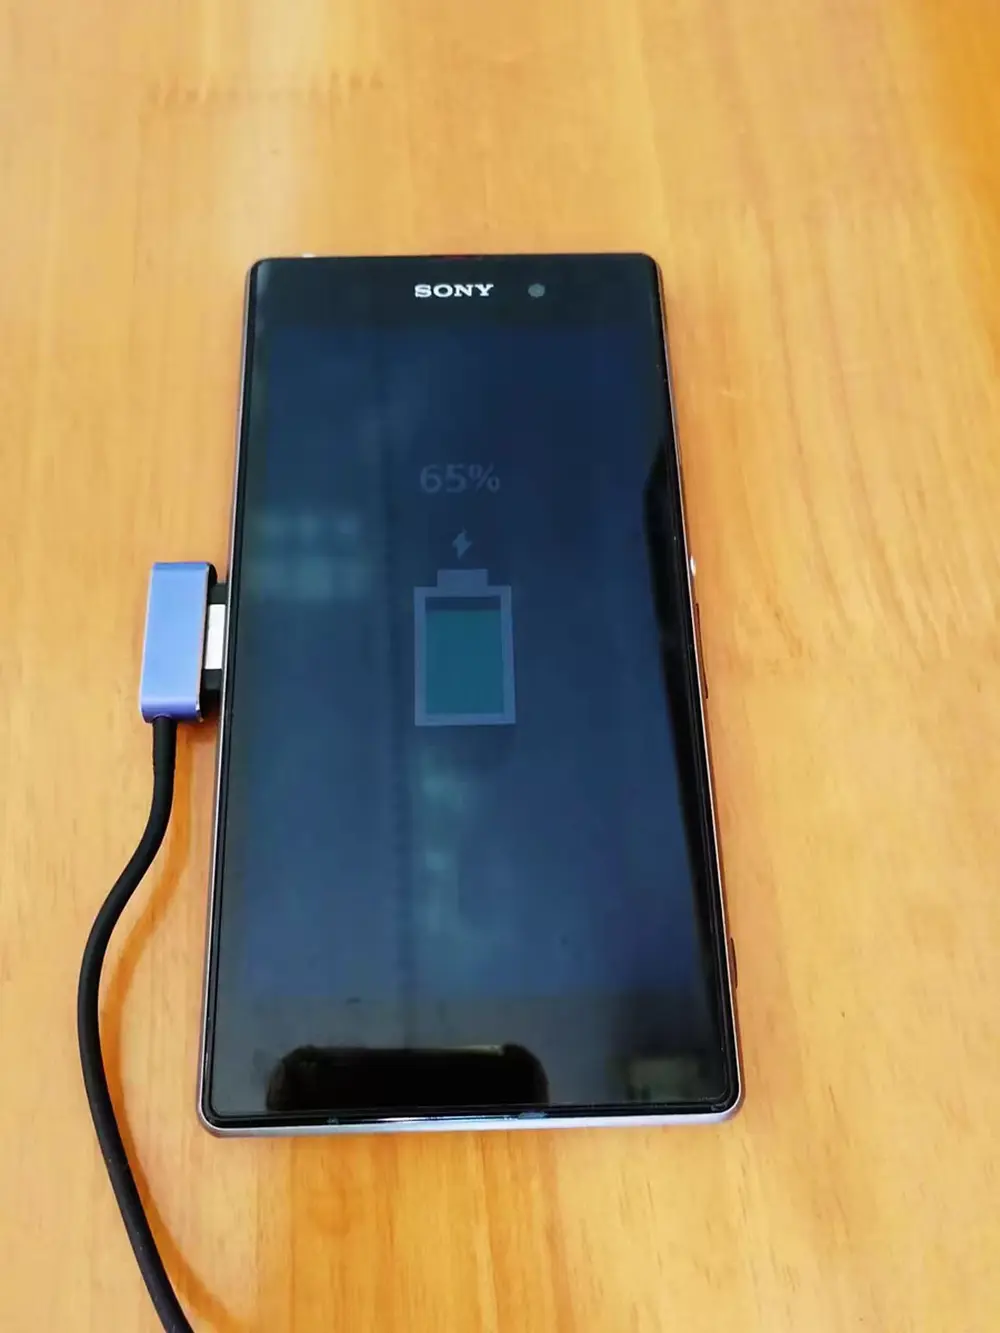
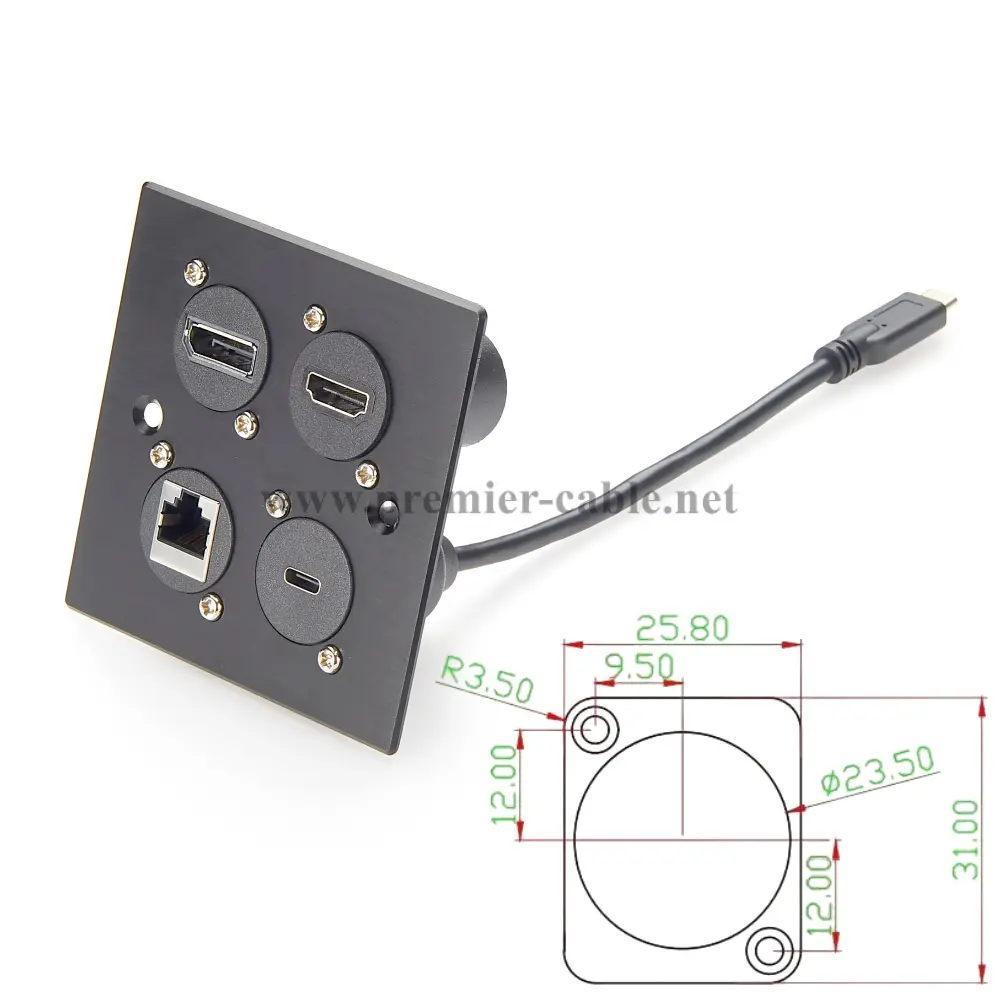
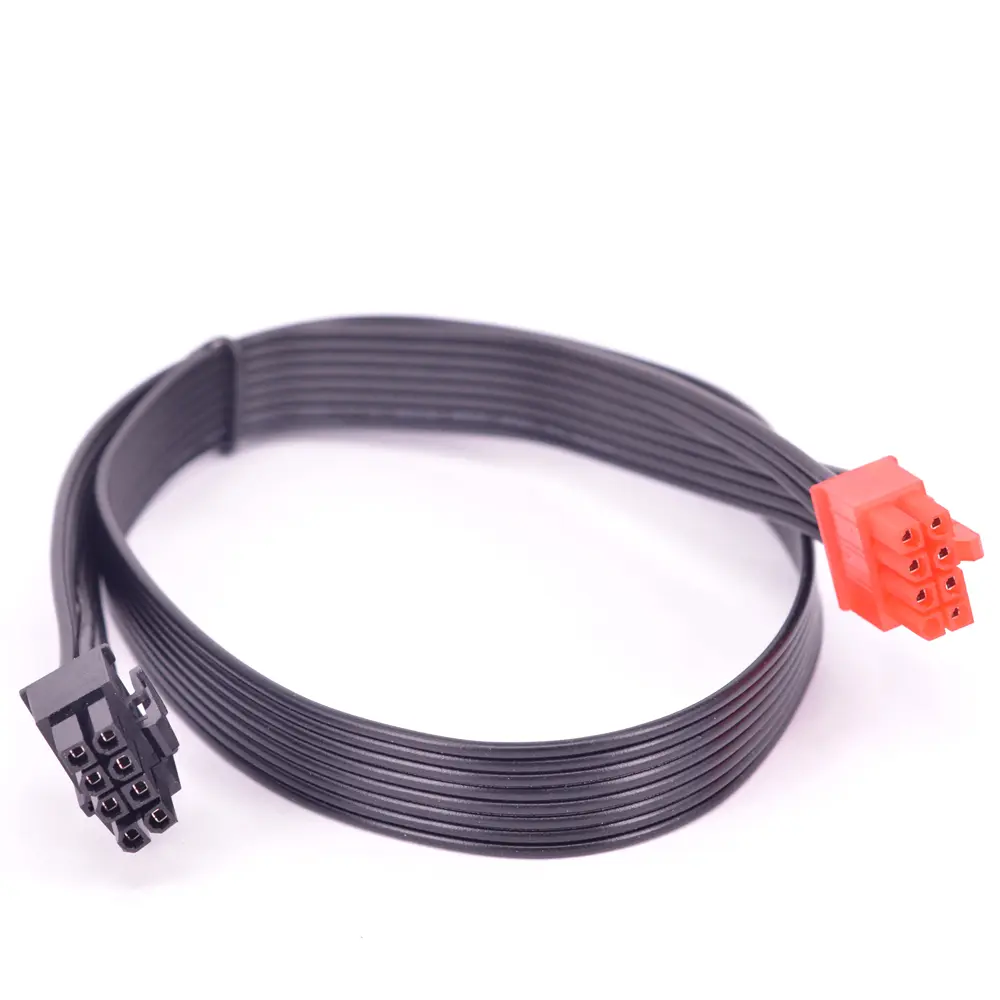
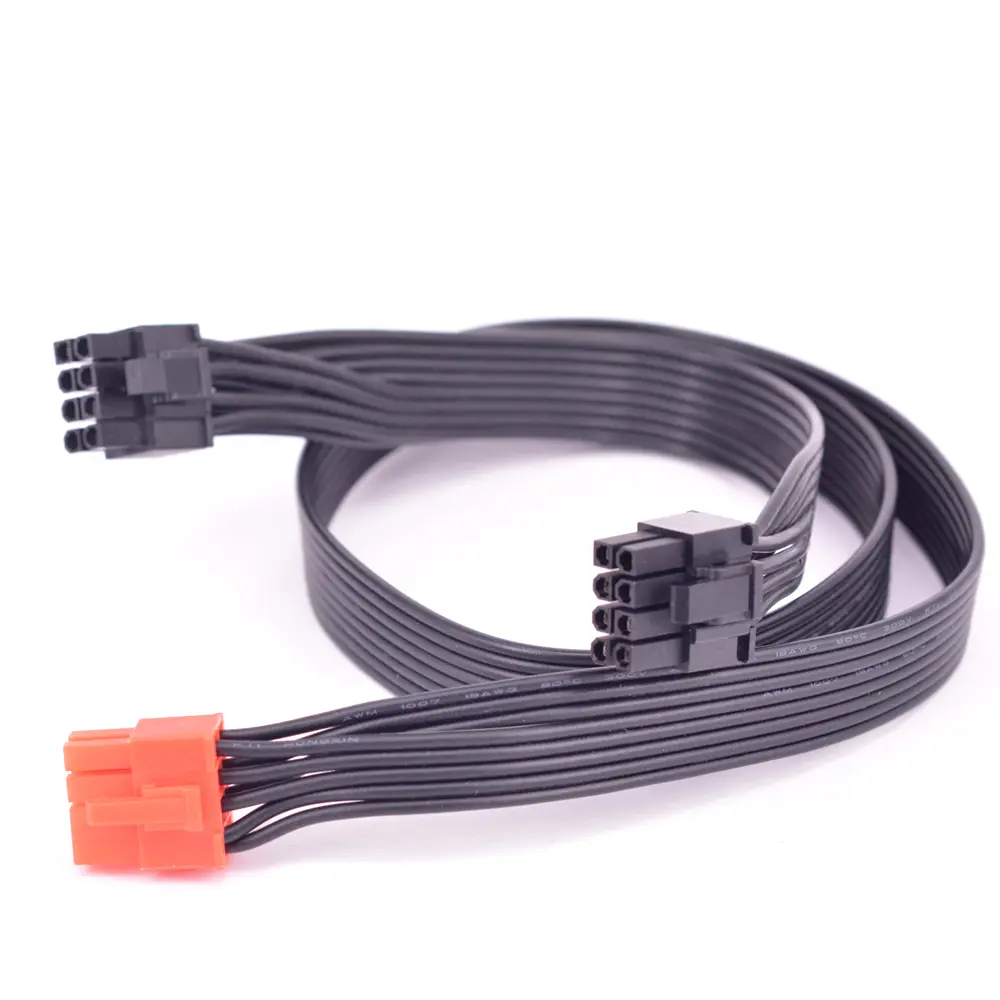
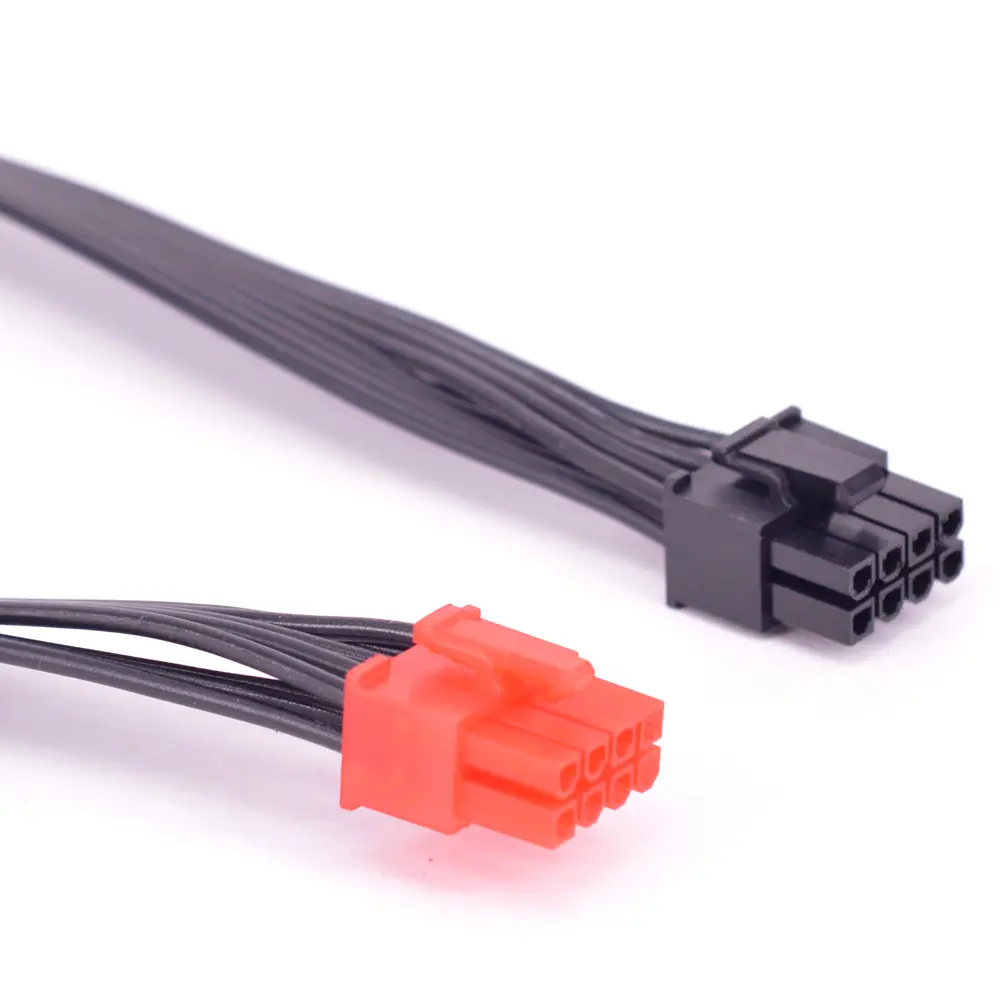
<span style="font-size:18px;"><div>1. USB2.0 Network Port Display, CM4 Io Expansion Backplane<br />2. USB 2.0 Network Port Display, Camera Interface<br />3. For Functional Testing, Plug In A Usb Mouse, Usb Keyboard, Network Cable, And Cable To The Monitor. Cam1 Is Plugged Into The 15p Camera, And Dsi1 Is Plugged Into The 15p Display Screen. It Is Prohibited To Plug Or Unplug Any Equipment While The Power Is On<br />4. Plug In The Type-C Data Cable, Power On The Raspberry Pi, And Display The Startup Process Through . For The Latest Image, You Need To Set Your Own Username And Password After Burning It For The First Time. You Will Be Logged In Automatically When You Start It Later.<br />5. Enter The Following Command In The for Raspberry Pi Terminal To Open The CAM1 And DSI1 Interfaces.<br /><br />CM4 Card Holder:Applicable To All Versions Of CM4<br />Networking:Illuminated Gigabit RJ45 Port<br />Connector:for Raspberry PI 40pingpio Interface<br />Usb:Usb2.0A Port x 2, Can Be Connected To Mouse And Keyboard<br />Display:Mipidsi1 Interface (15Pin 1mmfpc Connector)<br />Camera:Mipicam1 Interface (15Pin 1mmfpc Connector)<br />Video: Interface, Supports 4K30fps Output<br />Onboard:Micro-sd Card Slot (Applicable To Versions Without Emmc)<br />Power Input:Type-C 5V Power Supply<br />Note:Different Batches May Have Differences In Product Appearance, Color, And Printed Characters, Which Will Not Affect The Use<br />Colour:As Shown<br />Material:PCB<br />Size:About 85x54mm<br /><br />Package Contents:<br />1 * Extension Backplane<br />1 * Double Row Of Pins (20pin)<br /><br />Only the above package content, other products are not included.<br />Note: Light reflection and different displays may cause the color of the item in the picture a little different from the real thing. The measurement allowed error is +/- 1-3cm.</div></span>
</div>
</div>
<div id="details">
<div class="ui-box-body">
<span style="font-size:18px;"><table border="0" cellpadding="0" cellspacing="0" style="width: 100.0%;"><tbody><tr> <td style="margin: 0 auto; text-align: center;"><p></p><p></p><p></p><p></p><p></p><p></p></td></tr></tbody></table> </span><br />
<p>
<br />
</p>
<p>
</p>
</div>
</div>
</div>
$48.545
$23.87
- Category : Computer & Office
- Brand : wassuh_store Wassuh Store
Colors
Sizes
-
+
<meta http-equiv="Content-Type" content="text/html; charset=utf-8" />
<title>
</title>
<style>
body {
font-size: 75%;
color: #000;
font-family: Open Sans,Arial,Helvetica,sans-senif,SimSun,"宋体";
line-height: 1.3;
}
dl {
margin: 0px;
width: 480px;
float: left;
}
dt {
width: 100px;
height: 15px;
float: left;
}
dd {
width: 240px;
height: 15px;
float: left;
}
dl dt {
margin: 0px;
line-height: 22px;
color: #474747;
font-size: 14px;
font-family: tahoma;
}
#product-desc {
width: 100%;
height: 209px;
}
#description {
width: 100%;
height: 50%;
}
#details {
width: 100%;
height: 50%;
}
.ui-box-title {
height: 30px;
font-size: 15px;
font-family: tahoma;
font-weight: bold;
background-color: #ddd;
text-anchor: inherit;
padding-top: 8px;
margin: 0px;
}
.ui-box-body {
margin: 0px;
}
#tbspecifics {
border-right: 1px solid black;
border-bottom: 1px solid black;
}
#tbspecifics tr {
height: 30px;
}
#tbspecifics td {
width: 100px;
border-left: 1px solid black;
border-top: 1px solid black;
}
</style>
<div style="width:100%;height:100%;">
<div style="width:100%;text-align:center;height:30px;" id="title">
<span style="font-weight:bold;font-size:16px;">Optimal CM4 IO Expansion Baseboard USB 2.0 -Compatible Network Port As Shown PCB For Raspberry Pi</span>
</div>
<div id="description">
<div class="ui-box-body">
<span style="font-size:18px;"><div>1. USB2.0 Network Port Display, CM4 Io Expansion Backplane<br />2. USB 2.0 Network Port Display, Camera Interface<br />3. For Functional Testing, Plug In A Usb Mouse, Usb Keyboard, Network Cable, And Cable To The Monitor. Cam1 Is Plugged Into The 15p Camera, And Dsi1 Is Plugged Into The 15p Display Screen. It Is Prohibited To Plug Or Unplug Any Equipment While The Power Is On<br />4. Plug In The Type-C Data Cable, Power On The Raspberry Pi, And Display The Startup Process Through . For The Latest Image, You Need To Set Your Own Username And Password After Burning It For The First Time. You Will Be Logged In Automatically When You Start It Later.<br />5. Enter The Following Command In The for Raspberry Pi Terminal To Open The CAM1 And DSI1 Interfaces.<br /><br />CM4 Card Holder:Applicable To All Versions Of CM4<br />Networking:Illuminated Gigabit RJ45 Port<br />Connector:for Raspberry PI 40pingpio Interface<br />Usb:Usb2.0A Port x 2, Can Be Connected To Mouse And Keyboard<br />Display:Mipidsi1 Interface (15Pin 1mmfpc Connector)<br />Camera:Mipicam1 Interface (15Pin 1mmfpc Connector)<br />Video: Interface, Supports 4K30fps Output<br />Onboard:Micro-sd Card Slot (Applicable To Versions Without Emmc)<br />Power Input:Type-C 5V Power Supply<br />Note:Different Batches May Have Differences In Product Appearance, Color, And Printed Characters, Which Will Not Affect The Use<br />Colour:As Shown<br />Material:PCB<br />Size:About 85x54mm<br /><br />Package Contents:<br />1 * Extension Backplane<br />1 * Double Row Of Pins (20pin)<br /><br />Only the above package content, other products are not included.<br />Note: Light reflection and different displays may cause the color of the item in the picture a little different from the real thing. The measurement allowed error is +/- 1-3cm.</div></span>
</div>
</div>
<div id="details">
<div class="ui-box-body">
<span style="font-size:18px;"><table border="0" cellpadding="0" cellspacing="0" style="width: 100.0%;"><tbody><tr> <td style="margin: 0 auto; text-align: center;"><p></p><p></p><p></p><p></p><p></p><p></p></td></tr></tbody></table> </span><br />
<p>
<br />
</p>
<p>
</p>
</div>
</div>
</div>
Related Product
Browse The Collection of Top Products.