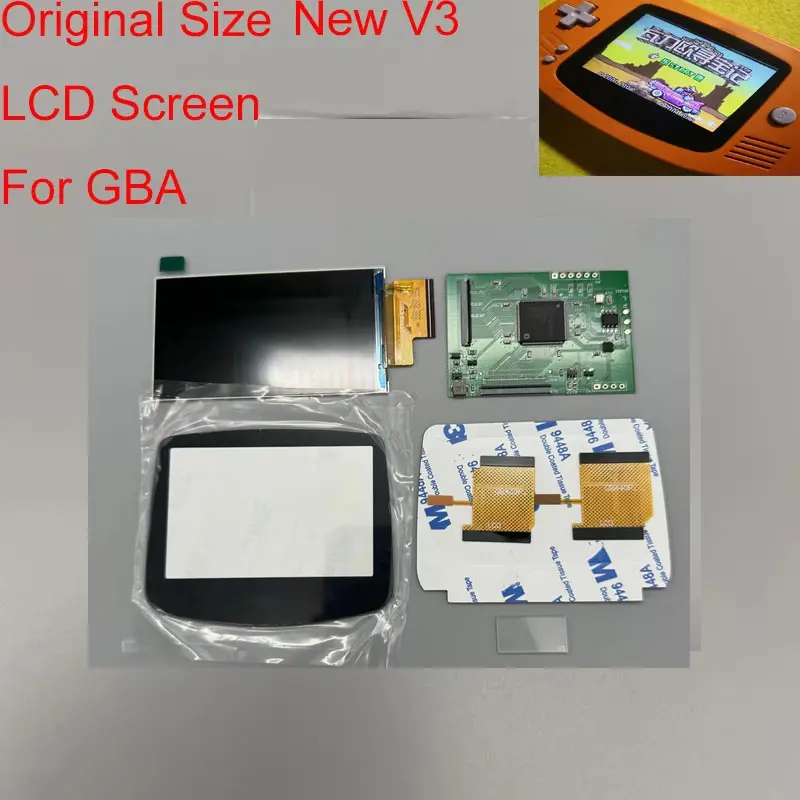
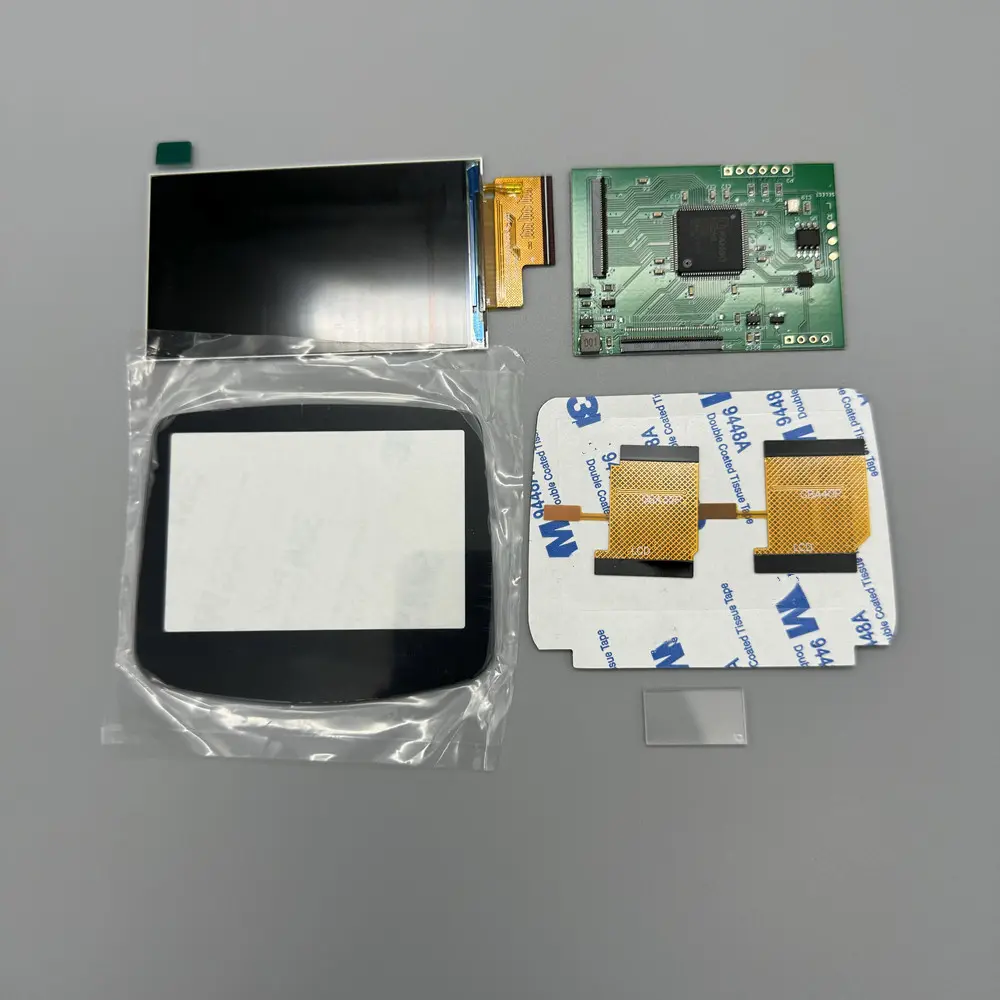
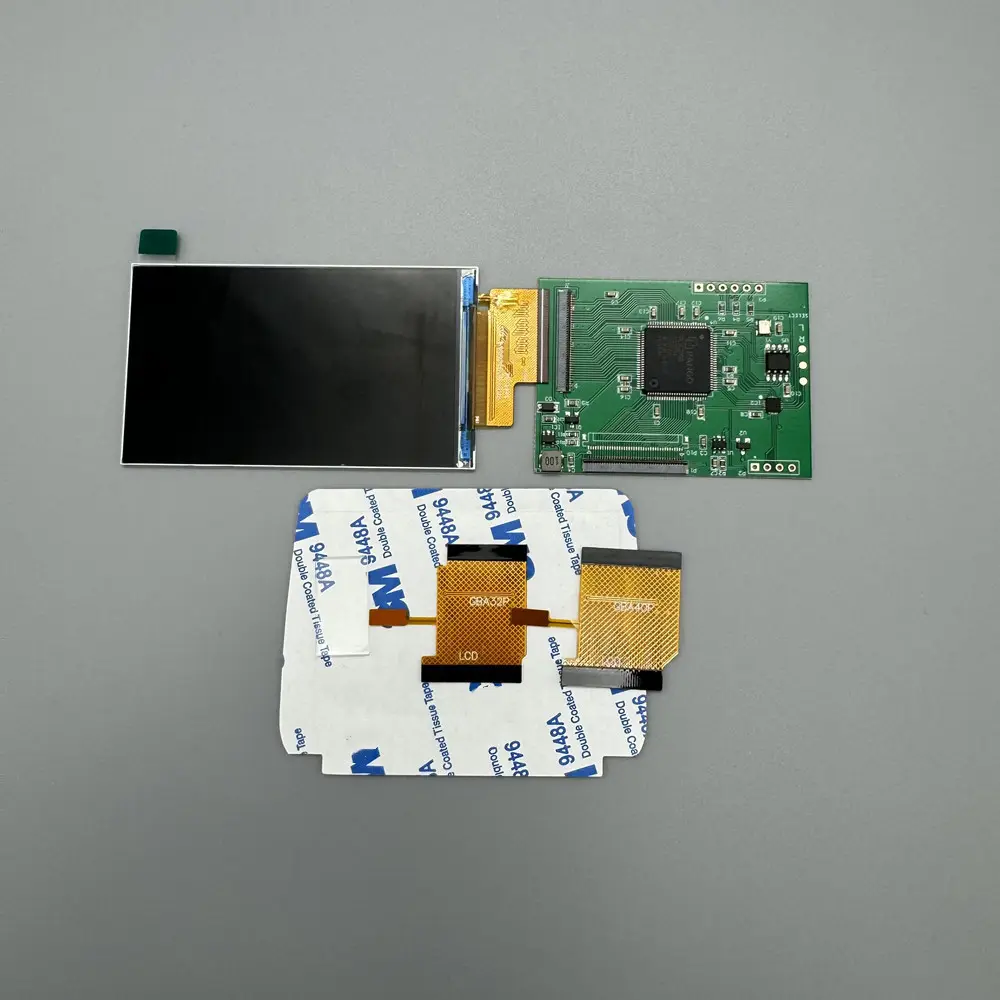
V3 IPS LCD Screen For GBA Highlight Brightness LCD For GBA shell No welding Original Size Screen Warm light screens
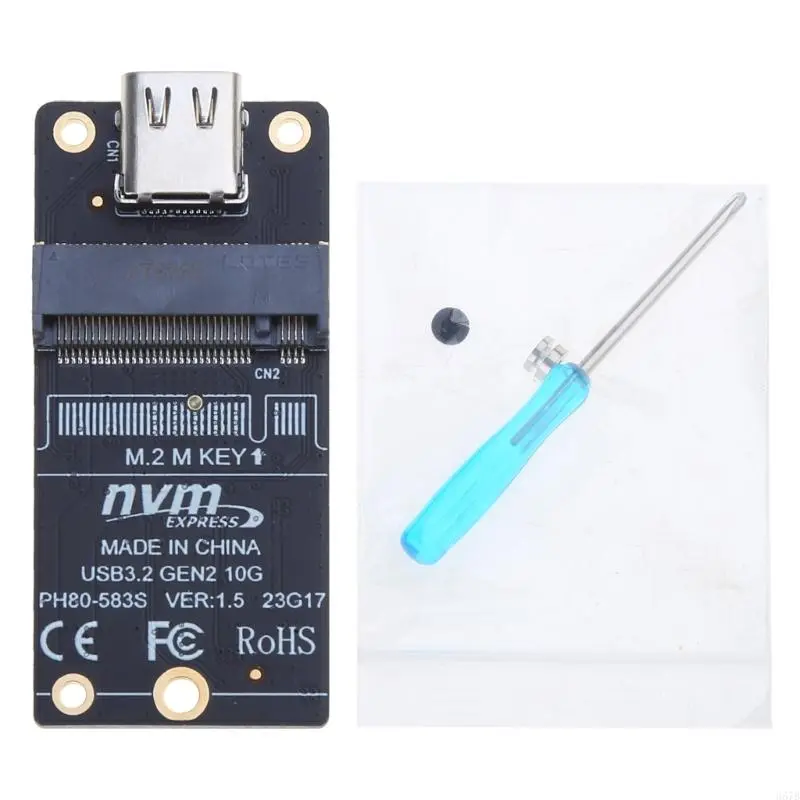
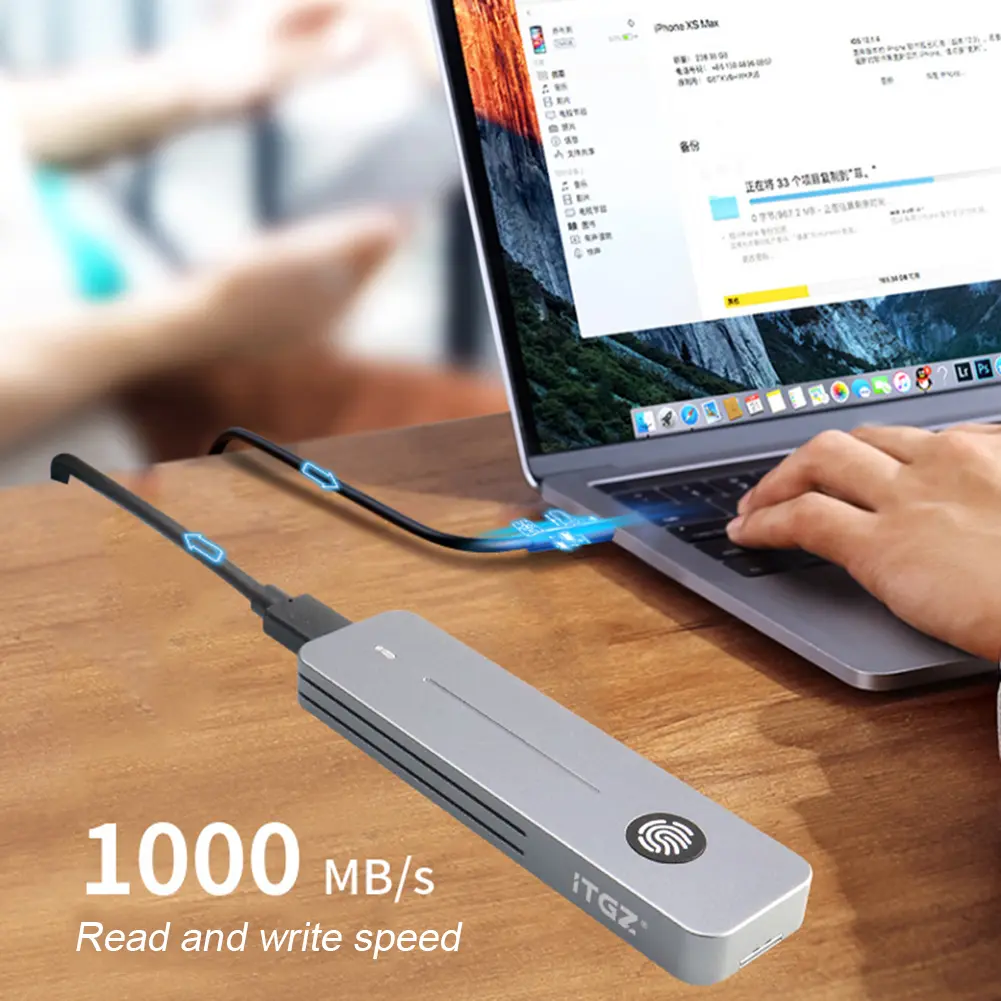
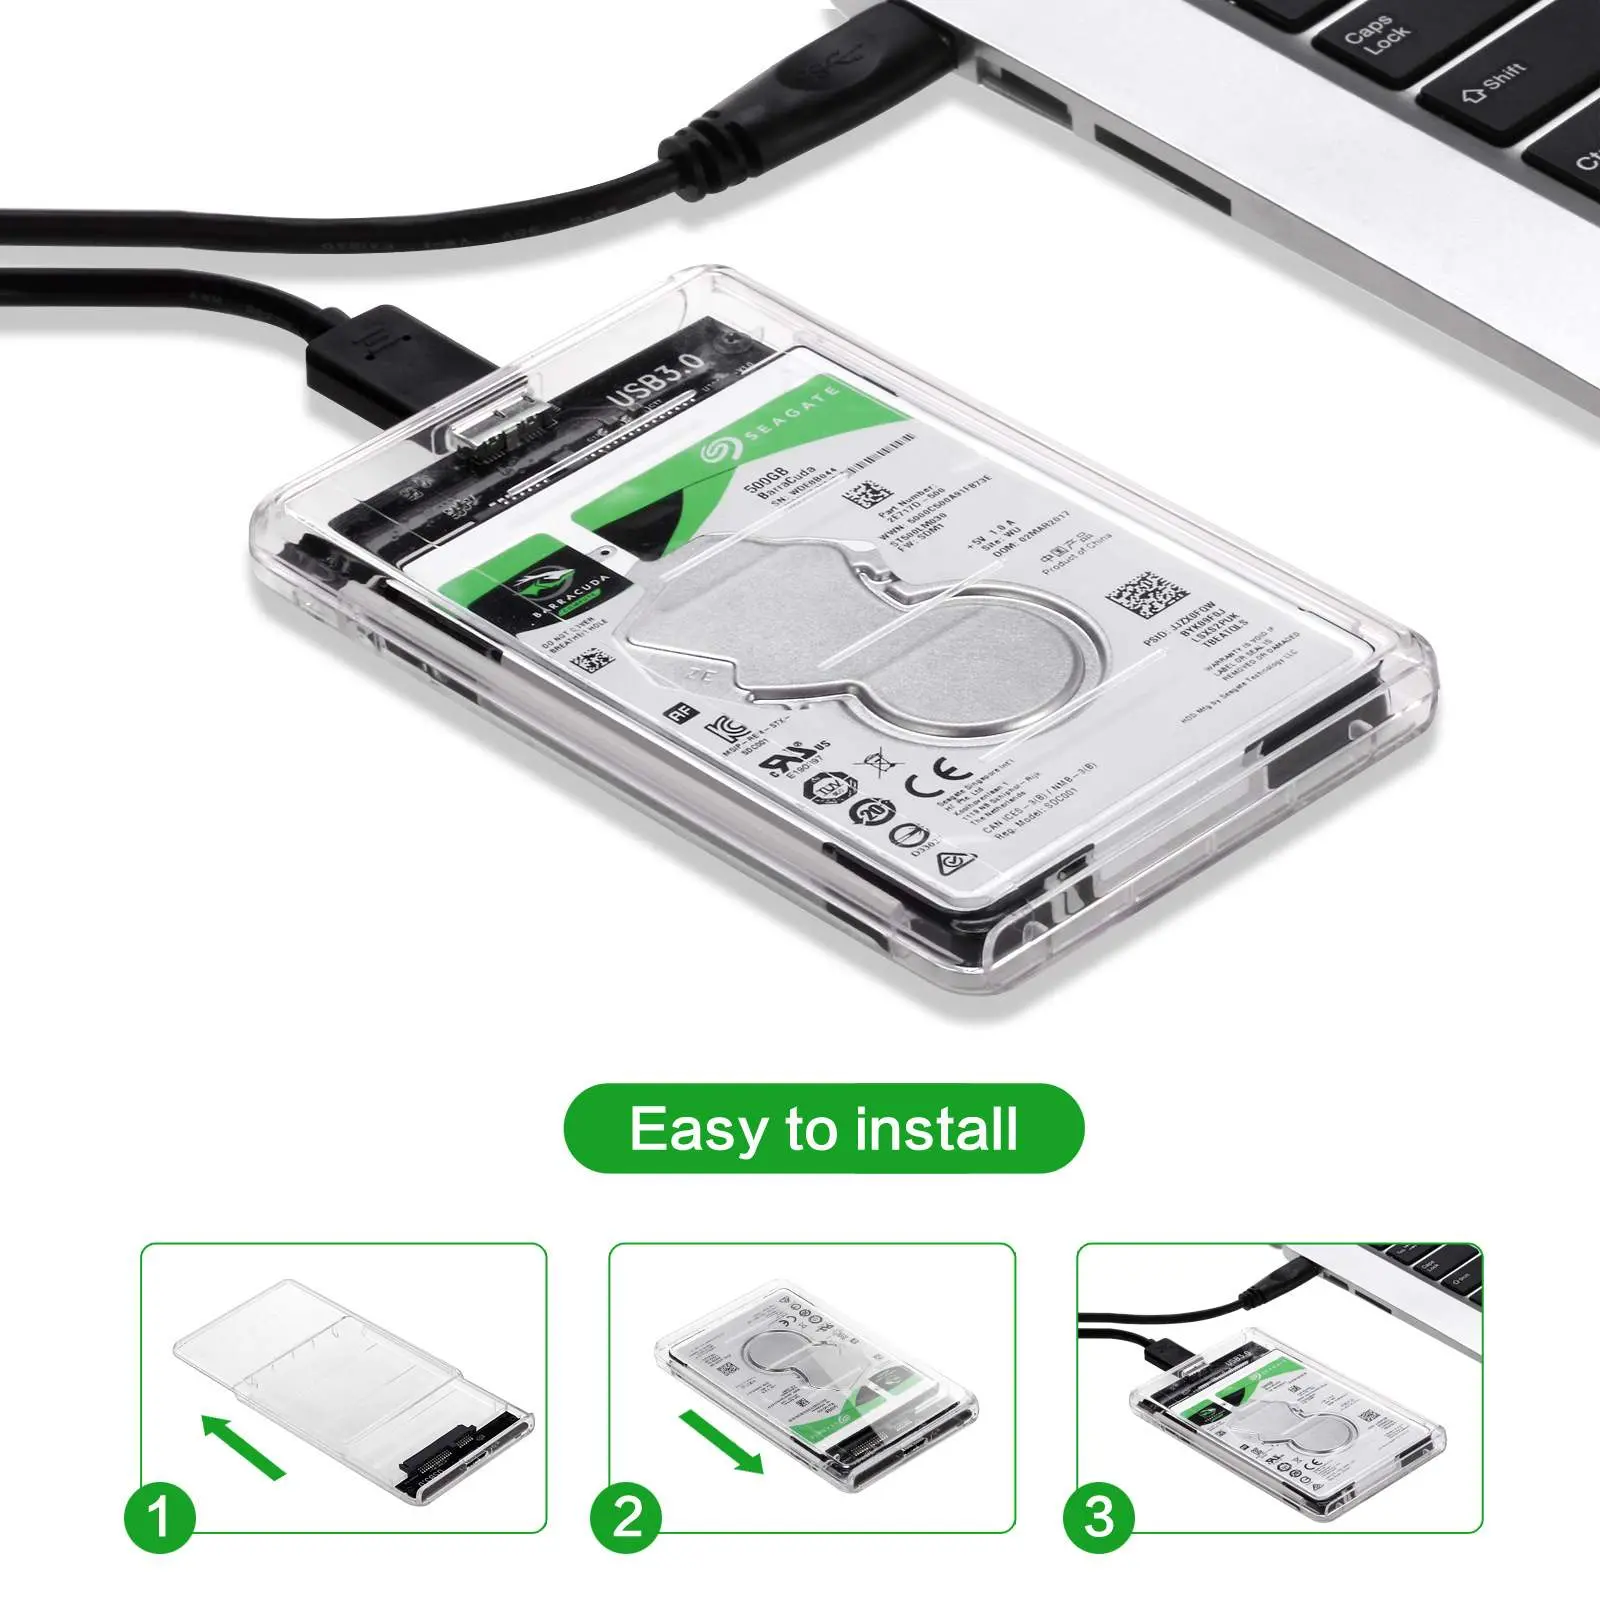
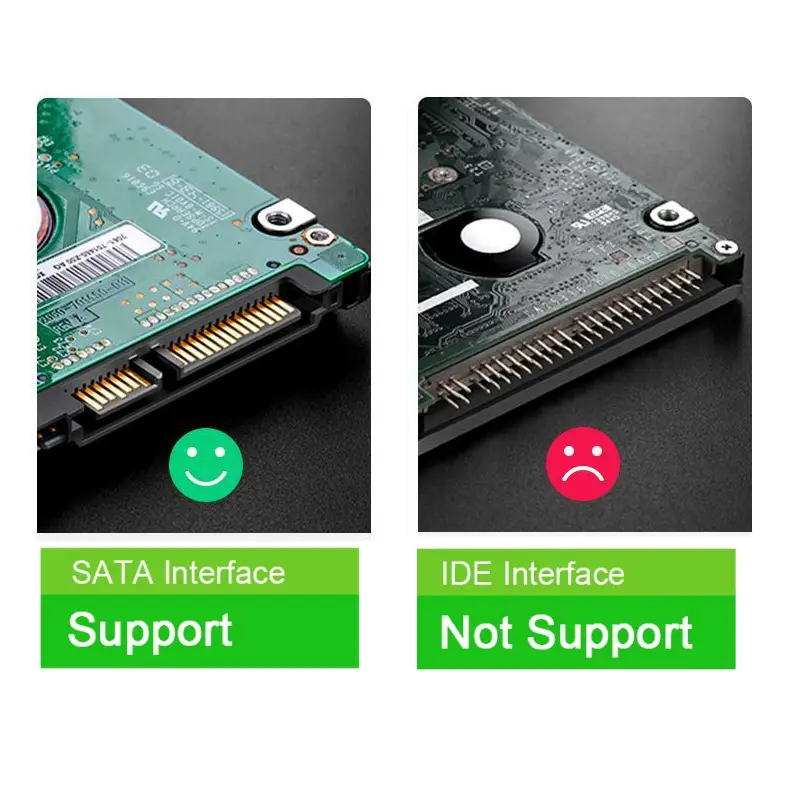
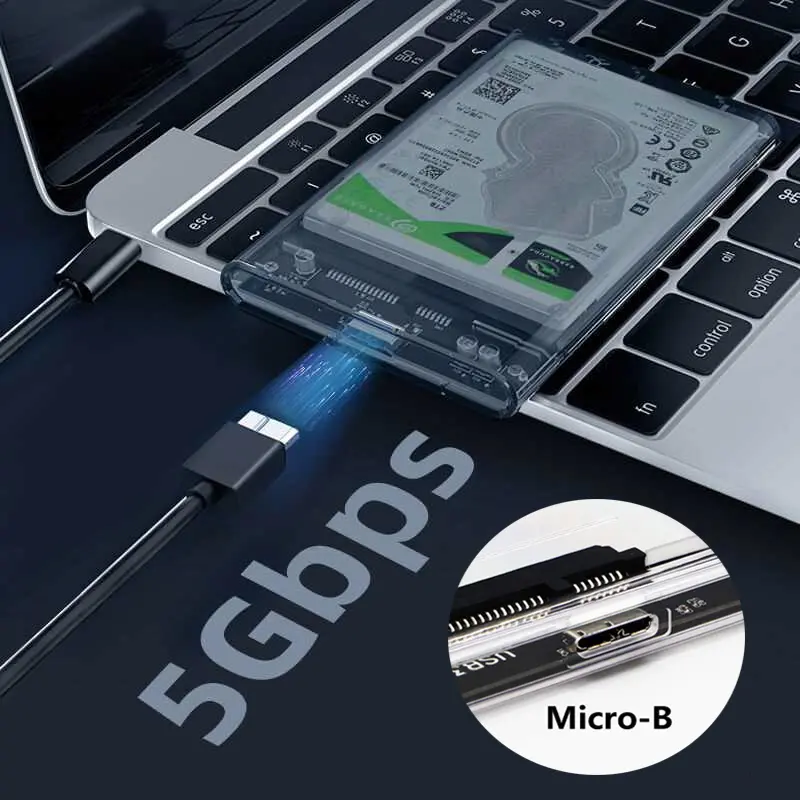
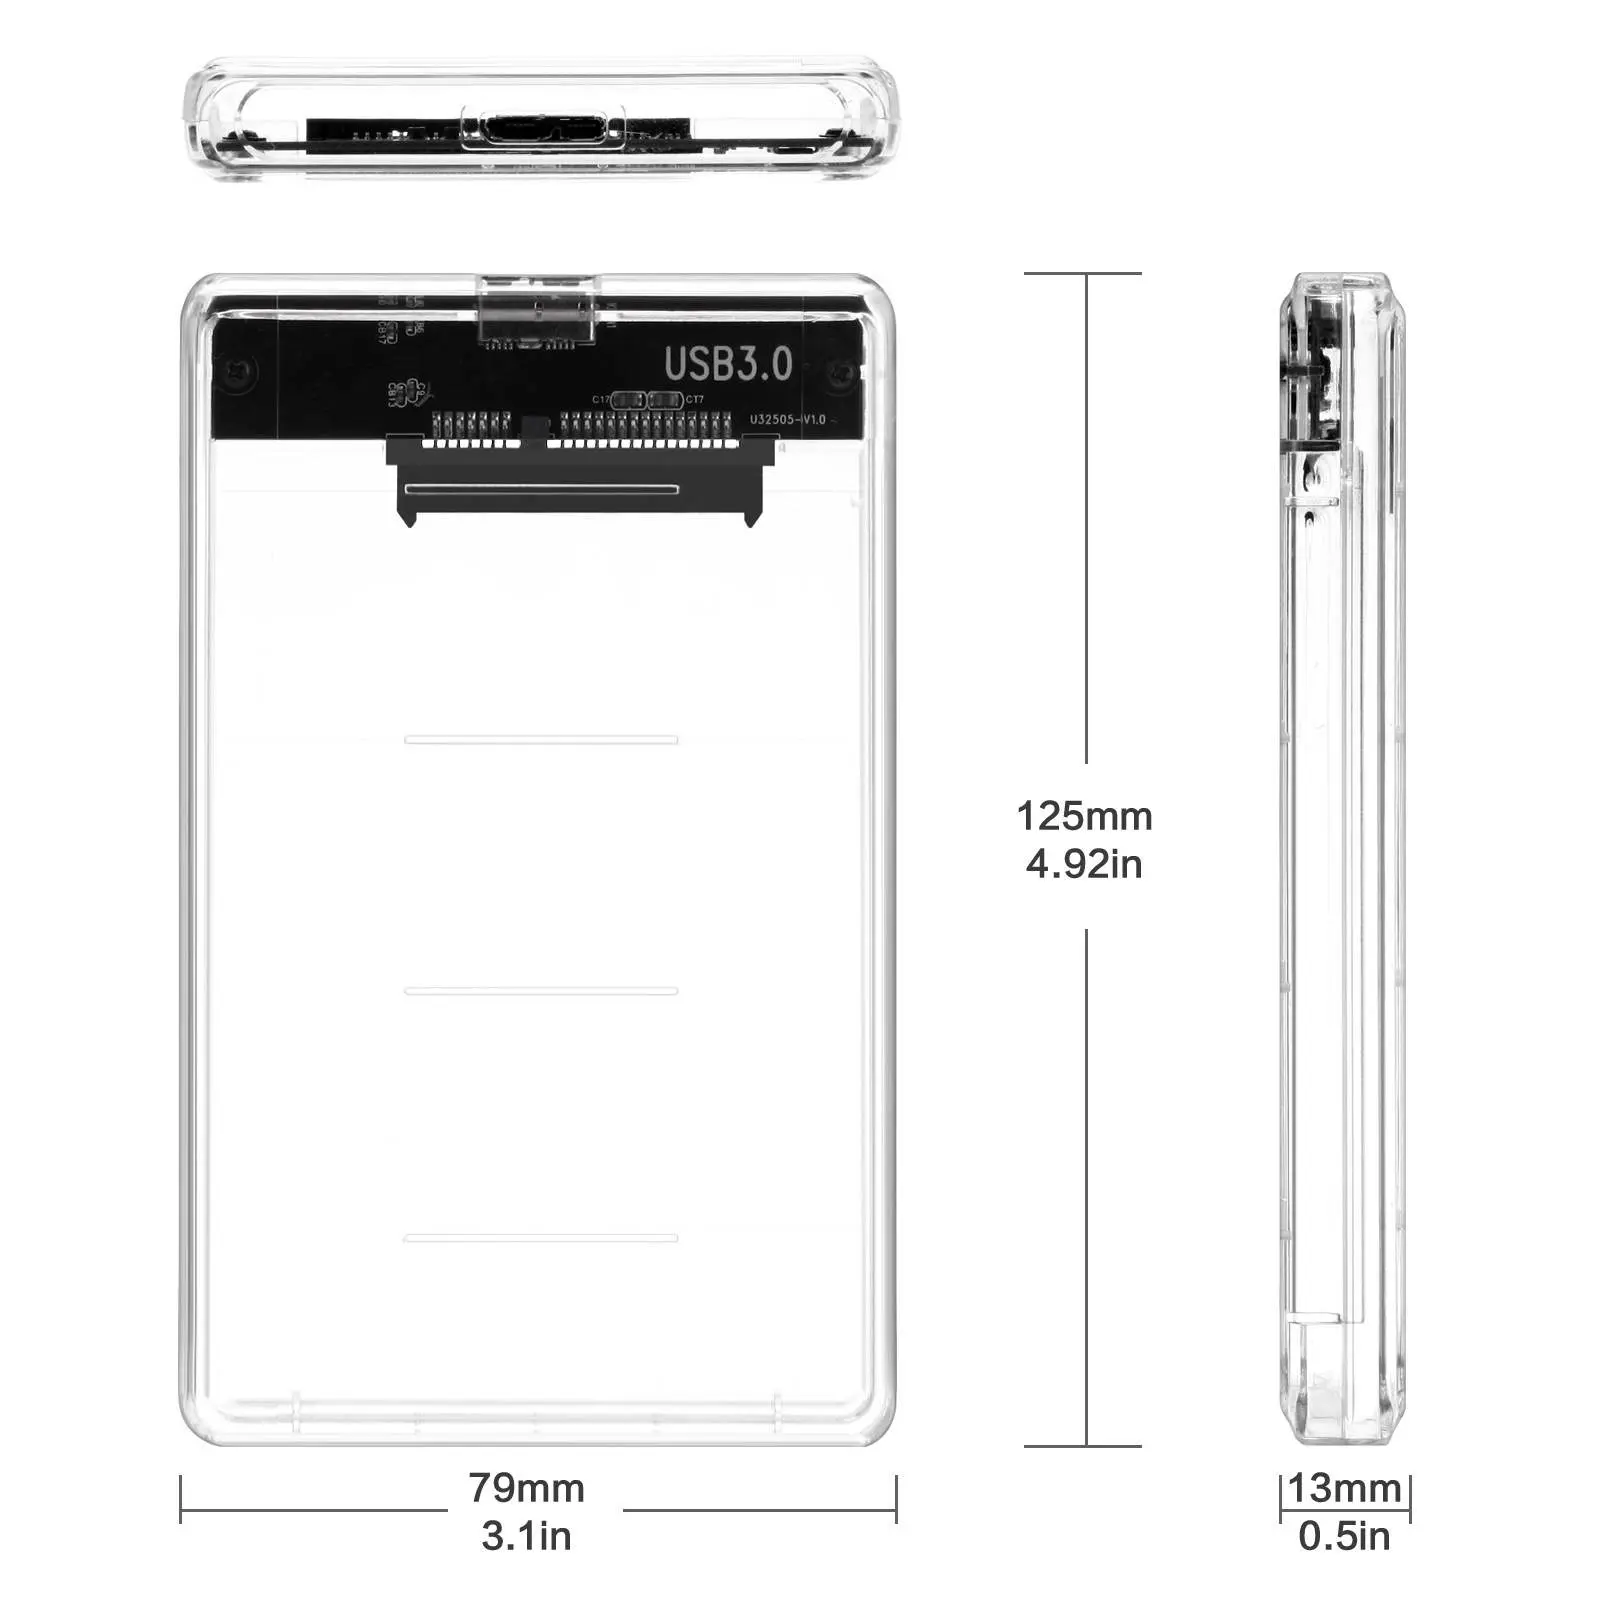
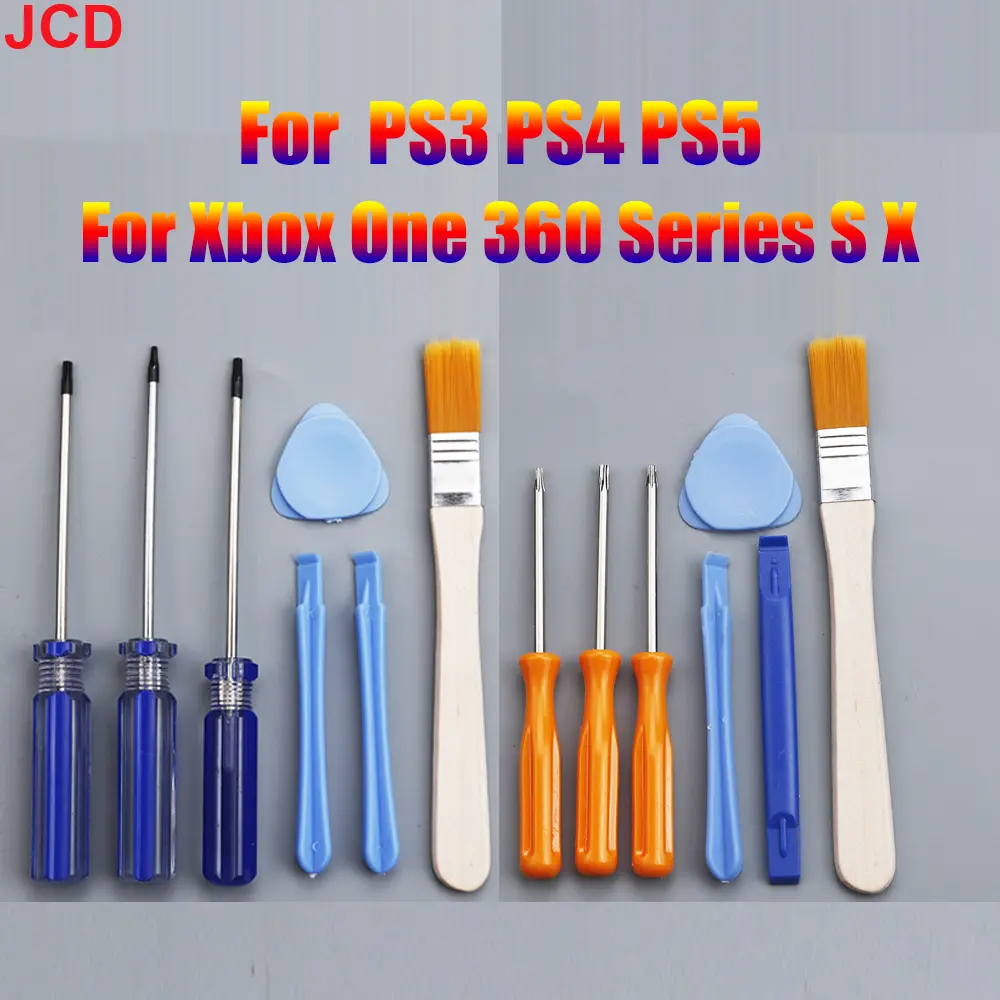
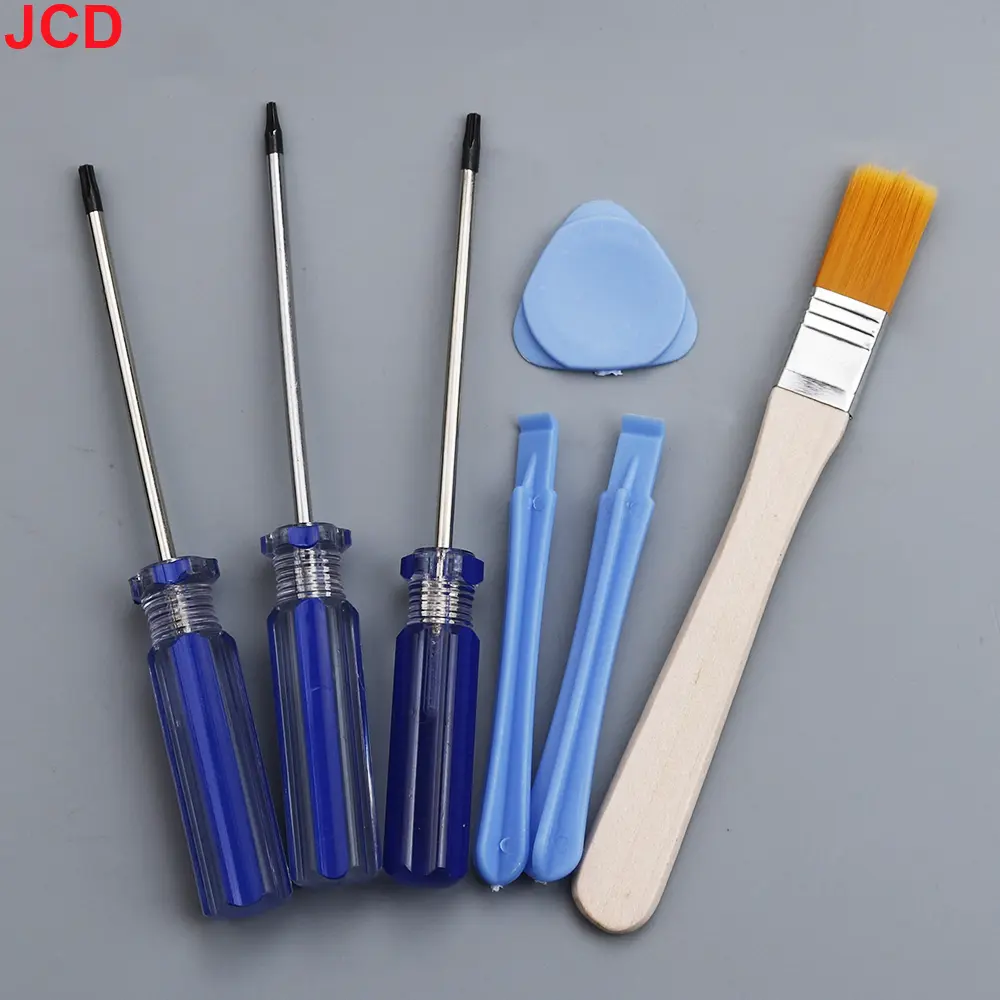
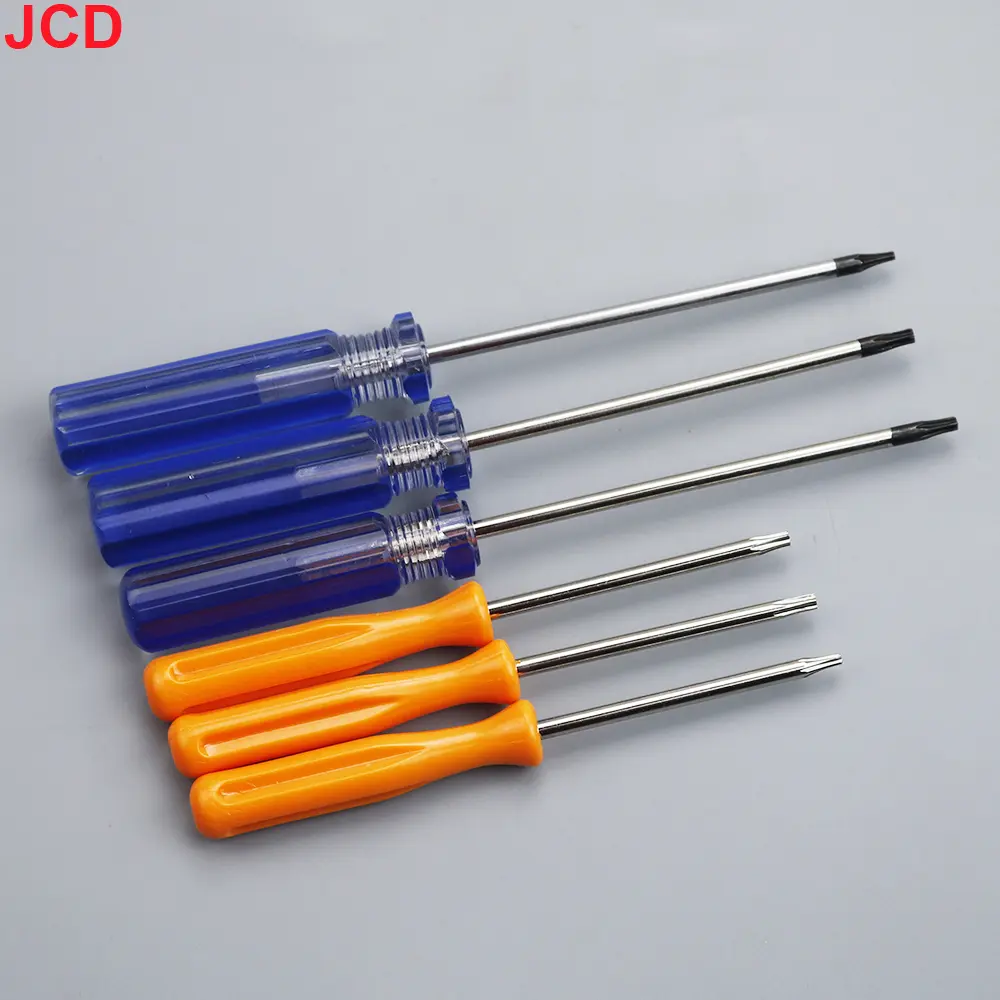
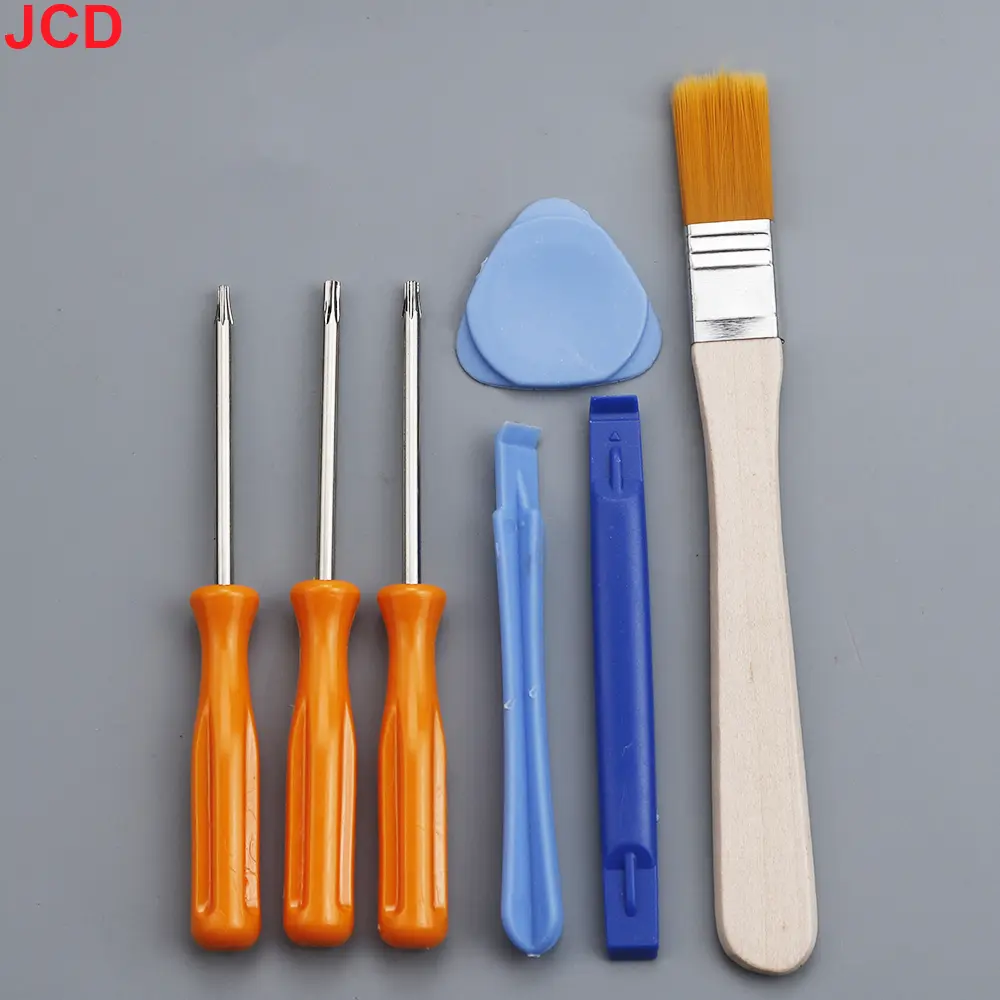
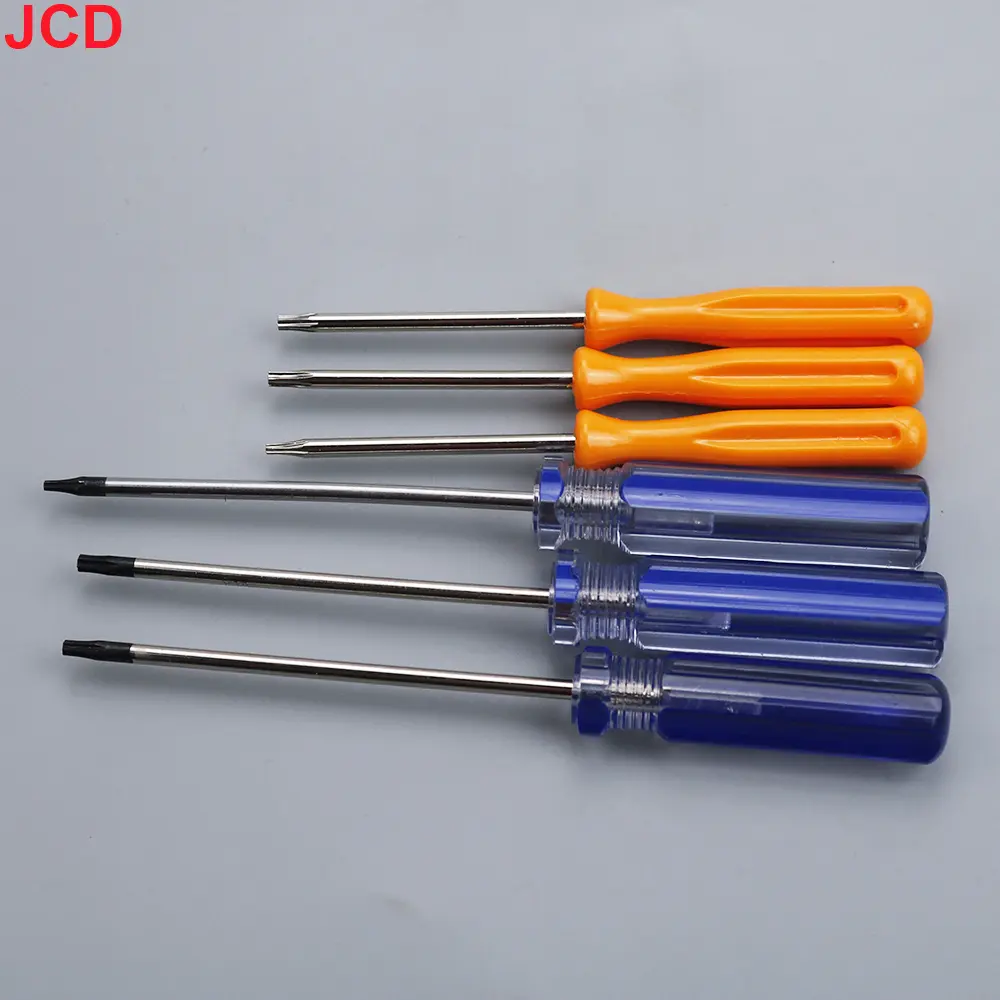
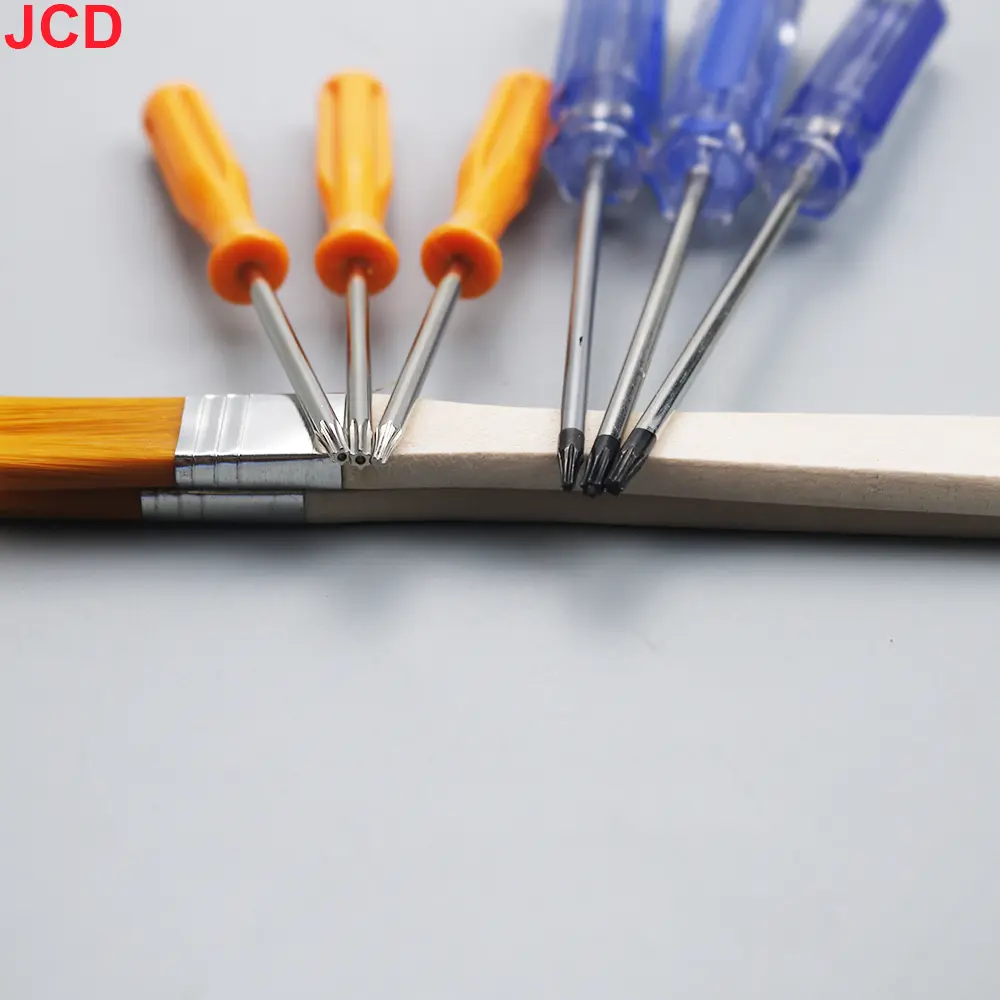
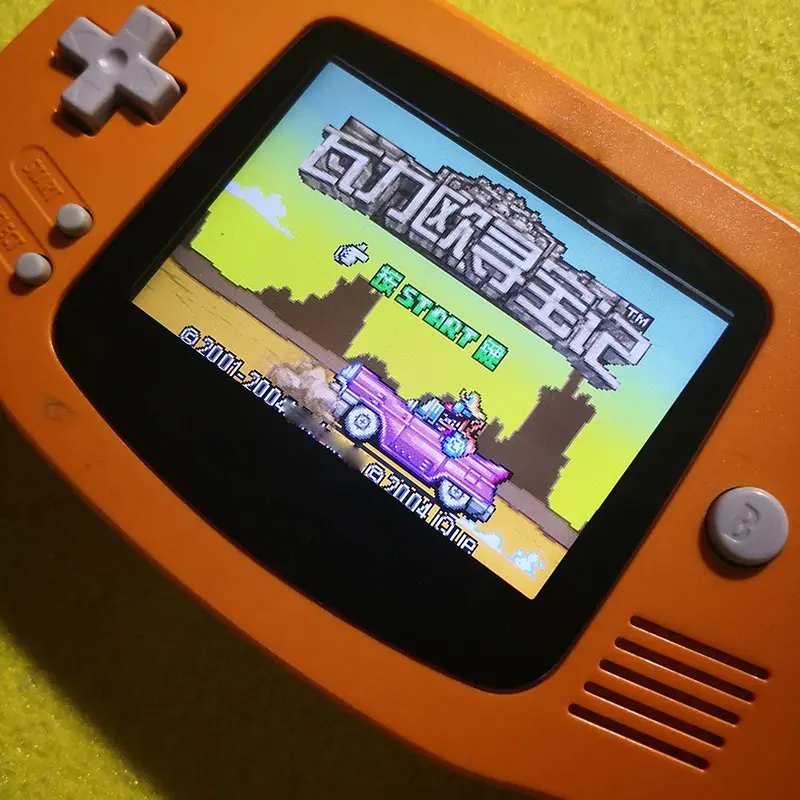
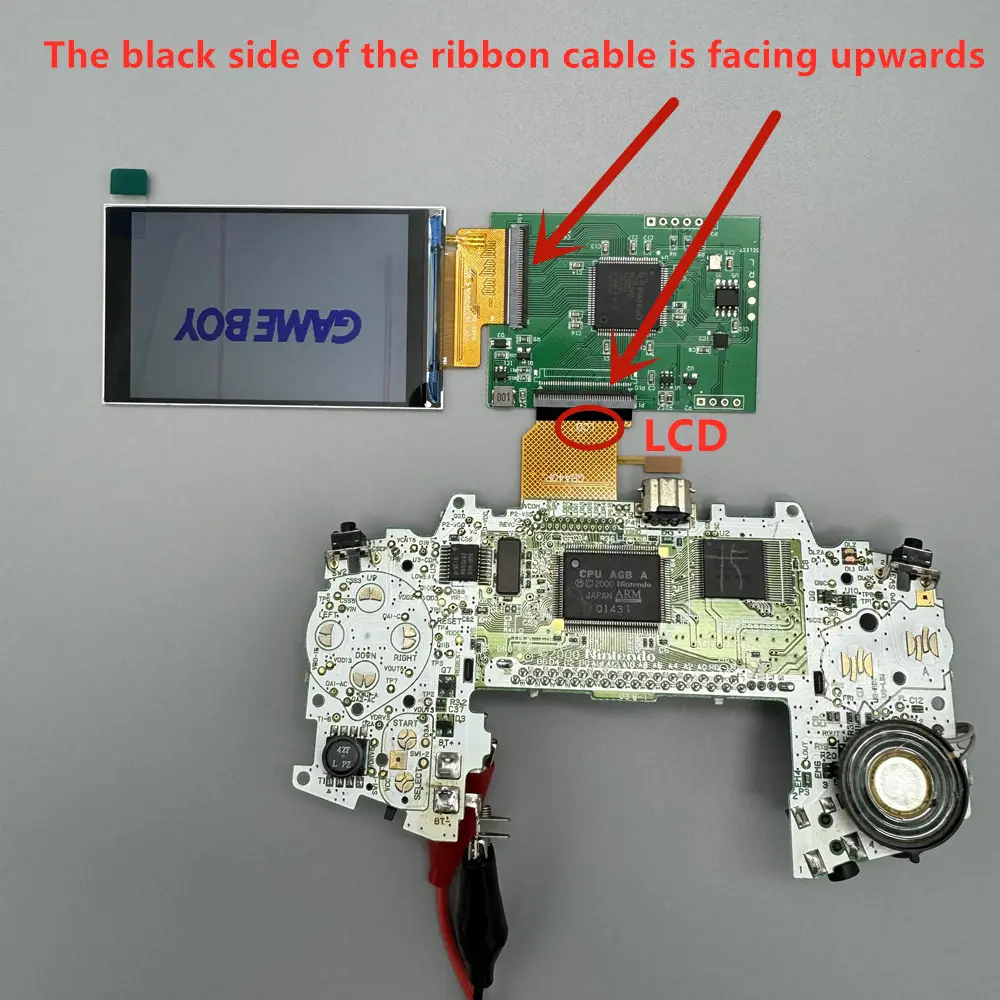
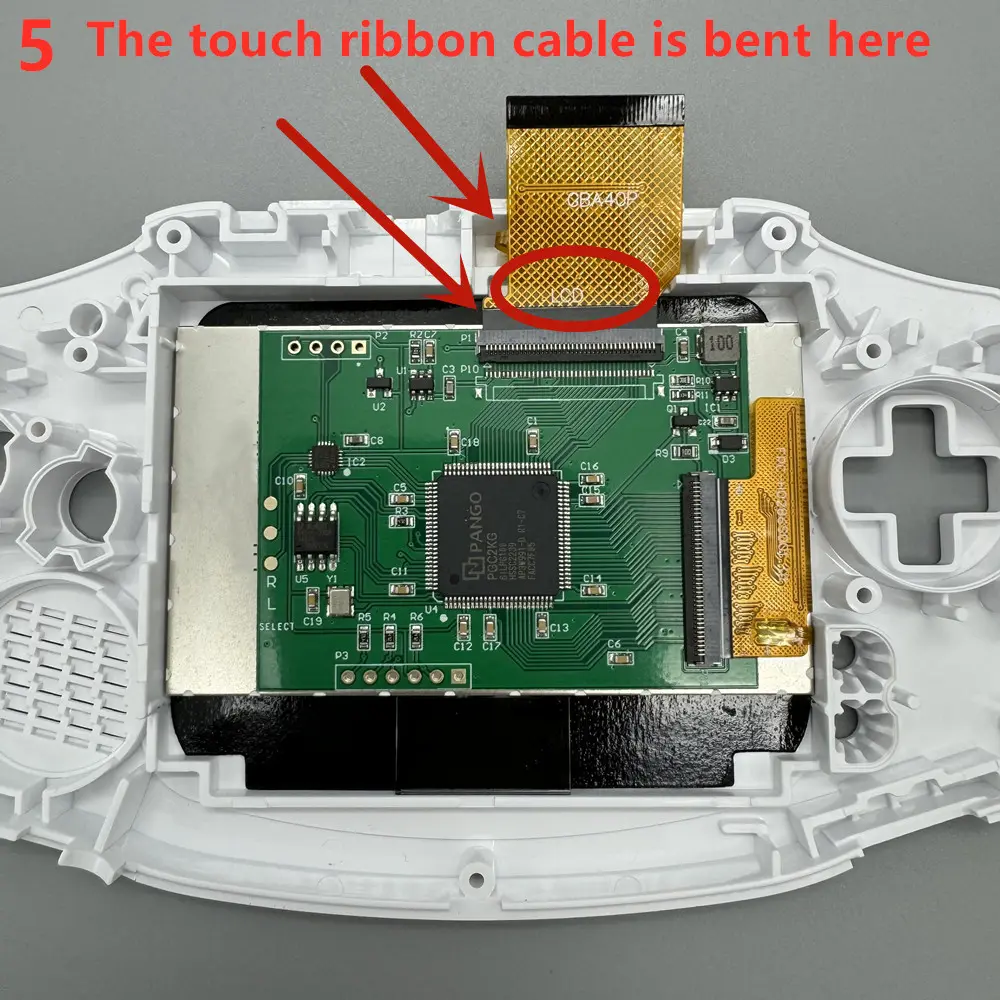
<div class="detailmodule_text"><p style="font-family:OpenSans;font-size:14px;font-weight:300;line-height:20px;white-space:pre-wrap;color:rgb(0, 0, 0);margin-bottom:12px" class="detail-desc-decorate-content">Please do not pull the cable of the LCD screen. Slight pulling may damage the LCD screen. It will cause the LCD to display horizontal and vertical lines.Don't squeeze the LCD screen. Don't wipe the LCD screen with a wet towel. Squeezing the LCD frame and back cover will lead to uneven backlight display, light spot and dark spot.<br/><br/>Product features:<br/><br/>1. IPS LCD screen. No need welding. Easy to install. The LCD screen display size is 2.9 inches, which is the same as the original.<br/><br/>2. Comes with 32 pin and 40 pin ribbon cables, supporting all Nintendo GBA motherboards. Purchasing GBASP ribbon cables can also support GBASP.<br/><br/>3. The battery life of a regular AA battery is about 5 hours, and the power consumption of different game cards may vary.<br/><br/>4. 480 * 720 resolution, point-to-point display. Supports analog B-screen pixel display. Black and white display. Short press to adjust brightness, long press to switch display style.You can also solder wires to buttons, and the display style and brightness can be adjusted using SELECT+LR.<br/><br/>5. Console shutdown. The brightness and display style settings will be saved.<br/><br/>Each set of LCD has been tested before shipment. You can test it again like this before installing. Test before installation. It is helpful to find out the causes of problems in later installation.</p></div><div class="detailmodule_text-image"></div><div class="detailmodule_text"><p style="font-family:OpenSans;font-size:20px;font-weight:900;line-height:28px;white-space:pre-wrap;color:rgb(0, 0, 0);margin-bottom:12px" class="detail-desc-decorate-title">Installation introduction</p><p style="font-family:OpenSans;font-size:14px;font-weight:300;line-height:20px;white-space:pre-wrap;color:rgb(0, 0, 0);margin-bottom:12px" class="detail-desc-decorate-content">Install self provided tools: Y-shaped 3.0 screwdriver, cross shaped 3.0 screwdriver.<br/><br/>GBA console motherboard LCD cable support is divided into 32 pin and 40 pin. There is a model mark under the cable support. Choose the right cable for yourself.<br/><br/>Do not squeeze the LCD screen. Squeezing the LCD screen frame and back cover can cause uneven backlight display, resulting in light spots and dark spots.<br/><br/>Do not pull the LCD screen cable.<br/><br/>Do not touch the LCD screen after tearing off the protective film, as it may leave dust and fingerprints.<br/><br/>Using the shells sold in our store, which are already flat, this step can be skipped.</p></div><div class="detailmodule_text-image"><p style="color:rgb(243, 11, 11)">Using the original case or cases sold in other shops, these raised areas have to be chipped to flatten the case, otherwise the screen will be slightly pressed, resulting in uneven backlighting and a slight whitening of the corners of the black background.<br/><br/>Using our shop shell, here itself is flat, you can skip this step.</p><div></div></div><div class="detailmodule_text-image"><p style="font-family:OpenSans;font-size:14px;font-weight:300;line-height:20px;white-space:pre-wrap;color:rgb(0, 0, 0);margin-bottom:12px" class="detail-desc-decorate-content">Stick double-sided tape. Pay attention to the shape of the double-sided tape. The double-sided adhesive tape has strong adhesion and is difficult to remove if stuck incorrectly.</p><div></div></div><div class="detailmodule_text-image"><p style="font-family:OpenSans;font-size:20px;font-weight:900;line-height:28px;white-space:pre-wrap;color:rgb(0, 0, 0);margin-bottom:12px" class="detail-desc-decorate-title">stop block</p><div></div></div><div class="detailmodule_text-image"><p style="font-family:OpenSans;font-size:14px;font-weight:300;line-height:20px;white-space:pre-wrap;color:rgb(0, 0, 0);margin-bottom:12px" class="detail-desc-decorate-content">Paste the LCD screen.</p><div></div></div><div class="detailmodule_text-image"><p style="font-family:OpenSans;font-size:20px;font-weight:900;line-height:28px;white-space:pre-wrap;color:rgb(0, 0, 0);margin-bottom:12px" class="detail-desc-decorate-title">Paste lens</p><div></div></div><div class="detailmodule_text-image"><p style="font-family:OpenSans;font-size:20px;font-weight:900;line-height:28px;white-space:pre-wrap;color:rgb(0, 0, 0);margin-bottom:12px" class="detail-desc-decorate-title">Pay attention to the direction of the cables and do not plug them in incorrectly. Incorrect insertion can burn out the motherboard. Bend the touch ribbon cable behind the Nintendo logo on the front of the casing.</p><div></div></div><div class="detailmodule_text-image"><p style="font-family:OpenSans;font-size:14px;font-weight:300;line-height:20px;white-space:pre-wrap;color:rgb(0, 0, 0);margin-bottom:12px" class="detail-desc-decorate-content">If you don't like to touch adjust the LCD screen, you can solder the wires to the button and use the button to adjust.<br/><br/>The L-point of the LCD circuit board is connected to TP9 of the GBA motherboard.<br/><br/>The R point of the LCD circuit board is connected to TP8 of the GBA motherboard.<br/><br/>Connect the SELECT point of the LCD circuit board to TP2 of the GBA motherboard.<br/><br/>Press and hold SELECT, and adjust the LCD screen brightness and display style by pressing L or R.</p><div></div></div><div class="detailmodule_text-image"><p style="font-family:OpenSans;font-size:20px;font-weight:900;line-height:28px;white-space:pre-wrap;color:rgb(0, 0, 0);margin-bottom:12px" class="detail-desc-decorate-title">Black and white display.</p><div></div></div><div class="detailmodule_text-image"><p style="font-family:OpenSans;font-size:20px;font-weight:900;line-height:28px;white-space:pre-wrap;color:rgb(0, 0, 0);margin-bottom:12px" class="detail-desc-decorate-title">HD display</p><div></div></div><div class="detailmodule_text-image"><p style="font-family:OpenSans;font-size:20px;font-weight:900;line-height:28px;white-space:pre-wrap;color:rgb(0, 0, 0);margin-bottom:12px" class="detail-desc-decorate-title">In pixel mode, the LCD screen may be affected by electrostatic interference, resulting in abnormal color display. As shown in the following figure. Stick copper foil or aluminum foil at the position shown in the picture. Can make the color display normal. At present, we do not know what is willing to cause it.</p><div></div></div><p><br/></p>
$155.09
$64.76
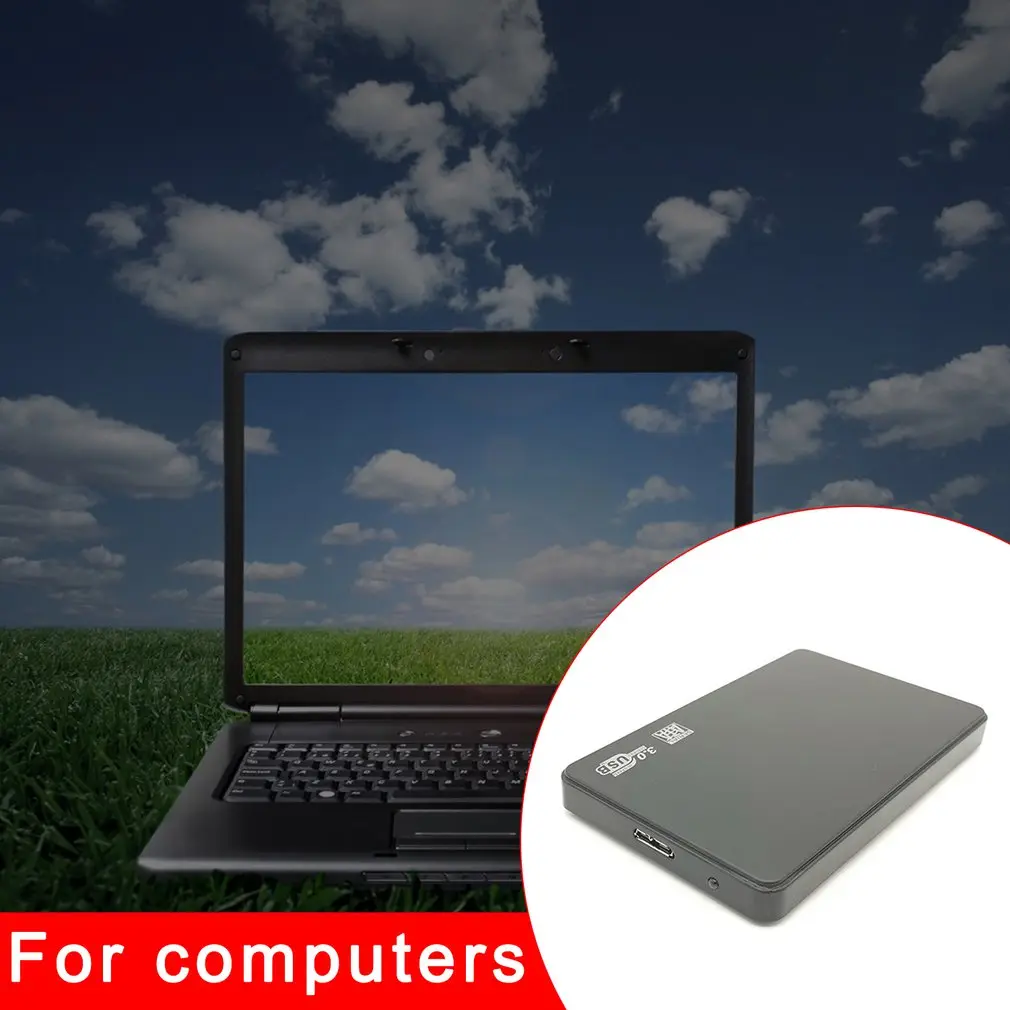
- Category : Consumer Electronics
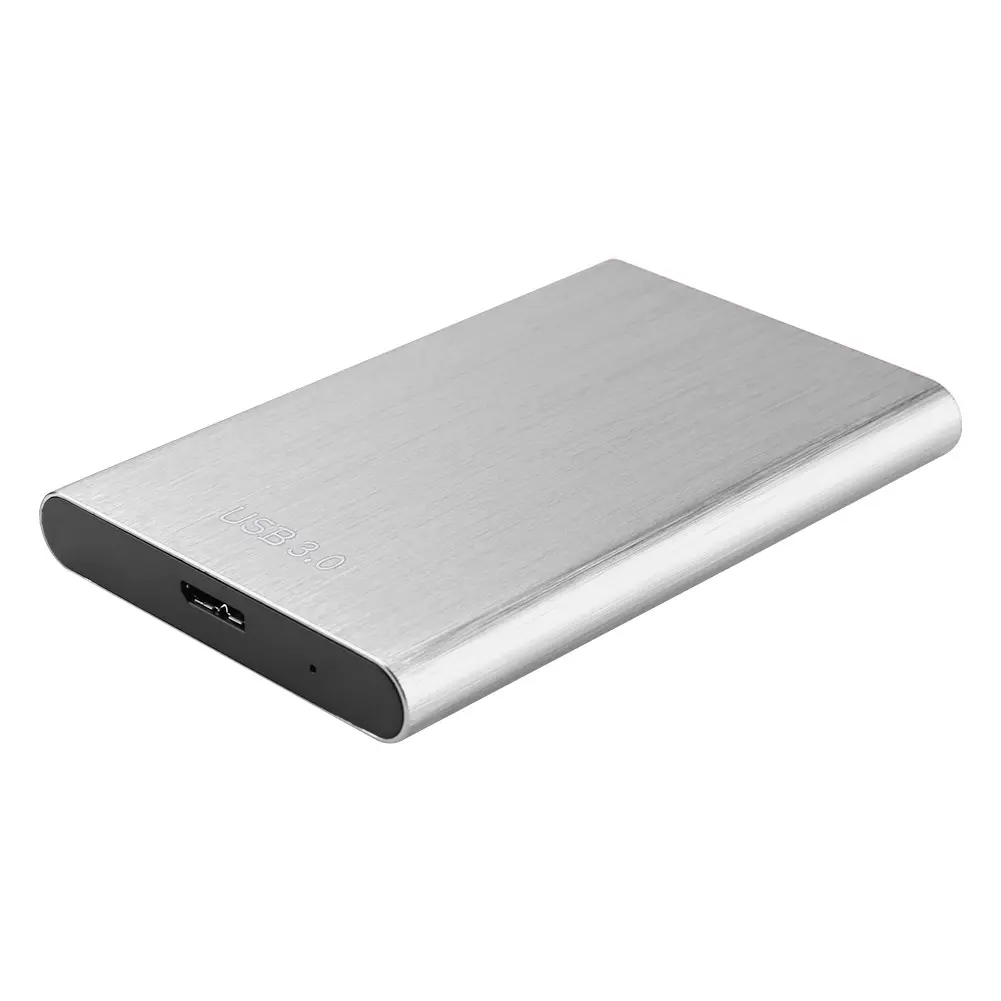
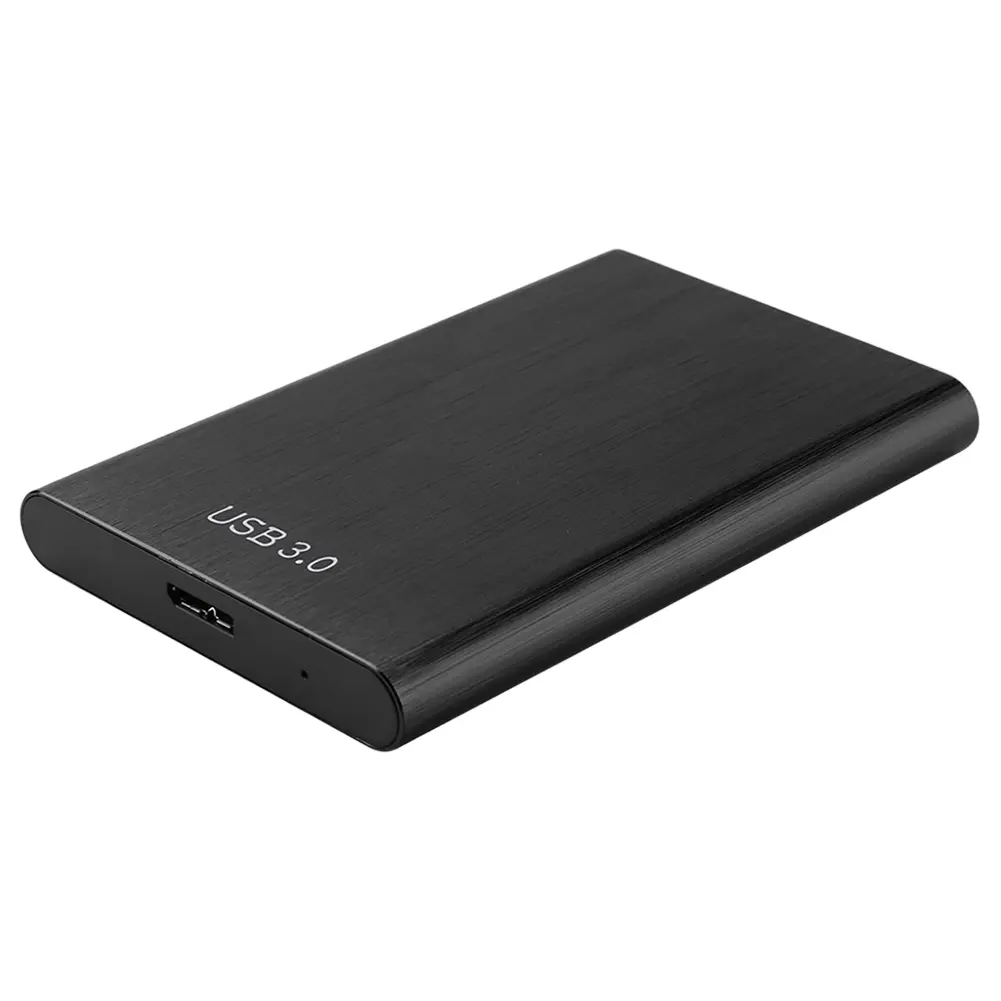
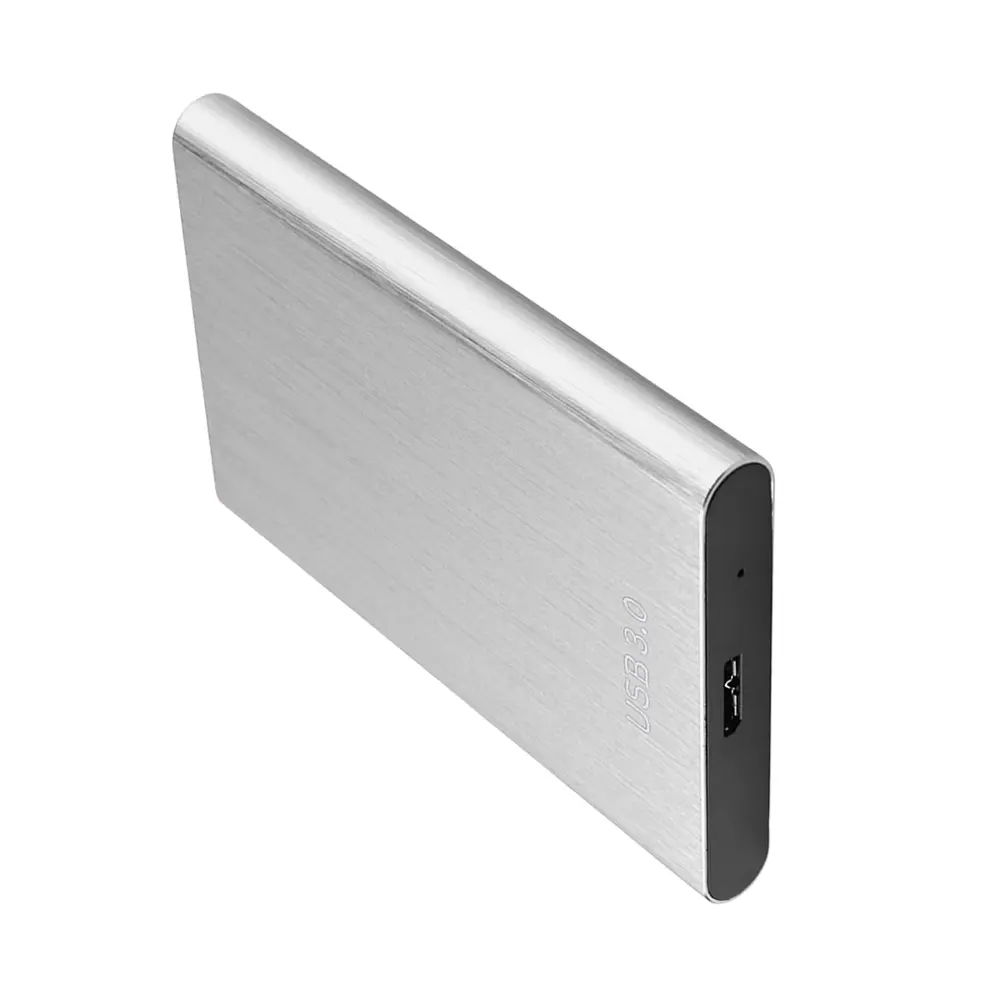
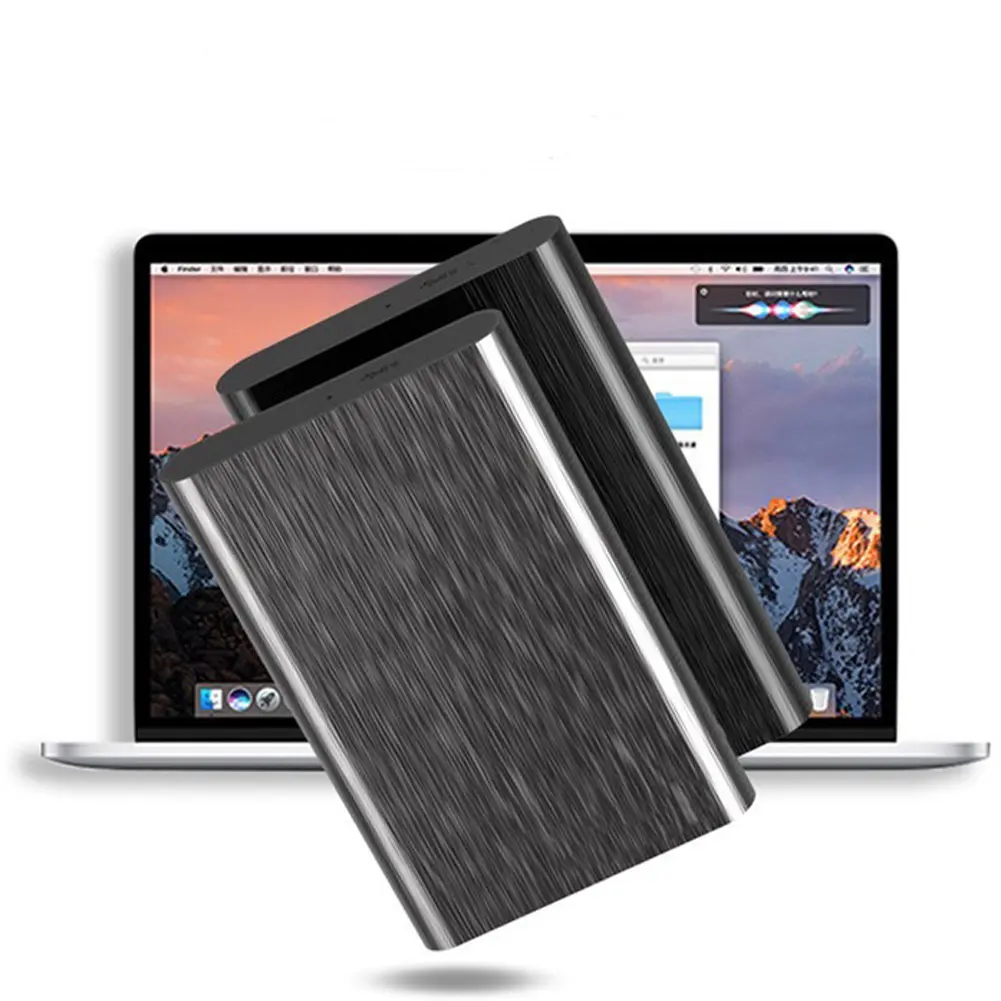
- Brand : zcmy_game_store ZCMY game Store
Colors
Sizes
-
+
<div class="detailmodule_text"><p style="font-family:OpenSans;font-size:14px;font-weight:300;line-height:20px;white-space:pre-wrap;color:rgb(0, 0, 0);margin-bottom:12px" class="detail-desc-decorate-content">Please do not pull the cable of the LCD screen. Slight pulling may damage the LCD screen. It will cause the LCD to display horizontal and vertical lines.Don't squeeze the LCD screen. Don't wipe the LCD screen with a wet towel. Squeezing the LCD frame and back cover will lead to uneven backlight display, light spot and dark spot.<br/><br/>Product features:<br/><br/>1. IPS LCD screen. No need welding. Easy to install. The LCD screen display size is 2.9 inches, which is the same as the original.<br/><br/>2. Comes with 32 pin and 40 pin ribbon cables, supporting all Nintendo GBA motherboards. Purchasing GBASP ribbon cables can also support GBASP.<br/><br/>3. The battery life of a regular AA battery is about 5 hours, and the power consumption of different game cards may vary.<br/><br/>4. 480 * 720 resolution, point-to-point display. Supports analog B-screen pixel display. Black and white display. Short press to adjust brightness, long press to switch display style.You can also solder wires to buttons, and the display style and brightness can be adjusted using SELECT+LR.<br/><br/>5. Console shutdown. The brightness and display style settings will be saved.<br/><br/>Each set of LCD has been tested before shipment. You can test it again like this before installing. Test before installation. It is helpful to find out the causes of problems in later installation.</p></div><div class="detailmodule_text-image"></div><div class="detailmodule_text"><p style="font-family:OpenSans;font-size:20px;font-weight:900;line-height:28px;white-space:pre-wrap;color:rgb(0, 0, 0);margin-bottom:12px" class="detail-desc-decorate-title">Installation introduction</p><p style="font-family:OpenSans;font-size:14px;font-weight:300;line-height:20px;white-space:pre-wrap;color:rgb(0, 0, 0);margin-bottom:12px" class="detail-desc-decorate-content">Install self provided tools: Y-shaped 3.0 screwdriver, cross shaped 3.0 screwdriver.<br/><br/>GBA console motherboard LCD cable support is divided into 32 pin and 40 pin. There is a model mark under the cable support. Choose the right cable for yourself.<br/><br/>Do not squeeze the LCD screen. Squeezing the LCD screen frame and back cover can cause uneven backlight display, resulting in light spots and dark spots.<br/><br/>Do not pull the LCD screen cable.<br/><br/>Do not touch the LCD screen after tearing off the protective film, as it may leave dust and fingerprints.<br/><br/>Using the shells sold in our store, which are already flat, this step can be skipped.</p></div><div class="detailmodule_text-image"><p style="color:rgb(243, 11, 11)">Using the original case or cases sold in other shops, these raised areas have to be chipped to flatten the case, otherwise the screen will be slightly pressed, resulting in uneven backlighting and a slight whitening of the corners of the black background.<br/><br/>Using our shop shell, here itself is flat, you can skip this step.</p><div></div></div><div class="detailmodule_text-image"><p style="font-family:OpenSans;font-size:14px;font-weight:300;line-height:20px;white-space:pre-wrap;color:rgb(0, 0, 0);margin-bottom:12px" class="detail-desc-decorate-content">Stick double-sided tape. Pay attention to the shape of the double-sided tape. The double-sided adhesive tape has strong adhesion and is difficult to remove if stuck incorrectly.</p><div></div></div><div class="detailmodule_text-image"><p style="font-family:OpenSans;font-size:20px;font-weight:900;line-height:28px;white-space:pre-wrap;color:rgb(0, 0, 0);margin-bottom:12px" class="detail-desc-decorate-title">stop block</p><div></div></div><div class="detailmodule_text-image"><p style="font-family:OpenSans;font-size:14px;font-weight:300;line-height:20px;white-space:pre-wrap;color:rgb(0, 0, 0);margin-bottom:12px" class="detail-desc-decorate-content">Paste the LCD screen.</p><div></div></div><div class="detailmodule_text-image"><p style="font-family:OpenSans;font-size:20px;font-weight:900;line-height:28px;white-space:pre-wrap;color:rgb(0, 0, 0);margin-bottom:12px" class="detail-desc-decorate-title">Paste lens</p><div></div></div><div class="detailmodule_text-image"><p style="font-family:OpenSans;font-size:20px;font-weight:900;line-height:28px;white-space:pre-wrap;color:rgb(0, 0, 0);margin-bottom:12px" class="detail-desc-decorate-title">Pay attention to the direction of the cables and do not plug them in incorrectly. Incorrect insertion can burn out the motherboard. Bend the touch ribbon cable behind the Nintendo logo on the front of the casing.</p><div></div></div><div class="detailmodule_text-image"><p style="font-family:OpenSans;font-size:14px;font-weight:300;line-height:20px;white-space:pre-wrap;color:rgb(0, 0, 0);margin-bottom:12px" class="detail-desc-decorate-content">If you don't like to touch adjust the LCD screen, you can solder the wires to the button and use the button to adjust.<br/><br/>The L-point of the LCD circuit board is connected to TP9 of the GBA motherboard.<br/><br/>The R point of the LCD circuit board is connected to TP8 of the GBA motherboard.<br/><br/>Connect the SELECT point of the LCD circuit board to TP2 of the GBA motherboard.<br/><br/>Press and hold SELECT, and adjust the LCD screen brightness and display style by pressing L or R.</p><div></div></div><div class="detailmodule_text-image"><p style="font-family:OpenSans;font-size:20px;font-weight:900;line-height:28px;white-space:pre-wrap;color:rgb(0, 0, 0);margin-bottom:12px" class="detail-desc-decorate-title">Black and white display.</p><div></div></div><div class="detailmodule_text-image"><p style="font-family:OpenSans;font-size:20px;font-weight:900;line-height:28px;white-space:pre-wrap;color:rgb(0, 0, 0);margin-bottom:12px" class="detail-desc-decorate-title">HD display</p><div></div></div><div class="detailmodule_text-image"><p style="font-family:OpenSans;font-size:20px;font-weight:900;line-height:28px;white-space:pre-wrap;color:rgb(0, 0, 0);margin-bottom:12px" class="detail-desc-decorate-title">In pixel mode, the LCD screen may be affected by electrostatic interference, resulting in abnormal color display. As shown in the following figure. Stick copper foil or aluminum foil at the position shown in the picture. Can make the color display normal. At present, we do not know what is willing to cause it.</p><div></div></div><p><br/></p>
Related Product
Browse The Collection of Top Products.