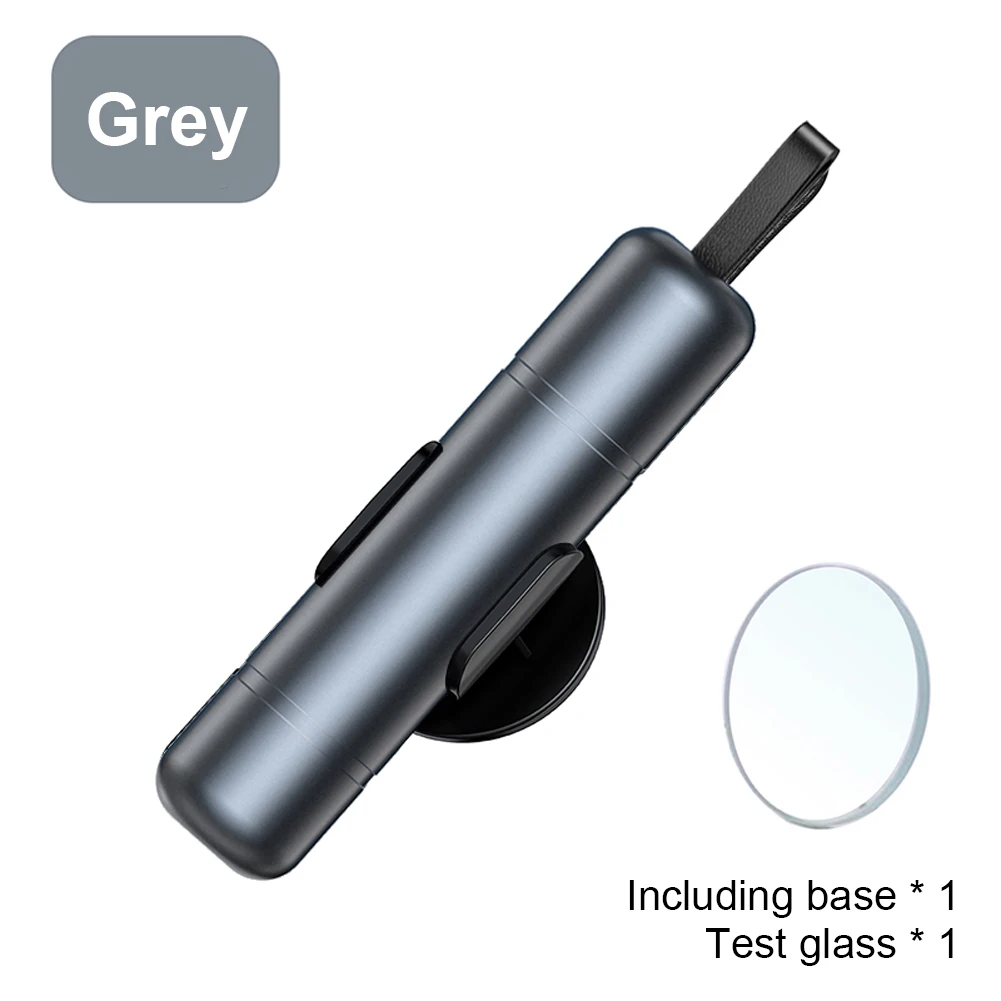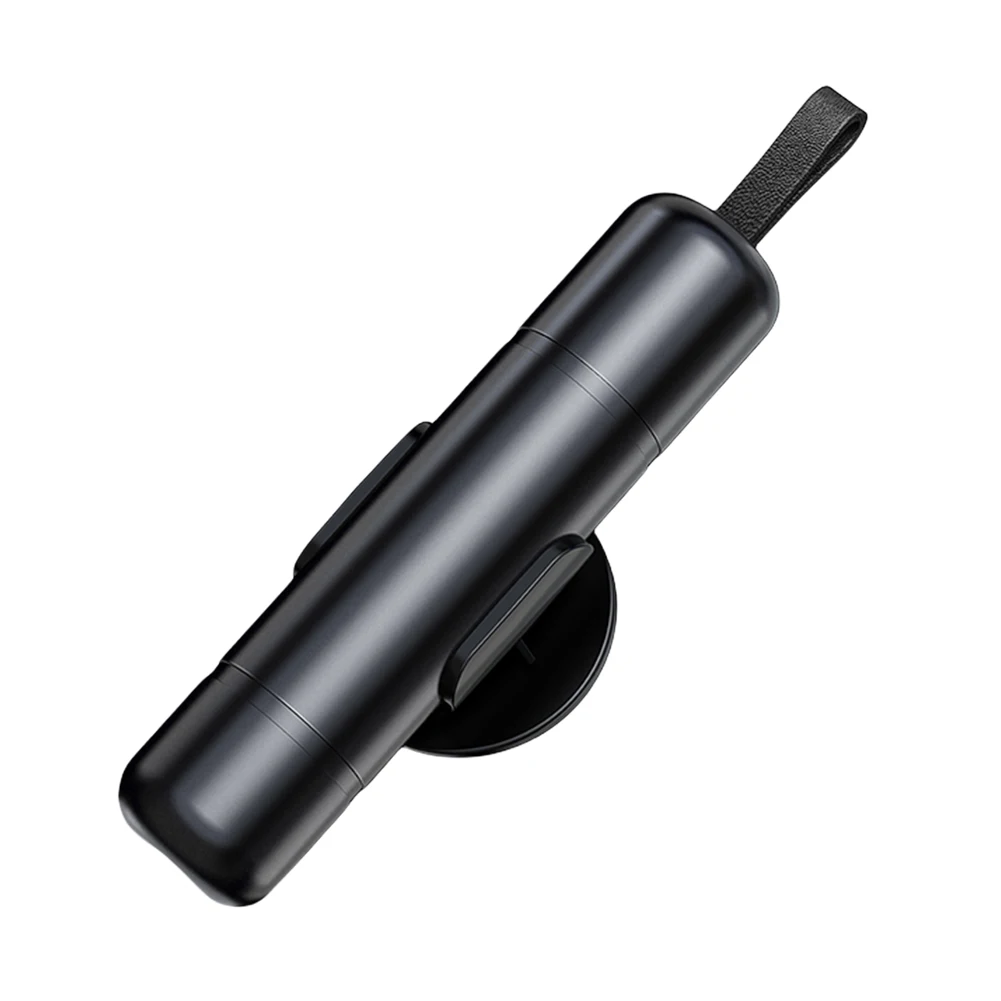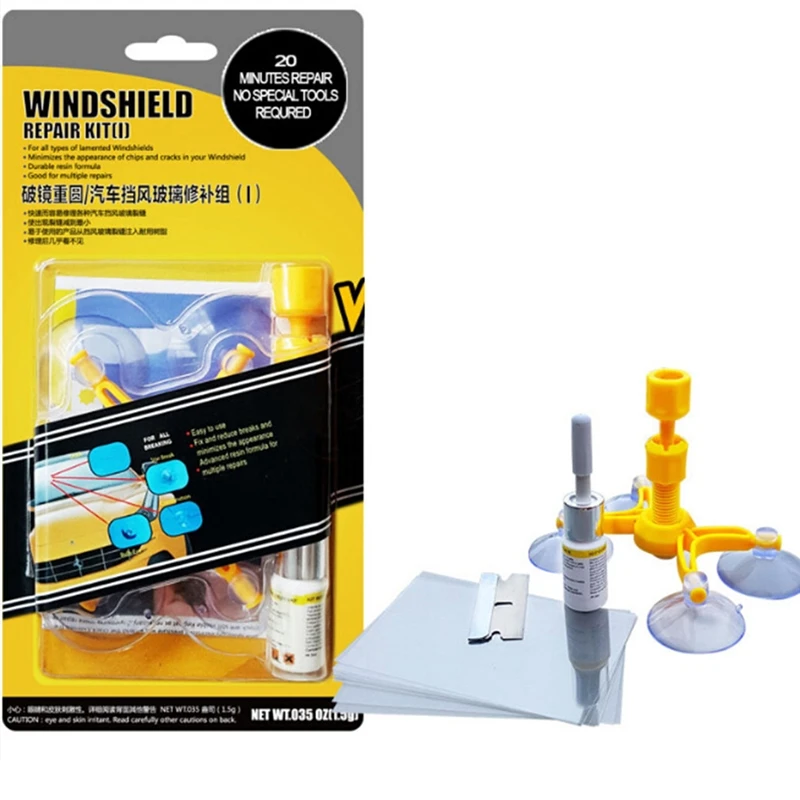
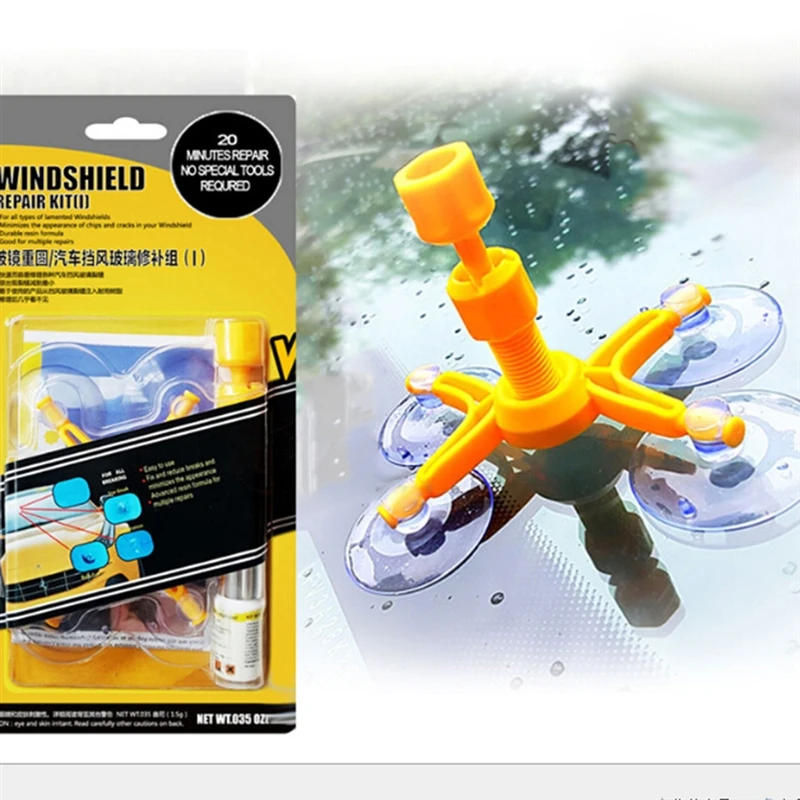
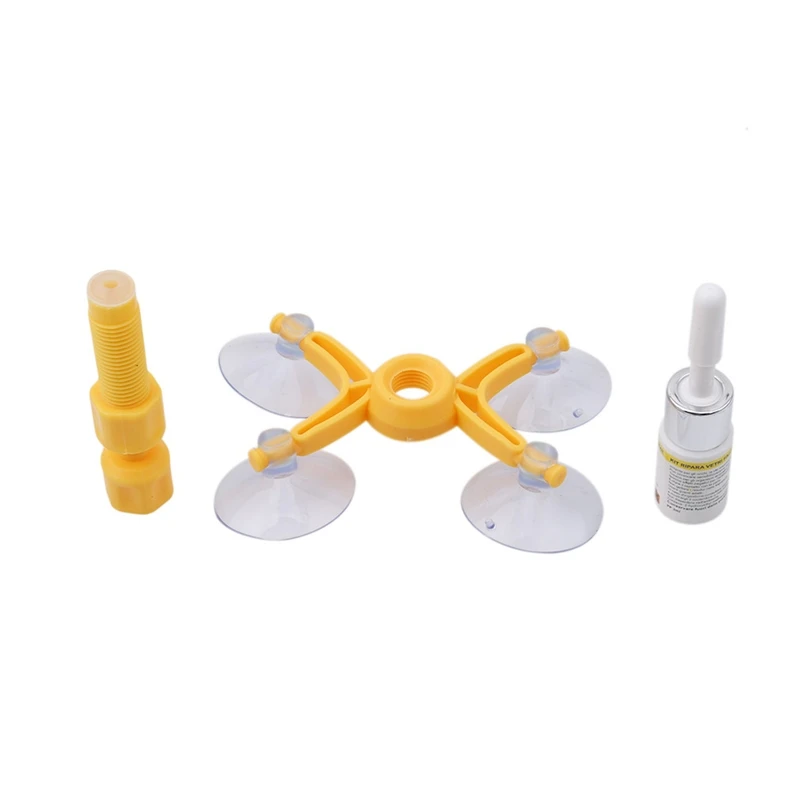
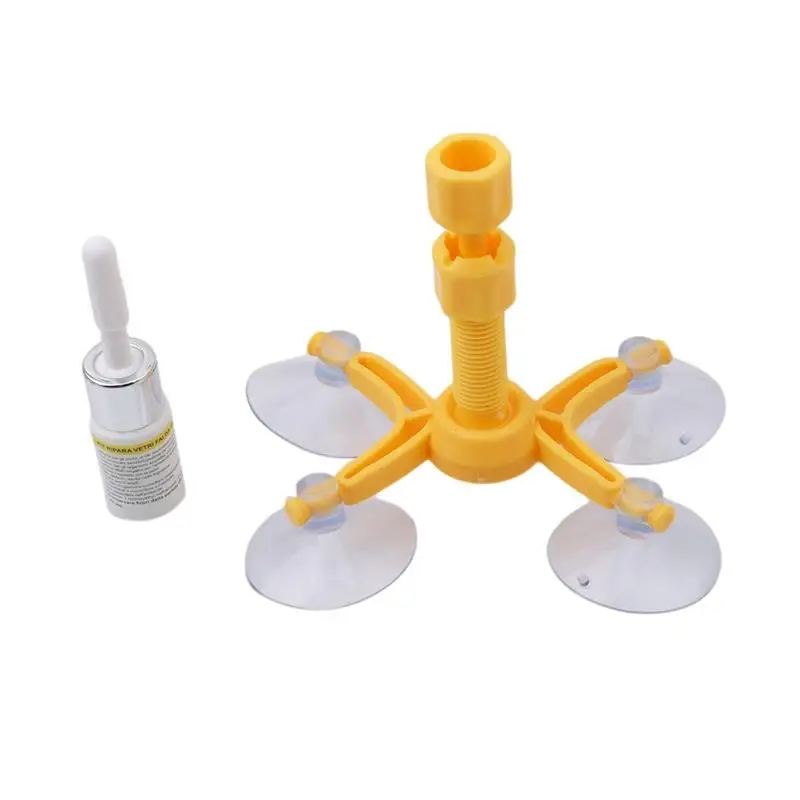
Windshield Repair Kit Quick Fix Car Cracked Glass Windscreen Repair Tool Resin Sealer DIY Auto Window Screen Polishing
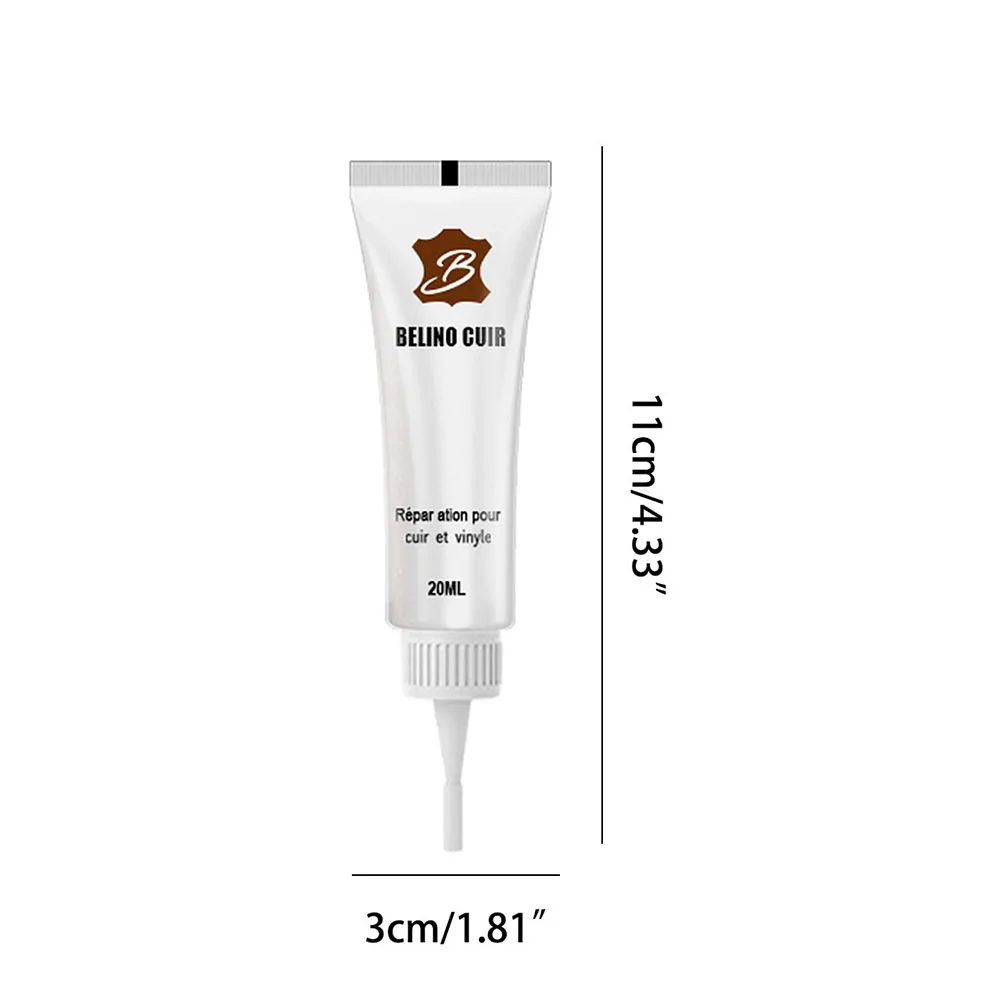
<div class="detailmodule_html"><div class="detail-desc-decorate-richtext"><div style="margin:0px auto;margin-bottom:0px;margin-top:0px;margin-left:auto;margin-right:auto"></div><div style="margin:0px auto;margin-bottom:0px;margin-top:0px;margin-left:auto;margin-right:auto"><p style="margin:0px;margin-bottom:0px;margin-top:0px;margin-left:0px;margin-right:0px;padding:0px;padding-bottom:0px;padding-top:0px;padding-left:0px;padding-right:0px;overflow:hidden;height:1px"><br/></p></div><p style="text-align:left;margin:0pt;margin-bottom:0pt;margin-top:0pt;margin-left:0pt;margin-right:0pt" class="MsoNormal" align="left"><span>Features:</span></p><p style="text-align:left;margin:0pt;margin-bottom:0pt;margin-top:0pt;margin-left:0pt;margin-right:0pt" class="MsoNormal" align="left"><span>1. Because the air in the cracks will block the penetration of the repair fluid. We have the vacuum function to remove the air in the cracks quickly.</span></p><p style="text-align:left;margin:0pt;margin-bottom:0pt;margin-top:0pt;margin-left:0pt;margin-right:0pt" class="MsoNormal" align="left"><span>2. The enhanced sealing rubber injection head can generate strong pressure to force the repair fluid into the cracks.</span></p><p style="text-align:left;margin:0pt;margin-bottom:0pt;margin-top:0pt;margin-left:0pt;margin-right:0pt" class="MsoNormal" align="left"><span style="font-size:20px"><span>3. Imported repair fluid (this is very critical), up to 20PA shear strength. <br/></span></span><span style="font-size:20px"><span><span style="color:rgb(255, 0, 0);font-size:16px;font-family:Arial">Size:Packing Box Length*Width:21.5*11cm,Error about 1cm.</span></span></span><span style="font-size:20px"><span><br/></span></span></p><p style="text-align:left;margin:0pt;margin-bottom:0pt;margin-top:0pt;margin-left:0pt;margin-right:0pt" class="MsoNormal" align="left"><span>Notes:</span></p><p style="text-align:left;margin:0pt;margin-bottom:0pt;margin-top:0pt;margin-left:0pt;margin-right:0pt" class="MsoNormal" align="left"><span>1. Once the damage occurs, cover the area with transparent adhesive tape to prevent moisture and dirt from entering the damaged area.</span></p><p style="text-align:left;margin:0pt;margin-bottom:0pt;margin-top:0pt;margin-left:0pt;margin-right:0pt" class="MsoNormal" align="left"><span>2. Damage should be repaired as soon as possible to prevent the spread of small cracks.</span></p><p style="text-align:left;margin:0pt;margin-bottom:0pt;margin-top:0pt;margin-left:0pt;margin-right:0pt" class="MsoNormal" align="left"><span>3. Do not repair it under direct sunlight.</span></p><p style="text-align:left;margin:0pt;margin-bottom:0pt;margin-top:0pt;margin-left:0pt;margin-right:0pt" class="MsoNormal" align="left"><span>4. The ideal applying temperature is 60℉ to 90℉(15℃ to 32℃). Allow the vehicle to have enough time to adapt to the temperature if it has been in a hot or cold environment.</span></p><p style="text-align:left;margin:0pt;margin-bottom:0pt;margin-top:0pt;margin-left:0pt;margin-right:0pt" class="MsoNormal" align="left"><span>5. The surface must be clean and dry for proper repair.</span></p><p style="text-align:left;margin:0pt;margin-bottom:0pt;margin-top:0pt;margin-left:0pt;margin-right:0pt" class="MsoNormal" align="left"><span>6. Do not expose the resin to automotive paint, scraper or plastic facing, otherwise, your maintenance will not be as beautiful as expected.</span></p><p></p><p></p><p></p><p></p><p></p><div><br/><br/></div><div><br/></div></div></div><p><br/></p>
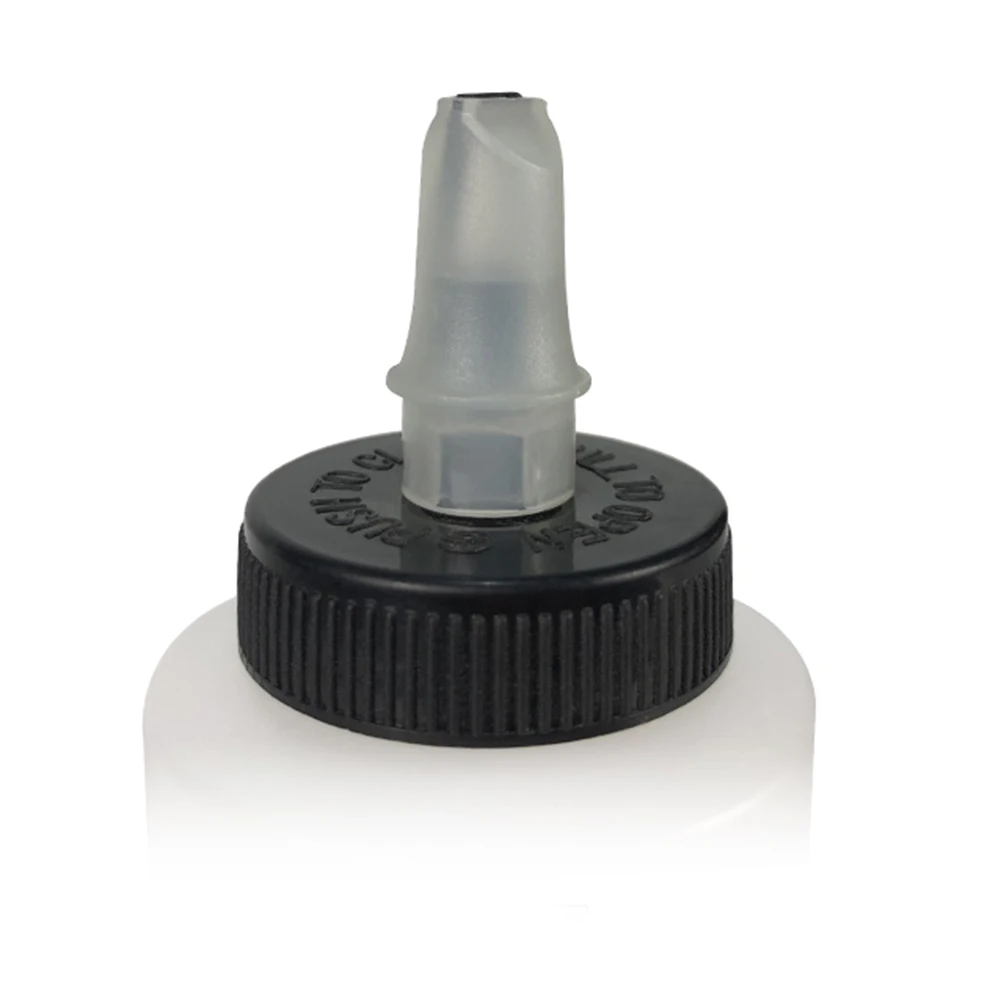
$14.165
$8.45
- Category : Automobiles, Parts & Accessories
- Brand : shop1103864815_store Shop1103864815 Store
Colors
Sizes
-
+
<div class="detailmodule_html"><div class="detail-desc-decorate-richtext"><div style="margin:0px auto;margin-bottom:0px;margin-top:0px;margin-left:auto;margin-right:auto"></div><div style="margin:0px auto;margin-bottom:0px;margin-top:0px;margin-left:auto;margin-right:auto"><p style="margin:0px;margin-bottom:0px;margin-top:0px;margin-left:0px;margin-right:0px;padding:0px;padding-bottom:0px;padding-top:0px;padding-left:0px;padding-right:0px;overflow:hidden;height:1px"><br/></p></div><p style="text-align:left;margin:0pt;margin-bottom:0pt;margin-top:0pt;margin-left:0pt;margin-right:0pt" class="MsoNormal" align="left"><span>Features:</span></p><p style="text-align:left;margin:0pt;margin-bottom:0pt;margin-top:0pt;margin-left:0pt;margin-right:0pt" class="MsoNormal" align="left"><span>1. Because the air in the cracks will block the penetration of the repair fluid. We have the vacuum function to remove the air in the cracks quickly.</span></p><p style="text-align:left;margin:0pt;margin-bottom:0pt;margin-top:0pt;margin-left:0pt;margin-right:0pt" class="MsoNormal" align="left"><span>2. The enhanced sealing rubber injection head can generate strong pressure to force the repair fluid into the cracks.</span></p><p style="text-align:left;margin:0pt;margin-bottom:0pt;margin-top:0pt;margin-left:0pt;margin-right:0pt" class="MsoNormal" align="left"><span style="font-size:20px"><span>3. Imported repair fluid (this is very critical), up to 20PA shear strength. <br/></span></span><span style="font-size:20px"><span><span style="color:rgb(255, 0, 0);font-size:16px;font-family:Arial">Size:Packing Box Length*Width:21.5*11cm,Error about 1cm.</span></span></span><span style="font-size:20px"><span><br/></span></span></p><p style="text-align:left;margin:0pt;margin-bottom:0pt;margin-top:0pt;margin-left:0pt;margin-right:0pt" class="MsoNormal" align="left"><span>Notes:</span></p><p style="text-align:left;margin:0pt;margin-bottom:0pt;margin-top:0pt;margin-left:0pt;margin-right:0pt" class="MsoNormal" align="left"><span>1. Once the damage occurs, cover the area with transparent adhesive tape to prevent moisture and dirt from entering the damaged area.</span></p><p style="text-align:left;margin:0pt;margin-bottom:0pt;margin-top:0pt;margin-left:0pt;margin-right:0pt" class="MsoNormal" align="left"><span>2. Damage should be repaired as soon as possible to prevent the spread of small cracks.</span></p><p style="text-align:left;margin:0pt;margin-bottom:0pt;margin-top:0pt;margin-left:0pt;margin-right:0pt" class="MsoNormal" align="left"><span>3. Do not repair it under direct sunlight.</span></p><p style="text-align:left;margin:0pt;margin-bottom:0pt;margin-top:0pt;margin-left:0pt;margin-right:0pt" class="MsoNormal" align="left"><span>4. The ideal applying temperature is 60℉ to 90℉(15℃ to 32℃). Allow the vehicle to have enough time to adapt to the temperature if it has been in a hot or cold environment.</span></p><p style="text-align:left;margin:0pt;margin-bottom:0pt;margin-top:0pt;margin-left:0pt;margin-right:0pt" class="MsoNormal" align="left"><span>5. The surface must be clean and dry for proper repair.</span></p><p style="text-align:left;margin:0pt;margin-bottom:0pt;margin-top:0pt;margin-left:0pt;margin-right:0pt" class="MsoNormal" align="left"><span>6. Do not expose the resin to automotive paint, scraper or plastic facing, otherwise, your maintenance will not be as beautiful as expected.</span></p><p></p><p></p><p></p><p></p><p></p><div><br/><br/></div><div><br/></div></div></div><p><br/></p>
Related Product
Browse The Collection of Top Products.